Sunday afternoon Peter came over and got caught up on my progress. Since we were done on the fuselage for now we put it aside for safe keeping and focused on the tail control surfaces to start with.
For the rudder, stabilizer and two elevators I prepped them for hinging. At this point I also brought out my new toy (thanks Steph for the Christmas gift 🙂 ), the vise you see in the left image below.
While everything was still pinned to the table I marked two hinge line locations for hinging the rudder to the fin (vertical stabilizer). The elevator hinges were previously marked. Next we clamped the rudder, fin, stabilizer and each elevator into the vise one at a time using some scrap balsa sheeting to protect the pieces from the vise clamps.
While each piece was in the vise I used the center scribing tool to mark a line down the center of the edge where the hinges are going to be placed. I also marked a line down the surface (you can see this in the images if you look closely) on each side 1/8” from the scribbed surface. These 3 lines provide a guide for creating the ‘V’ shape on the hinged side of the surface to allow proper movement. I will use them while sanding to make sure I don’t go to far back and keep the hinges centered on the control surface.


The featured image at the top of the post gives you an idea of how all the pieces play together to make up the tail of the aircraft. At this point the bench was cleared off and prepped for starting the wing!
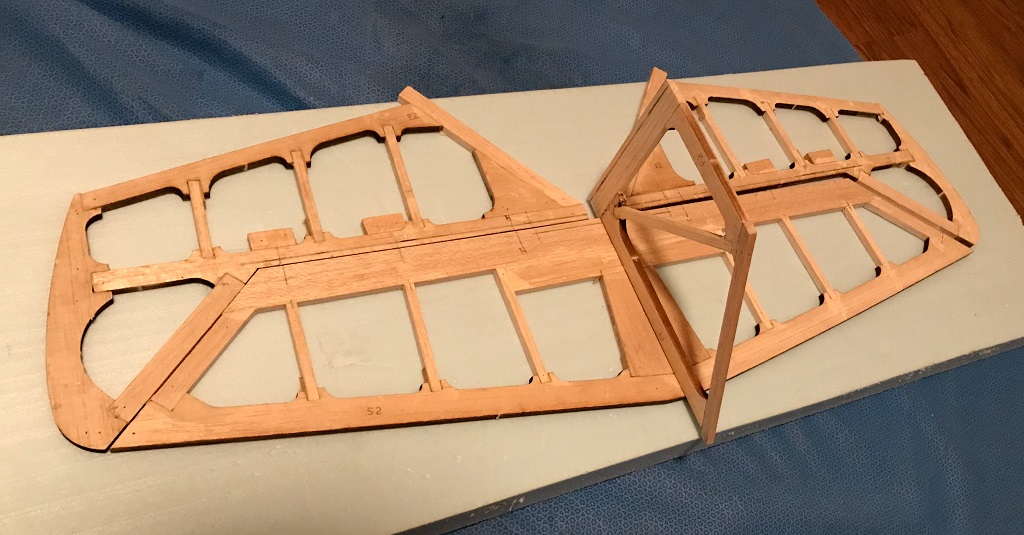
I went through and punched out all the ribs that make up the wing of the aircraft, followed by the three piecies that will make of the trailing edge of the wing. The Aero 3D has a 681/8” wingspan, which is about 4 inches shorter than my 4 Star 60 build. This aircraft should have snappier rolls and I will have to on the sticks.
Once all the pieces were punched out and lined up in their relative positions as to where they will be located on the wing the three pieces making up the trailing edge (two WKB’s and WKA which fits between) were glued together using 30 minute epoxy and pinned down. In the image below, where we left off, you can see that my big ruler was used to ensure the pieces were kept in a stright line.

That concludes another building session and the next session won’t be until this weekend to continue work on the wing. Peter is going to teach me how to make scarf joints!