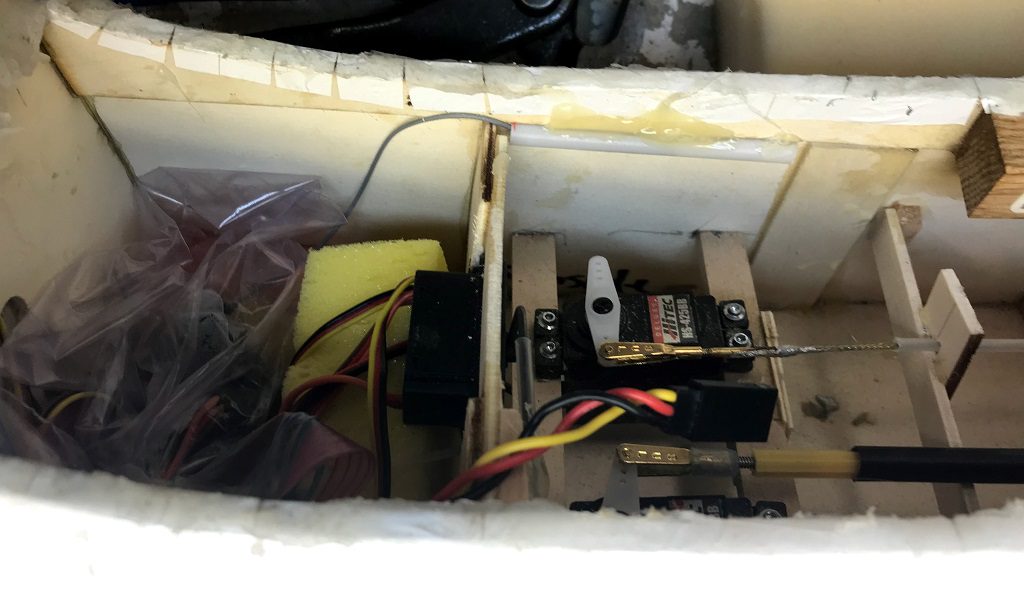
On July 15th I wrapped up my last session at Peters to (almost) complete my aircraft. On this day I installed the receiver, wrapped in a plastic bag to protect it from any splashed of water that might get inside the fuselage. After that I cut a piece of foam to pack on top of the receiver to keep the electronics in place during flight.

Receiver Baggied 
Receiver Foam Packed
I also attached the receiver wire to the side of the fuselage, through a plastic tube to protect it and increase the reception quality as you want to ensure you do not loose contact between the transmitter and receiver during flight (as orientation, direction, etc. of the aircraft changes). This can be seen in the featured image at the top of the post.
I also installed the fuel lines. This involved trial ‘fitting’ the lines to get an idea of how long they needed to be and then giving them an initial cut. Then trial fitting again, if when attached the excess was to much giving the end of the line a trim. Want some excess to remain so that in the future as the line gets worn you can trim it back a little bit to snug up the fit and not always have to replace the entire line.
In the image below the red line is the return (exhaust) and the white line feeds fuel to the engine.

Lastly installed the wing and you can see, in the image below, how the wing fits snuggly into the craddle of the fuselage. You can also see the wire sticking out that is used to turn the aircraft on/off by pushing in or pulling out.
