On March 31st I worked on getting the the holes drilled into the engine mounts for, you guessed it, mounting the engine. This involved figuring out the size of bolts I’d be using and finding the correct drill bit size. Next, I needed to figure out where the holes needed to be drilled that would allow enough room for the engine to fit comfortably (not to far back/forward) allowing everything to function properly.
Once done I bolted the engine on ensuring everything fit & looked good. The final product can be seen below:

Engine Mount Screw Holes – Using Drill Press 
Engine Mount Screw Holes Trial Fit
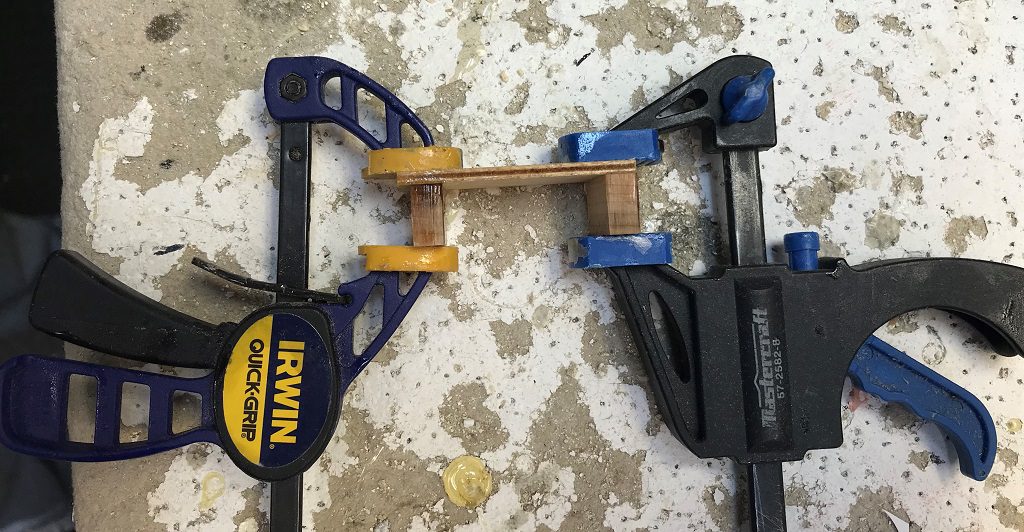
April 1st I made the throttle servo mount, seen in the featured image at the top, using up some scrap pieces that work just perfectly for the job! Needed to make sure they were spaced accordingly on the back plate to allow me to screw the servo down.
Next, I created an ‘anchor line’ for the engine, which involved using some fishing lure wire and clasp as well as a metal holed enlit piece (my technical terms are eluding me today!). To do this I slipped the end of the wire through a clasp, then through the one eyelit of the metal piece and back through the clasp, pulling to ensure the correct size. I then bent the metal clasp so the one end can be bolted snugly to the bottom of the engine mount.
The wire serves the purpose of anchor the engine to the fuselage encase of a crash into the water to prevent the engine from sinking. Hopefully can get to the down aircraft before the fuselage does!
That wrapped up another couple days of building.


