Another great building session took place Saturday February 24th. The first thing, as seen in Fig. 1 and 2 below is that the screw hole for anchoring the engine support post (is what I’m calling it) to the fuselage was drilled. The groove carved into the ‘post’, seen in Fig. 1, Peter had done at another builders place. This groove is where the wires will run down from the engine (i.e. for the throttle servo). While Peter held the support in place I drilled a hole between the two bottom tabs (ensuring I was in about the middle and below the hole where the wires will be routed for the control services via the groove) a bit smaller than the screw being used as this is what will hold the post in place.


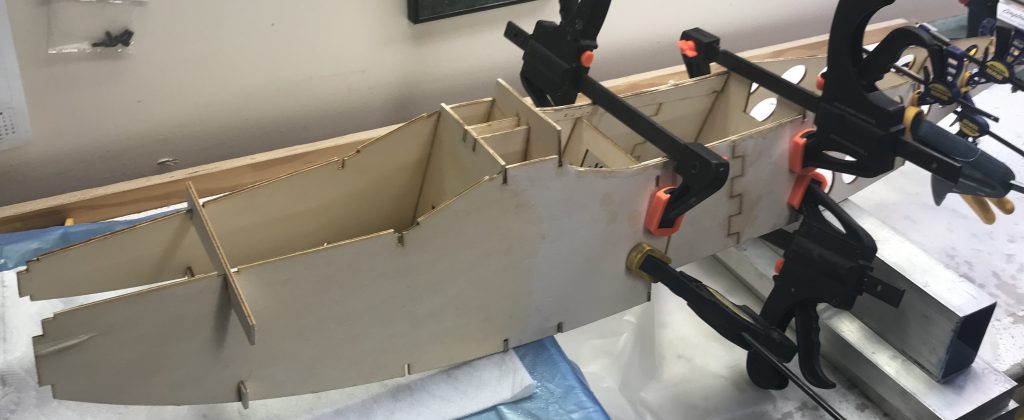
Once that was done I glued formers F6 through F10 in place connecting both sides of the aircraft. This was done with Sig Cement and each one was clamped in place to hold everything tight while the sides dried to the formers. All the formers were previously sanded.
The last item for the day was to start shaping the front of the aircraft. The prep work for this was having two pieces of wood with two notches made in them. I then soaked the wood using a spray bottle and carefully bent the two nose pieces inwards and placed the sticks in place, top and bottom, to hold the pieces in place while the water dried.
While waiting for the wood to dry we chatted and then about an hour later sprayed the wood again and move the nose pieces in further. Then cut new notches in the wood to hold the pieces at the new closer position. At this point I had to go home, but Peter repeated this process a couple more times until the two pieces were close enough together such that the F1 former would fit snug at the nose of the aircraft.

Wasn’t concerned about the wrinkle because if necessary can slit it with a knife and glue it smooth. That concluded another building session!