February 21st was about finishing off the Pylon and starting to get the fuselage sides attached. The first step was ensuring the seems of where the spacers meet the formers are secure by applying a bead of medium CA glue long the seems. This was done for all four areas, inside and out, making for eight beads of glue.


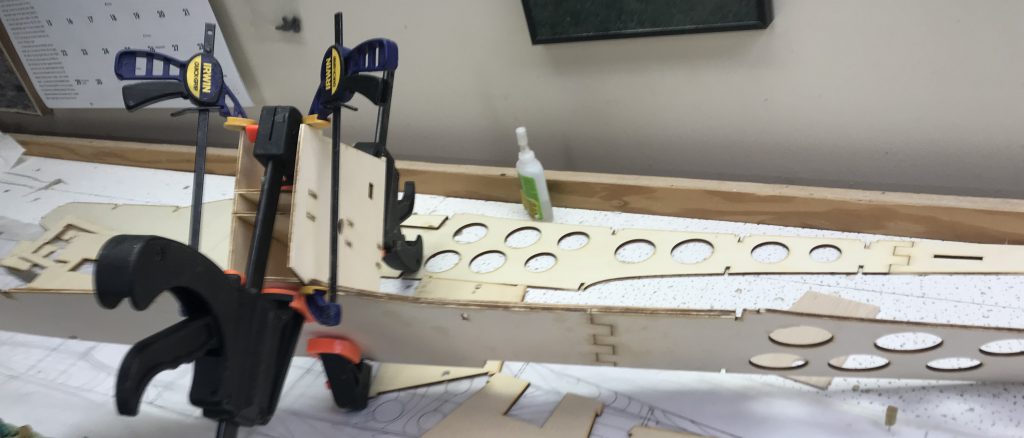
After that was done, this type of glue dries fast! I did a trial fit of the pylon to each fuselage side. While doing this I made a line along each side to determine where I needed to apply glue (seen below). After that was done I placed glue along the left side of the pylon (ensuring sufficient glue on the tabs) as well as on the fuselage side and then put the pieces in place and clamped them together as seen in the picture at the top of the article.

That wrapped up another day as couldn’t go any further until this dried. Once dried Peter did the same for the other side so that the project wasn’t held up to much as that needed to be done before anymore formers could be trial fitted and glued in place.