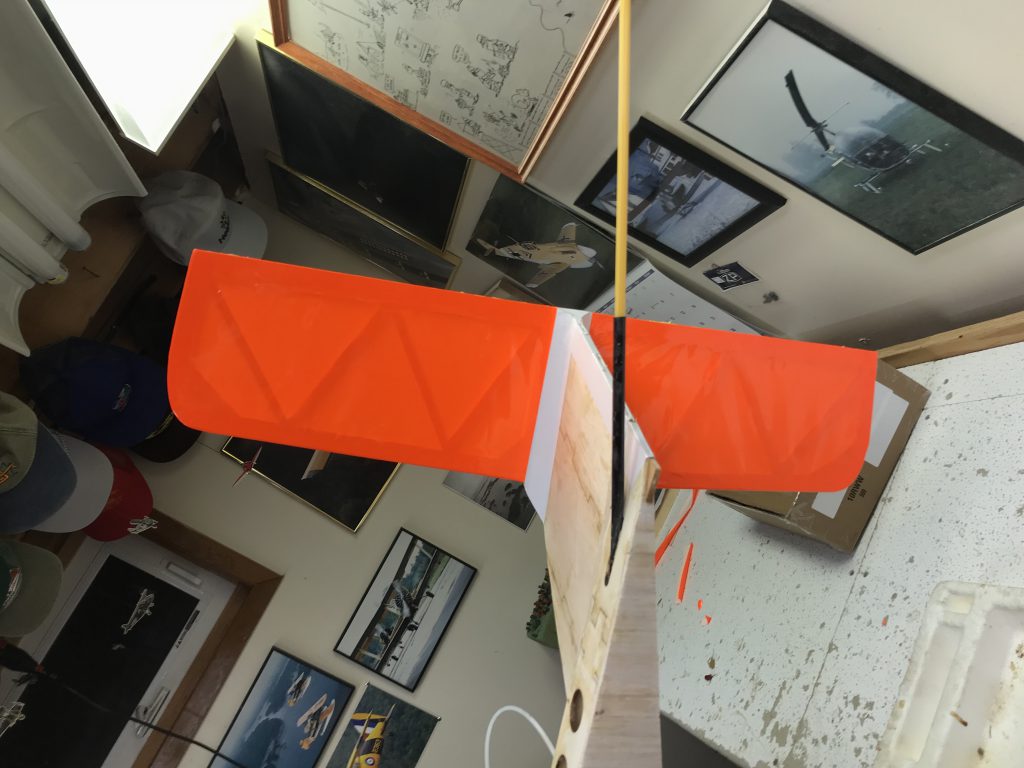
On Nov. 20th I focused on covering the bottom of the stabilizer. You can see the stop point for the day with the bottom of the stabilizer covered in the featured image above.

Above you can see the top of the stabilizer (bottom of the covering) I ironed in place. Below you can see the bottom of the stabilizer (one side) covered).
The first step was to measure it all out and cut a piece of fabric over-sized with a straight edge I could put the the inside along the triangle block to have a cleaner finish. I then worked the covering around the leading edge (which was previously sanded to be rounded). You can see me doing this in the picture at the bottom of the post. I made sure to iron from the inside out towards the leading edge and rounding out around the edge to get a smooth finish.
Once that was done I tacked the edges to the bottom of the stabilizer and worked my way around the outside ironing the covering to the balsa of the stab, ensuring I pulled the covering tight as necessary. This left me with the finish below.

Not quite done yet, now that I had the edges of the covering sealed (ironed to balsa) I used the heat gun to shrink the covering. This was done by starting at one of the ends and ensuring I’m always blowing towards the center (away from the covering stuck to the balsa already) and constantly moving and working my way around. You do not want to stay in one place to long or else you will burn a hole through the covering and have to start over. This provided the ‘crisp’ finish you see in the image at the top of the post.
