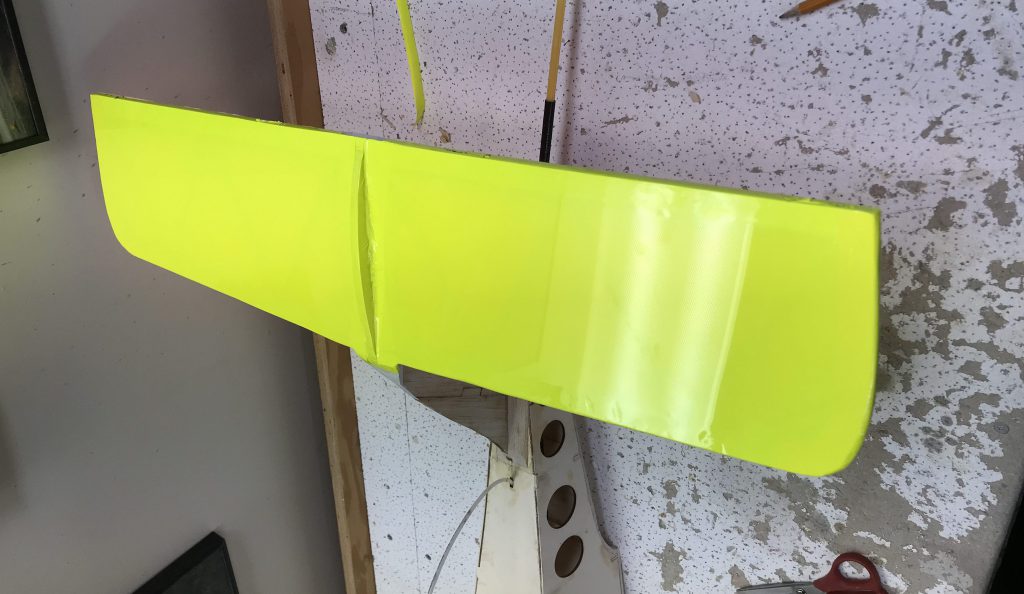
On Nov 24th I finished covering the top of the stabilizer. Since I already had the center piece with the convex curve completed it was a matter of cutting two pieces of caution yellow covering (over-sized) for each part.
The process was completed similarly to the bottom in that I started by ironing down the straight edge along the middle of the stab and then working my way around the edges, as well as rounding the covering around the shaped leading edge. I then cut the excess off of the trailing edge and cleaned up any of the other edges as necessary.
Once that was done I used the heat gun to shrink the covering, making sure now to spend to much time in one spot and to keep moving with the air blowing towards the center. I needed to make sure that I didn’t heat up the glue of the covering creating the seal around the edges as well as making sure I didn’t heat a hole through the yellow covering or the orange covering that was previously applied. Hence, keep moving and checking to make sure surfaces are not getting to hot, pausing as necessary.
You can see the completed look in the pictures at the top and bottom of the post.
