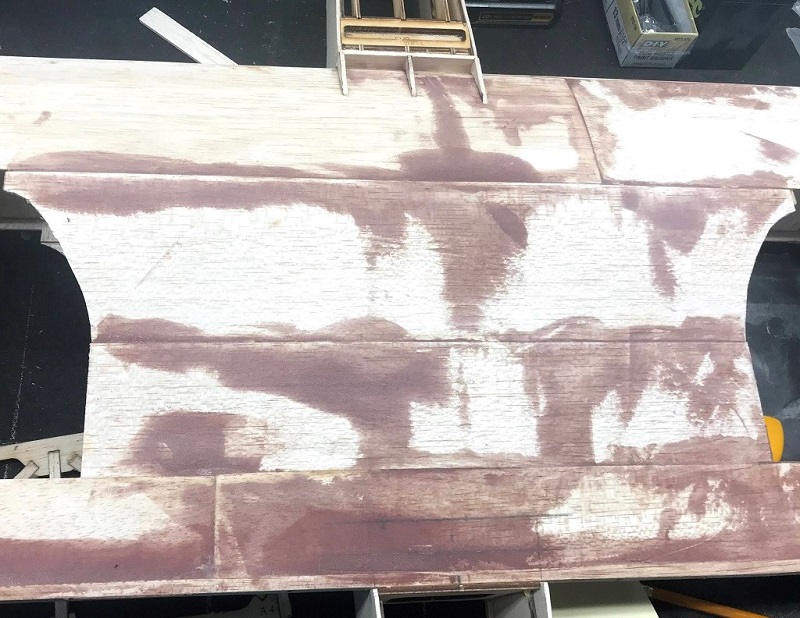
Yesterday, Peter dropped off my wing and did a trial fitting into the fuselage. He graciously fixed my previous mistake where I glued the WF assembly to the wrong side of the wing, doh! He was able to remove it and repair the damage to the wing. You can see part of the sanded filler in the featured image above.
As part of the trial fitting, needing to get the wing to sit flush without pushing down, drilled out the holes at an upward angle as well as sanded the doublers. I’m concerned sanded to much before realizing the reason was the addition of the square piece on the wing to reinforce the sheeting around where the servo leads will go through.
Ended up notching out former FU5, which still requires some work to get the wing to sit down fully into the saddle by itself. Using a drill afterword worked a bit the size of the hole at an upwards angle back and forth to allow the dowels in the wing to angle up a bit sitting the wing down further.
I will need to look into if any ‘fixes’ need to be applied from previous, potential, overjealous sanding prior to realizing the added ‘support square’ to the top of the wing was causing seating issues. Will need to work on the notch in the former some more and get the wing to sit down easily (without pressure) prior to moving on to adding the WC assembly to the back. I believe I can just make this on the bench and then will need to add back FU6B that broke off in the wing fitting testing… looking back I think this needed to be angled backwards a bit (piece isn’t laser cut for that, so will need to sand) in order to fit the angle appearing on the wing diagrams for WC assembly.
I’m hoping I’m now able to keep plugging along. Get the wing seated and then build the two assemblies, well, not the back one fully yet.


