Today, I worked mostly on the wing tip. I started with the right wing tip and prepped the WT2 through WT4 pieces. I started at the leading edge with WT2, making sure they fit nicely and then glued them in place, using pins each time since it is an awkward shape to clamp.
I marked on the pieces, if there was an opening, wher the edge would be, thus no glue required, followed by a pencil line for location. I then used wood glue along the bottom and side straight edges.
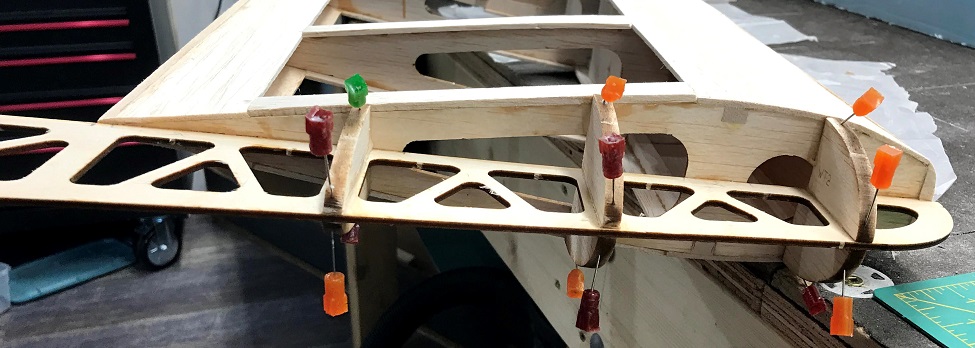
Using a square to ensure the pieces were perpendicular to the wing tip I then pinned the outter end of the piece into the wing tip itself and the inner end into the outter rib. I did this for top and bottom, verifying positioning with a square.
When it came to the top WT3 & WT4 I had to build it up, so it was flush with the sheeting. For this I cut out a strip of 3/32” balsa, glued to the bottom using medium CA, and then sanded so the outter edges were flush with the piece and sanded down the bottom until happy with the fit at the top.
I glued the WT3s & WT4s the same way, pinning them in place. Unfortunately, I’ve been unable to find the WT5’s for the very back at the trailing edge.
The last thing I did in my early afternoon session was glue the ply support piece Peter made to reinforce where the wires for the aileron servos will come out of the top of the plane into the fuselage. This will prevent the 3/32” balsa sheeting from getting damaged through friction caused by the wires moving around within the hole.
You can see the block glued in place below and then weighted down while the glue dries.

Servo Wire Hole Support Glued 
Servo Wire Hole Support Weighted