Yesterday, I made some more progress on my wing in stages throughout the day. The first session of the day was involved getting the remainder of the bottom trim glued in place. I already had the piece made so it was more about figuring out how to get everything down and in place.
I discovered that this piece actually fit better then the other side I did previously… I think this is because, though it appeared at first, the addtional block wasn’t sanded down enough, or something else was preventing the sheet from sitting down in far enough near the trailing edge. I started sanding the angle for the trailing edge to see how this was going to work, as I’m a bit concerned how that is going to turn out, but we’ll see as Peter says “There is no issue that cannot be overcome.” My issue is I thrive for perfection in an imperfect world.
I had previously marked where the sheeting came up to on the ribs so I poured out some glue and place it aong the rib edges as well as along the inside of the trailing edge. I then placed glue along the edge of the sheeting and the one end that butts up to the previous piece. Placing the sheeting I started at the but end using scrap balsa to assist in clamping the sheet tight to the trailing edge as well as over the bottom and top when clamping deown on the sheet itself. Once I had everything clamped and weighted down I added some medium CA along the butt joint to keep it aligned.
You can see the result in the image below:

Bottom Trim Glued
Since I had some glue left over I moved on to the rib caps, applied glue, and clamped it into place. I used the sanding block to assist in propping up the clamp to avoid it torquing the rib and sheeting. This seemed to have worked as I couldn’t believe how ‘level’ and good the piece ended up sitting.

Bottom Left Outter Rib Sheet Glued
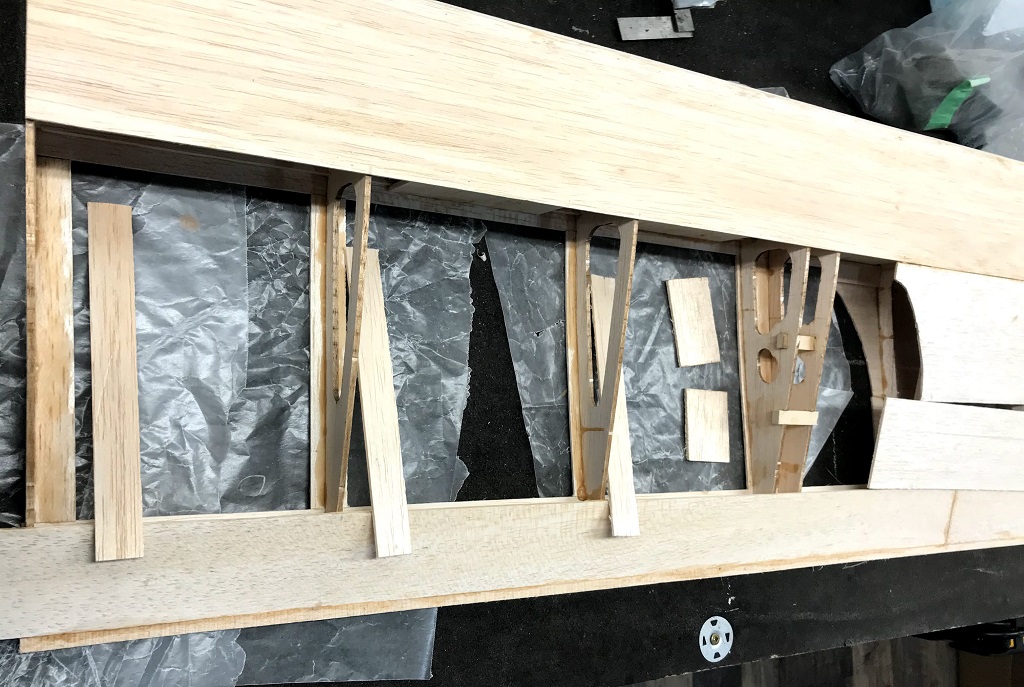
In the late afternoon before supper I went back and took another look at the wing, removing all my previous weights and clamps. I then cut and sanded pieces for all the other rib caps as well as the other piece of sheeting in the middle section (W-SH-3). It was decided that for the servo section to leave a gap, rather then make it tight like in their diagrams, as will make a sperate hatch cover as in the real world may need to have easier access to the servo for various reasons. You can see the pieces prepped in the featured image above. The ‘hidden’ panel pieces are the same.
That wrapped up an awesome weekend of working away on my plane.