Today, I made some more progress on the wing of my aircraft. I started this morning with the beginnings of rounding the leading edge by using a plane to take of the initial corner and then sand paper rounded over the leading edge moving top to bottom as well as along the leading edge from one end to the other. I cut a smaller strip to do inbetween and around the dowels.
I had a centre line scribbed down teh middle of the leading edge from a previous session as my guide. Once that part was done I took a picture and sent it to Peter as I wasn’t sure and from there I used the plane to take off the edges closer to the center line and followed up with some more sanding. I’m still not loving the job, but we’ll see. You can see how I left it for today in the image below:

Leading Edge Rounding
Coming back for another round, I took a look at the trailing edge and had the center of my hinges backing blocks all marked on the trailing ege. I did some major sanding to remove the excess sheeting and trailing edge that was hanging over parts of the wing as I found it was starting to get in my way. I’m just hoping that this doesn’t lead to unecessary damage of the wing (I think it was already the cause of some).
I removed any globs of glue I saw on the ribs and sanded off some dried on glue, especially along the inside of the trailing edge where the ribs meet it. Then verified how the pieces for the trailing edge were fitting and devised a plan in my head for getting them on. It did not go as smoothly as my plan… it rarely does, lol.
I marked where the trailing edge comes up to on the ribs with a pencil all the way across, as well as where the sheet is to be on the outter rib, prior to pouring out some wood glue. I then painted the glue on the edge of the ribs up to my markings, along the inside trailing edge and lastly along the bottom edge of the balsa piece.
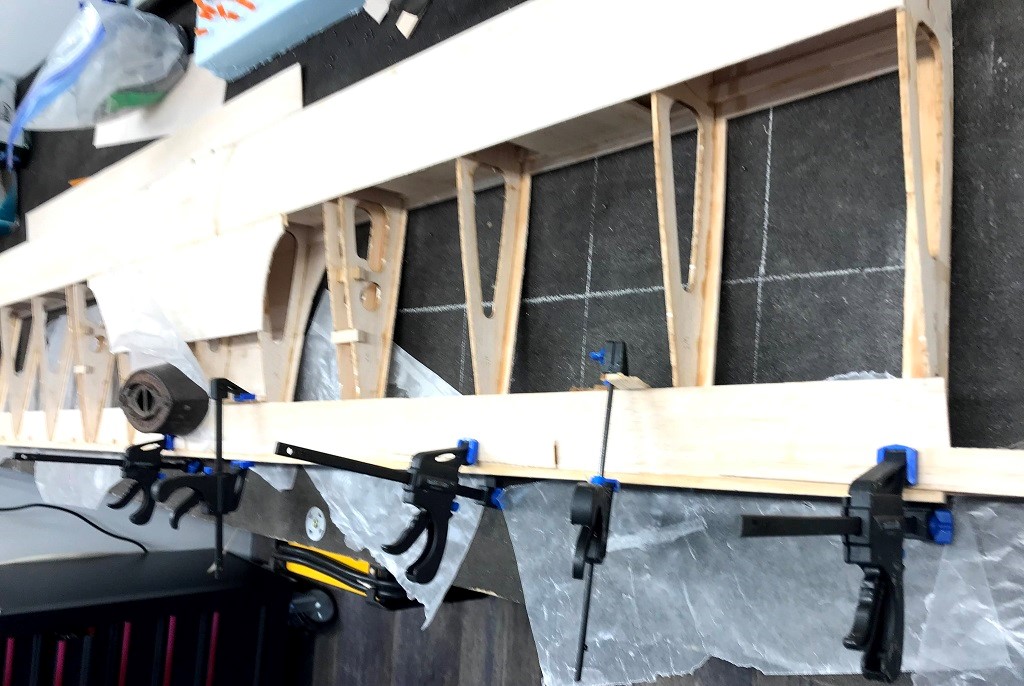
Afterwards, I put the 3/32” by about 2″ sheet in place and used a concoction of scrap pieces, clamps and weights to get everything to stay in place. This is where things seems to have gone awry; however, I did get everything weighted down, seen in the featured image, and will now have to wait until tomorrow to see how it turned out!

WGs Glued To WF
I started prepping for Step 7 of the wing instructions. I found the three WDs, one WC and one WE. I was unable to find the other… I looked everywhere and my workbench got a thorough cleaning today! I may have sucked it up into the vacuum cleaner, so using the one WE I had as a template I cut and sanded another out of balsa.
Lastly, I cracked out the medium CA and glued the three WGs to WF. I used medium CA as it seemed impossible to keep things in position long enough for wood glue to dry. End result seen in the image ‘WGs Glued To WF’ above.
I think this is one of my longest posts! This flying solo is an interesting experience and means I can do things like today where I putter away doing bits and pieces throughout the day. Don’t think I left out any noteworthy points.