Today, since I was working from home, I was able to get multiple steps done. At lunch I cut and glued two pieces of balsa cut from the 3/8” thick balsa Peter provided me and glued them together. I then clamped it and left it to dry, seen below:
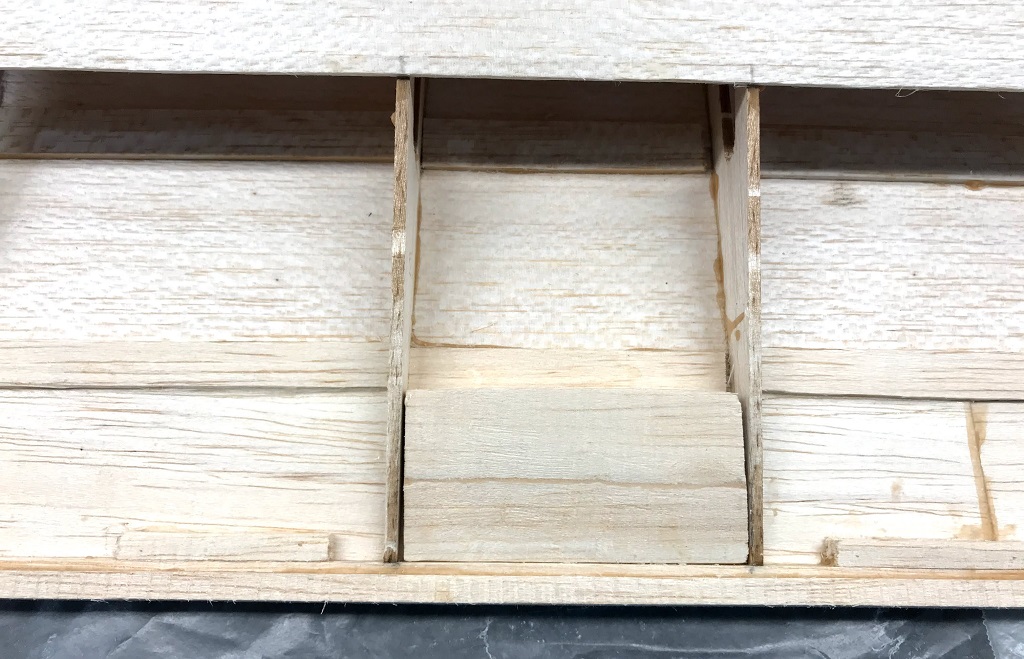
After work I continued where I left off sanding the block to fit between the two ribs at the trailing edge of the wing following the contour of the ribs. The fit is snug front and back but I, unfortunately, oversanded the sides. I don’t think this is going to matter as I am also going to have the trailing edge trim glued over top, next session.
To get the cuve I marked the sides with a pencial along the top of the ribs and sanded the block to those lines. You can see the block in place in the featured image above and how I left it, weighted, for the glue to dry in the image below.
This is going to provide additional support (rather than just two pieces of balsa sheeting) for the wing hold down bolts.
I didn’t take a picture of this; however, I did do a little additional sanding on the fuselage where the wing will be bolting down to bring the balsa sheeting (on the sides) flush so I could see how the template fits.


