So, finishing the thought from my previous post the epiphany I had while trying to sleep was that during my last session with Peter the plan was to glue the trailing edge (W-TE-1, 1/4” x 3/8“, ) on while the hinge support blocks were still exposed. This allowed me to use them as anchors for clamping.
To follow through with this plan I checked how the leading edge piece was fitting on the back of the wing and did some touch up sanding to remove excess glue around the scarf joint. Also, went over everything using the balsa pieces I cut to ensure the balsa sheeting would lay flat, sanding where I needed to.
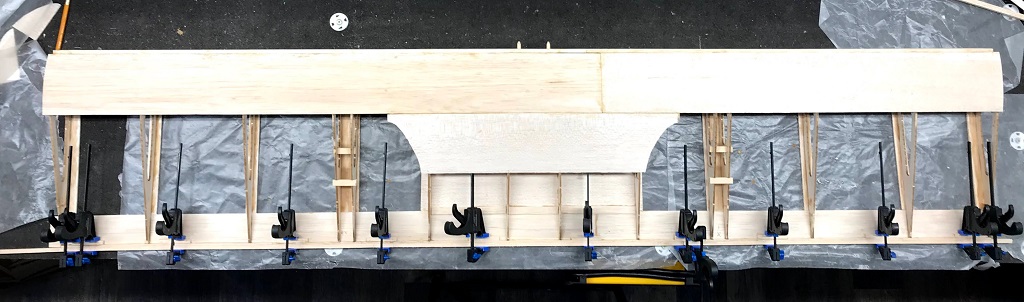
Once I was happy with the fit I poured up some wood glue and lathered it on the back of the wing where the piece is going to go. I then placed W-TE-2 (Trailing Edge) on and clamped, from left to right, along the back of the wing. I started this holding the wing up, balancing on the leading edge, until I made enough progress.
Once I had it all clamped down I went back to the beginning and ensured the trailing edge was flush with the top (which is actually the bottom in the picture) trailing edge (W-TE-2). As I worked my way down I discovered it was off a bit. So I loosened the clamps and re-adjusted and then reapplied the clamp.
Once that was done I went back over the entire thing until I was satisfied that the trailing edge (W-TE-1) was, to the best of my knowledge, properly in place.

Trailing Edge Glued: Angled View
I then left everything as seen in the pictures to let it dry.