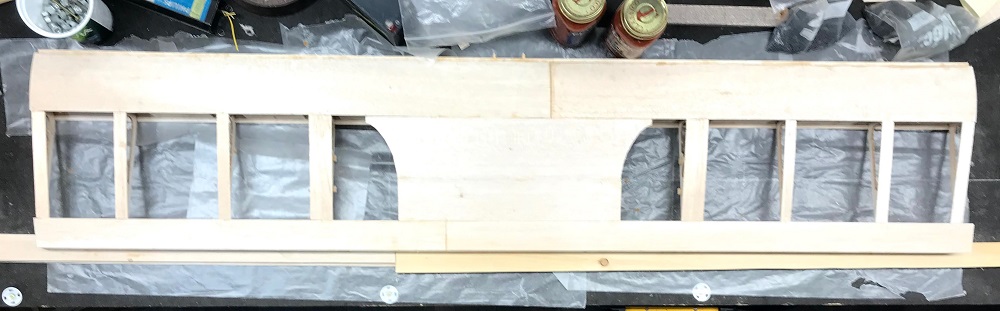
Wednesday we completed Step 4 of the wing instructions (minus cutting flush the trailing edge). Peter brought all the W-SH-5’s & W-SH-4’s he cut at home out of 3/32” balsa a bit longer then required.
I lined one of the pieces up on a rib, marked how much needed to be sanded off one end and then sanded them down to fit. Once I had them all sanded I marked the center of the rib on the top and bottom sheets so that while gluing we had a reference point to center the ‘rib caps’ on the top of the ribs.
The exception to this are the two end pieces that were glued more or less flush with the outter edge of the rib, as seen in Step 4. For the bigger pieces (W-SH-4) we eyeballed and made sure they covered both ribs. For additional support on the end caps we’ll eventually glue support blocks underneath.
Once all were sanded to fit poured out some wood glue and starting at the right end put glue along the top of the rib and along the edge of the sheeting as well as along the center of the balsa pieces. Peter clamped them in place as I moved down the line gluing in place.

Top Right Panel Rib Caps Glued 
Wing Top – Rib Caps Glued
You can see the finished product once I removed the clamps the next day in the featured image above. In the images above, on the right you can see how we left everthing all clamped to dry and a close up of the right side of the wing on the left.
That wrapped up another session and hoping to make more progress this evening.