Friday Peter & I got some more sheeting done on the top of the wing. The first piece was the curved middle piece sheeting the middle of the wing.
In order to do this we cut a piece of 3/32“, 4″x62”, to make W-SH-2 to go to curve out to between the middle of the ‘enclosing’ ribs. To determine the curve we tried different plastic curve templates Peter brought until we found one which provided a curve to our satisfaction. To aid in this we had marked where the curve should start and end to leave enough hang over for the bottom portion. I then traced it and cut it out with the utility knife.
I then cut some 1/2” strips out of 3/32” balsa and marked a line down the half way point. This was then glued, using medium CA, to the underside of the top sheeting. Wood glue was then applied to this as well as along the ribs and edge of the top sheeting andalong the top edge of the sheeting to ble glued in place.
We then pinned it along the top edge and used water to dampen it and curve it along the top of the wing. Once satisfied we weighted it down and moved on to the trailing edge.
For the trailing edge we glued it flush to the trailing edge of the wing and weighted it down as well. This was in two pieces, W-TE-2, that butt up against each other. This was then pinned and weighted in place to dry.
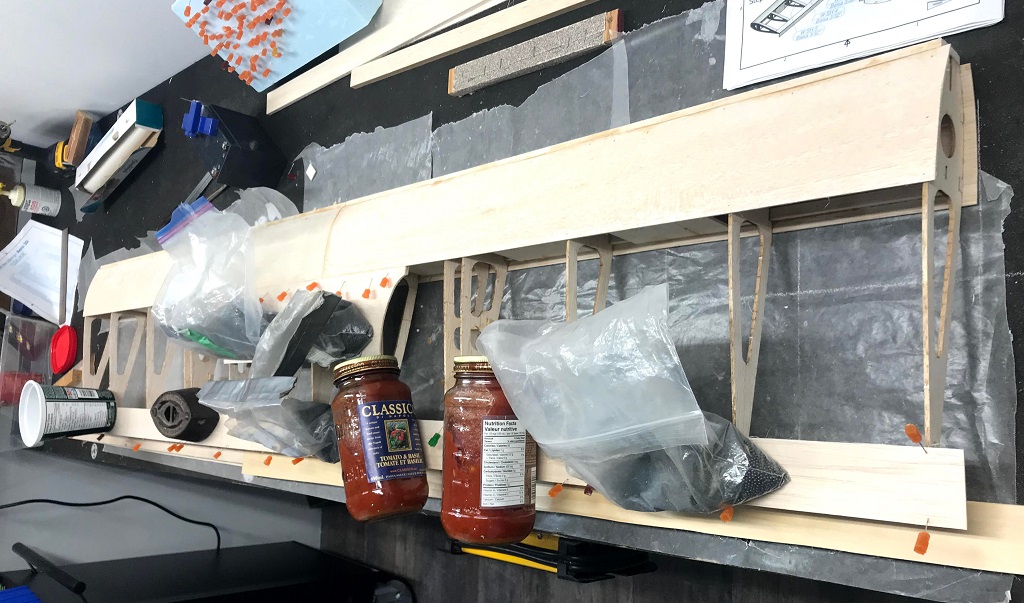
That ended this session, left how you see in the featured image avbove.

Sheet Glue Supports 
Top Bottom Sheet Glued
Today we finished off the missing piece of sheeting, W-SH-3, on the top of the wing. For this I needed to do a lot of sanding to get a piece of balsa to fit between the trailing edge sheeting and the curved piece above. I took off a little bit at a time until I got the piece of sheeting to sit down snuggly. Marking with a pencil where I needed to continuing sanding off the bottom edge.
Once the sheet was ready we cut some more support pieces out of balsa (same proces as described above) and glued them in place. You can see what these supports look like in the ‘Sheet Glue Supports’ image above. Doing this is not mentioned in the assembly instructions but we did it anyway to provide more surface area for the sheeting to glue to.
We then applied wood glue over the top of the ribs, supports and edges. I then placed the sanded sheet into place and weighted it down, wrapping up another session.
With this we are almost done sheeting the top of the wing. Peter took some measurements and is going to cut the rib caps (W-SH-5’s & W-SH-4’s) at home. Once we get these glued into place we will be ready to complete Step 4.