Saturday, Feb. 22nd, I cut out the pieces for the aileron. Peter & I then did some looking at the airframe and figuring out what went where… as even though the pieces are labeled you do not actually have any labels in the pictures provided and need to figure out how things go together based on shape alone. We used the top down diagram with the overall measurements.
The leading and trailing edge of both ailerons came in two pieces which we needed to join together using a pre cut scarf joint. They were not cut very precisely and thus we needed to use filler to create a snug fit. We also used my big ruler to ensure while we were pinning things in place the edges were perfectly straight. We used slow epoxy for this job.
You can see how we left things to dry in the image below.

Ailerons – Leading & Trailing Edge Glued
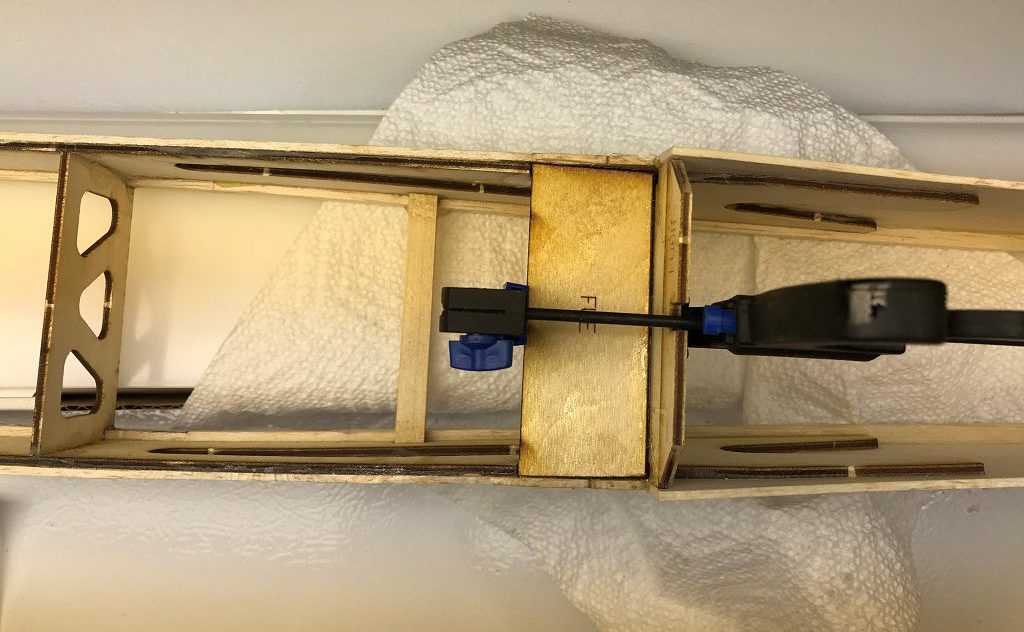
Once that was done, with the excess glue we brought the fuselage back onto the table and glued FUE in place. We clamped and left it to dry, seen in the featured image.
I do believe this is in part where the wing will bolt to the fuselage. At this point I’m not sure what else is going to be involved in that process, beyond figuring out where the holes need to be to line up with the holes (to be built) in the wing for the bolts to go through. Additional details to follow once I get there.