Wednesday we finished prepping the firewall and reinforcing it.
First step was getting two triangle blocks cut close to size as will sand the tops to match the form of the top of the fuselage. We then mixed up a batch of epoxy for the next steps.
I filled the inside of the T-Nuts with vaseline to prevent glue from getting inside causing a blockage. I then placed glue all around the bottom of the T-nut, including the shaft and placed it in one of the holes. Peter then used a clamp to screw it into place while I held the fuselage from moving around. This was then repeated for the other three.
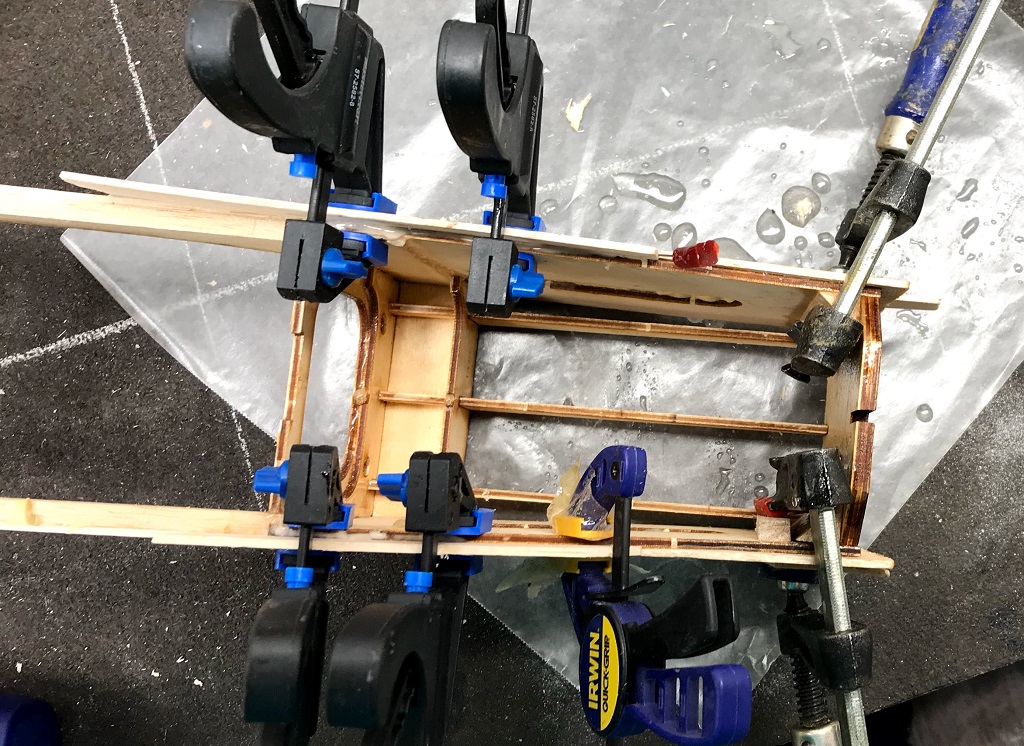
Next we did the triangle blocks. Since the one on the left side, left pic below, was covering the T-nuts I marked the location and sanded the areas down until the block fit flush into the corner on both sides. I then proceeded to glue both blocks into the corner of the firewall & fuselage on both ends and clamped in place, seen below.
Lastly, we cut some strips of balsa you glue to the bit of fuselage sides the original sheeting didn’t cover. You can see it clamped into place in the right image above.
You can see the result of the entire sessions work in the featured image at the top. That concluded another session.


