Yesterday I did a little work on the wing myself. I trimmed off the excess of the remaining spar we glued in the previous session and then did some intial sanding of all the spar ends. The one end can be seen in the picture above.
Today Peter and I glued the leading edge onto the front end of the ribs. Since the leading edge didn’t seem to be properly provided within the kit Peter kindly made it in his shop for me out of 1/4” x 17/8” balsa. This needed a joint in it as well due to the length, a bit oversided on each end as well. Peter scored in the center line, to be used to center it on the leading edge vertically.
I marked the center on a couple ribs to use as guides and then we pinned the leading edge into place. We then marked where the front of the ribs were on the piece of balsa. Next we mixed up a batch of glue, that was slow setting, and placed it along the front edge of each rib as well as on the leading edge between the pen marks. We then lined up the leading edge on the wing and pinned it in place.
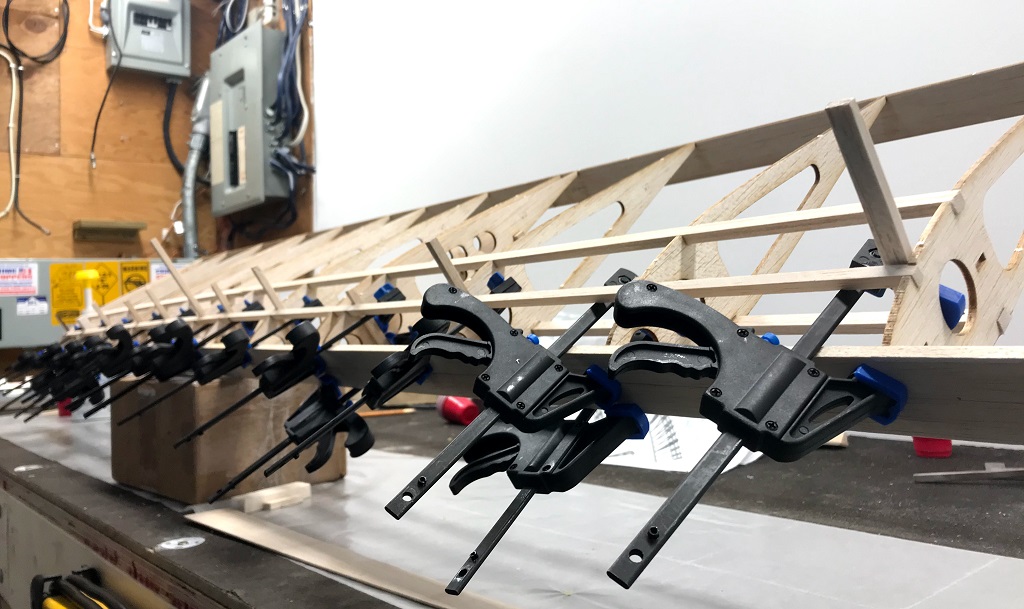
Next we clamped the leading edge to the rest of the wing (on the front of the ribs). We needed to add in some additional clamps from the other side as well where the edge was lifting to ensure it was all making full contact. Some additional glue needed to be applied for the outter edge on the far left in the image below. We had to make some minor adjustments as we checked with a piece of scrap 1/8” balsa sheeting to ensure there was enough leading edge, top & bottom, for balsa sheeting to but up against. Which was also ensuring the leading edge was vertically centered.
You can also see in the image below how I used the engine in the box and the two clamps in the middle to balance the wing to leave it to dry. Will need to remove the clamps tomorrow.
