Today I made some more progress on the fuselage of the aircraft. I started by cutting, from 1/4″ x 1/4″ balsa stringer, two pieces for cross braces in former 7 which was 21⁄16” and in former 8 which was 15⁄16“. Once cut I used medium CA, placed on the ends of the balsa and top and bottom where it wil be making contact with the former.
I inserted the balsa piece into the former and pinned in place (the pins kinda seemed uncessay as medium CA dries very quickly). I did this over wax paper to minimize my chances of getting glue onto the pinning surface of the workbench. The result is seen in the bottom left picture.

FU-ST-4 & FU-ST-5 Cut & Glued 
Former 3 & 4 Sanded
Next I cut out formers 3 and 4 out of the 1⁄8” ply and sanded the exterior perimeter, except the curved (bottom) portion of FU3 as nothing will be gluing here. The idea behind sanding (to my knowledge) is to remove the laser burn and create a surface for the glue to more easily stick… also removes the rough jut outs from where I cut the tabs holding the pieces into the main ply sheets.
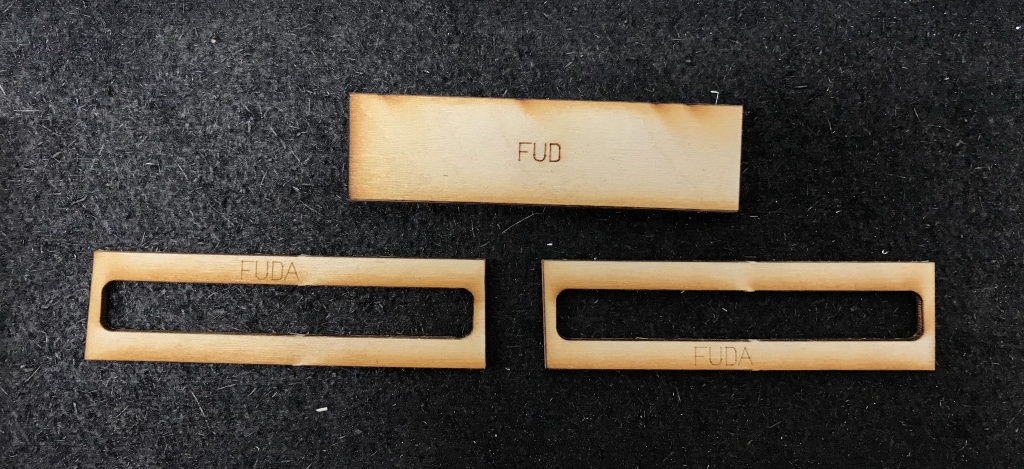
Lastly I cut out the two FUDA’s and removed the plastic wrap around a bundle of pieces to get FUD. The two FUDA’s are going to get glued together and then glued to FUD. Looking ahead in the instructions these pieces when inserted into the bottom of the fuselage between formers 2 & 3 are going to make up the mounting point for the landing gear, as the wires will be recessed inside… stay tuned for when I get there (Step 10)! You can see them sanded in the featured image both along the external perimeter as well on the internal perimater for the FUDA’s.
That concludes another building session… stay tuned as I plan to get steps 1 and 2 fully completed soon!