After yesterdays session you can really get a sense of what my aircraft will look like (without the wing anyways). I started my day with covering the hatch cover. I wanted to break up all the white on the fuselage and since Peter and I had the same idea for what color should be used I went with green. Before covering I had to make sure that there was clearing for the throttle linkage which involved sanding down the one side. Once that was done I covered the surface and folded over the edges like I have done previously. This also means that for the front it involved doing a bunch of small cuts to get the covering folded over the curved edge decently.
John came over to check things out and while he was there we bound my transmitter to the receiver. I haven’t installed that yet as John’s going to bring over some velcro for that task; however I know where it is going to go and already hot glued some tubing to the side of the fuselage to run the longer wire at a 90 degree angle to the other for reception. I set up a new model in my transmitter (named it 4Star60) and the various leads were hooked into the correct places on the receiver. We were not able to get the desired effect for the throttle after doing endpoint adjustments on the throttle control arm and in the transmitter itself so will have to look at that again. We were able to adjust the servos (mechanical adjustments) and the linkage near the control horn to get us satisfied with the movement of the rudder and elevator for this first crack at it. John had to go and then Peter and I hooked up the wing to test the ailerons. I had to reverse RAL so that when pushing the joystick left the plane would bank left (as was reversed originally).
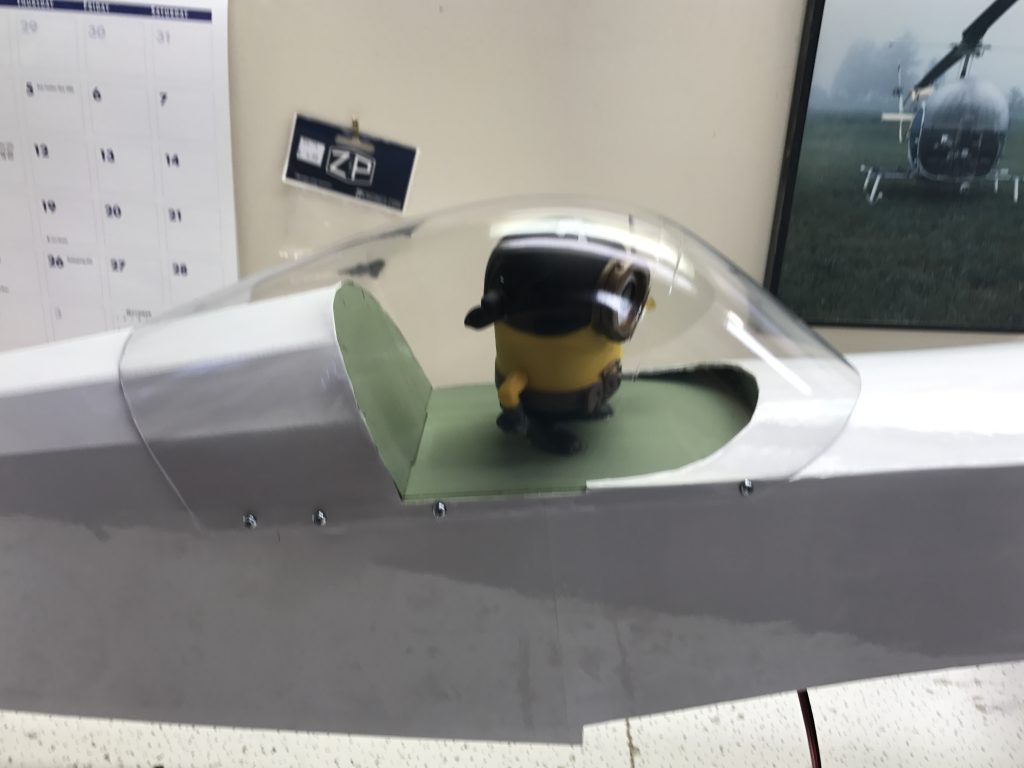
Getting back to the hatch cover I drilled the holes to attach the tanks hatch cover to the main fuselage. For this I did a hole near each corner. I’m still not sure if this will be enough or if I will have to do at least two (maybe 3) more. If so one would go about half way length wise (makes two) and the third would go in the middle along the lip (white side). After making the holes I applied two drops of thin CA into each hole and left it to dry/harden. You can see the tank hatch cover below:

I also installed the canopy which involved the following steps:
- Peter held the canopy in place
- Using the push drill I made four holes on each side (one near the front & one near the back)
- I then screwed in the four screws
- Determined needed more to hold into place
- Added two more (to get the canopy to sit flush) on each side
- Once happy with the fit, removed the canopy
- Added two drops of thin CA into each of the holes (this adds strength)
- Once set, placed the canopy again and installed all the screws (working both sides)
You can see the final product in the feature image at the top. The screws are placed approximately in the same places on the other side of the canopy. Or a front view in the image below.
Once that was done we took a look at the landing gear. I cut out the covering that was over the holes previously made for the landing gear block and also drilled out the four holes on the landing gear itself. For some reason, though they were measured out back in November, the one hole didn’t quite line up properly when installing the bolts. Will need to shave a little off to get the desired fit.

That wrapped up another session and as you can see from the picture above my aircraft is really coming together! I’m excited to see the plane all together (with wing) similarly to how I showed the aircraft together as a skeleton previously 🙂