Tuesday was on the shorter side (1.5hrs) but accomplished the two goals that were set out for the evening, cutting the canopy and securing the pilot in place.
The first task was to cut the canopy. This may sound like a simple task, but the thing to remember is that I only have one and if I screw up we have to order a new one. That said I took my time. It initially was curved such that it was flat with the ground all the way across and had an edge/lip all the way around. This would make it easier from a manufactures perspective as they just put it on the mold and walla! Every plane is a little different in how the top deck curves, etc. so this allows you to cut it to your aircraft. Peter mentioned some come with the canopy cut to size, but guessing there is more precision in the top deck and where it needs to sit?
I had John’s canopy to use as a guide to get me started, but even then if I’d of cut it exactly like his it wouldn’t have fit my aircraft. First I lined up the front ‘band’ you can sorta see in the pic with John’s and marked where the back of his canopy was with a pen that I could clean off. I then cut out the enclosed part of the back and worked my way towards the pen mark taking out chunks, or as John likes to say hack-choo. There was a process finding the right tool to cut the molded plastic as Peter had no suggestions and I don’t know what others use (please comment and let us know!). What I ended up finding worked best for me were metal cutters with the straight blades, not the funkily curved ones (sorry I’m no Tim the Tool Man Taylor 🙂 ).
I then worked the curve and cut as smooth a line I could around the back away from the marked line. At this point I started cutting it back little by little doing a bunch of trial fits after each go as there would have been no turning back after cutting to short on this one. I then focused on the front and took out a bigger section followed by cutting off the excess around the edges. Doing some more trial fits I cut the front back little by little. Eventually I got the fit I desired and could call it done!
")
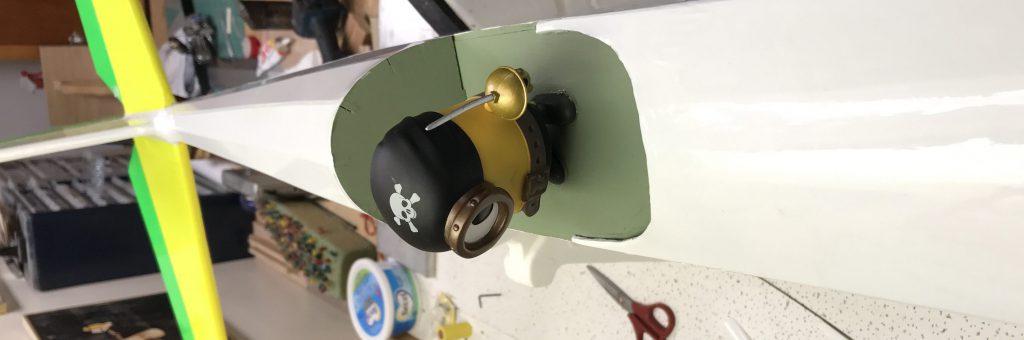
I then moved to installing my pilot, Carl Minion. The first step was to figure out if any modifications were required in order for him to fit under the canopy without anything touching. In order to accomplish that I found the right spot for him to reside after sanding off the soles of his boots with a belt sander. The steps to secure him were then as follows:
- Trace the outline of his boots with a pencil, so we know where he goes
- Determine where best to drill two holes to secure each foot, took me a second try for the one as came up against a former
- While I held Carl in place Peter marked from the bottom where the hole for his left boot lined up
- Used a drill to make a pilot hole
- Screwed his L foot into place, marked from the bottom where the hole lines up on his R foot
- Removed the minion
- Drilled a pilot hole into his right foot
- Tape around the outline to minimize glue oozing all over the “cockpit”
- Mixed up some glue, two thick beads (different kinds) stirred together
- Applied glue to the bottom of his boots
- Stuck him in place and screwed him in, L foot then R, while he was being held down snugly

At this point we were done for another evening! The canopy itself won’t be installed until everything else is done to keep it protected. Next time, aiming for Saturday, I need to bring my transmitter as we’ll be installing the receiver and hooking everything up so I can bind to my radio and get an initial configuration done to make sure everything is moving as it should.