Seeing everything coming together and how far I have come since day 1 when this project began has been really rewarding. I believe I have learned a lot throughout the process and still have so much to learn! It has been a lot of fun seeing the aircraft take shape.
I started the day by continuing where I left off with covering the front side of the fuselage. I had to continue with making the little cuts and folding over and along the front edge. I then folder wider pieces over the edge where the fuel tank is. Lastly to get the finished look below I cut off the excess that runs along the top deck.

Today the engine got installed. We all ready had the engine mounts in place and prepped. Using the appropriate screws and locking nuts I screwed the engine into place while Peter held the nut with a wrench. I also used a screwdriver to pry open the clamp for the throttle push rod and got it onto the linkage (right side looking at the picture below) so will be able to have throttle control. This also means that while placing the engine before bolting down need to make sure the wire is connected. I find the picture below really start showing the progress made on the plane! It also shows two glaring things that still need to be done, one is installing the canopy which I’m hoping to do Tuesday, and the other is covering and installing the hatch for the fuel tank.

From covering the fuselage holes for the high and low speed adjustments were hidden. I used a metal, hollow rod, not sure what the technical name for it is, that has its edges sharpened to punch through the covering (on both sides due to the wrap around) and expose the hole properly.


Since I was going through and opening up all the holes that were covered over the last one to do was to expose the ventilation hole into the fuselage front bottom piece. This allows better air circulation around the engine and to allow any fuel to drain out the bottom rather than collect.

Lastly for the day I installed the battery pack and checked out where the receiver is going to go. To protect the battery pack from vibrations and getting jostled around while in the air I enclosed it between sponges. First I cut out out part of the one sponge to allow the battery to sit down into the sponge as well as cutting a ‘trench’ for the wire to snake out. Next I put another sponge over top and held it all together with three elastics. This got pushed up under the tank floor as far back as I could get it (against the firewall). This is where the plans state to install it for the center of gravity. I then inserted sponges on the top and bottom of the enclosed battery to ensure it is snugged into place.

We looked at the receiver and how we plan to install it, need to make sure the antennas are at ninety degree angles to each other to help ensure coverage. Thinking the receiver will be secured (in a sponge again for vibration protection) to the pilots right fuselage side and then snaked up along the firewall and secured by a wood block that the wire will pass through… Peter is going to look at making that.
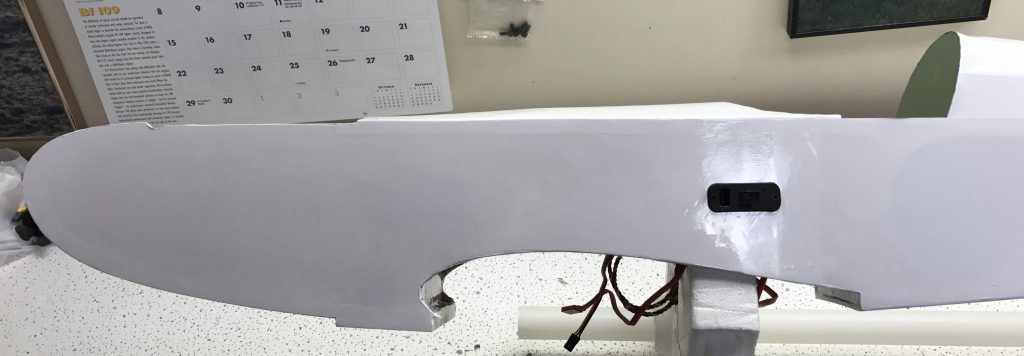
Speaking of which Peter kindly installed the hinges for the ailerons on the wing so now the wing is truly ready for testing! Oh this is so exciting… everything is coming together! 🙂
