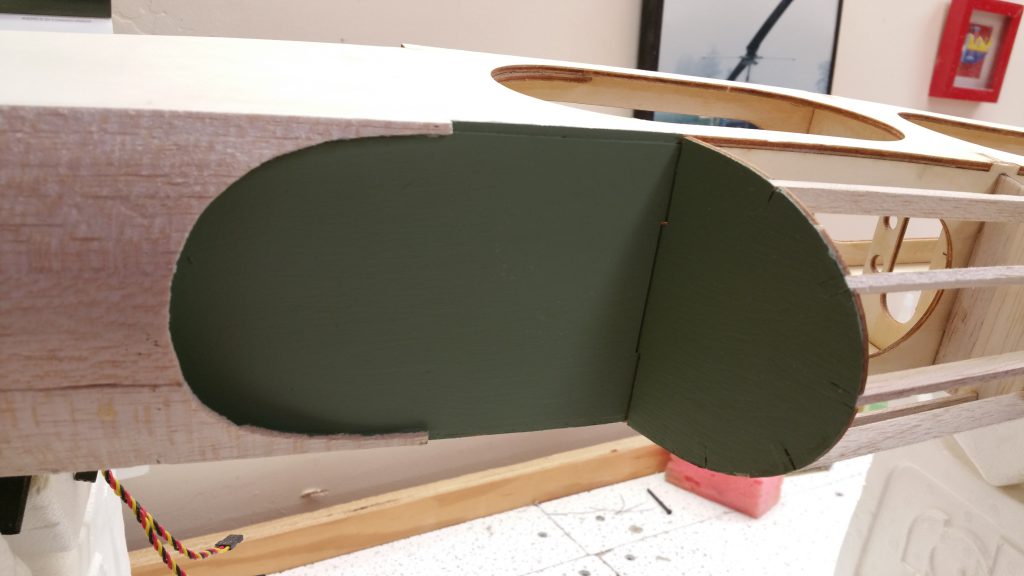
On Saturday I got to work on my plane again and made some more progress on covering and installation of the fuel tank. One of the discussion Peter & I had in a previous session was what I’d like to do with the cockpit, use covering or paint it. I decided to go with painting it as I felt under the heat of summer with no airflow under the canopy that covering would wrinkle and be a waste, so Peter stained the cockpit green, seen at the top.
I continued where I left off last session by completing the covering of the fin in white. I was able to utilize the knowledge I learned from John in my last session about covering. I was impressed with the result. I didn’t quite get it right the first time so had to switch around the covering and start again (as the glue along the one edge was no longer good after pulling up the heated covering). Throughout the process I had to make some incisions at the top and bottom to allow the covering to come around properly, which includes removing excess when I could.

I also started covering the side of the aircraft, working from back to front which ensures that the layers closer to the nose overlap the one closer to the tail. This prevents wind from, potentially, getting under the covering causing peeling. Once I got the side covered I needed to cut out the whole for the elevator push rod to come through (oval type slot in pic below). This followed the same principal from when I cut out the slot in the hatch cover, cutting a line down the center (length wise) of the opening. Then cutting on the diagonal towards the ‘corners’. This allows you to then fold the covering over and iron to the edge of the wood to ensure a better seal and help protect the wood. I then repeated the process on the other side of the fuselage.

One of the other tasks completed this day was attaching the rudder to the fin. For this I followed hinging 101. John was over and assisted with this part and the securing of the fuel tank. I need to remember not to apply to much jelly to the center of the hing because this could prevent the glue from wicking in, securing the hinge in place. We replaced one of them from where I was a little overzealous in my application. You then apply Thin CA to the hinge and work it down into the slot of both pieces (in this case on the fin and rudder). John wasn’t impressed with the thin CA we had so went and got his own, which was like water compared to ours and made me think so pulled a bit on the elevators to make sure they were actually secured properly. There was a little bit of a squeak on the elevator where one is a little to close, but not much I can do about that now.
One thing that we ran into when hinging is that I didn’t have the tail wheel wire recessed into the rudder well enough as the elbow was coming out pas the leading edge of the rudder preventing a flush fit, but still works.

The other task of the afternoon was securing the fuel tank in place. I had to decide how I wanted the hatch to fasten to the fuselage (magnets or screws). Due to the location, design of the aircraft, and advice I’m going with screws when the time comes. For now what was done was marking and drilling wholes for a zip tie. I then worked the zip tie such that it fed into the one whole, underneath the tank floor, up through the other, and then fastened around the tank to whole it in place. Next cut some foam to pack around the sides and front of the tank to help secure the tank in place against engine vibrations and flight maneuvers.

I was also informed that instead of using a clunk in the tank like on my LT40 a copper wire was installed which helps prevent issues of the fuel line folding back on itself cutting fuel to the engine. Speaking of my LT40 I need to remember to bring my trainer over to Peters next weekend building session as have a new nose gear to install.