Tuesday was an excellent covering session and nice to get in back to back days working on my plane. Covering is definitely a time consuming task and the tail with all its intricacies took a lot of concentration and patience. Throughout the process I learned how to do things better, namely so that I do not get the wrinkles when rounding corners causing a jagged/rough looking edge with wrinkles in the fabric.
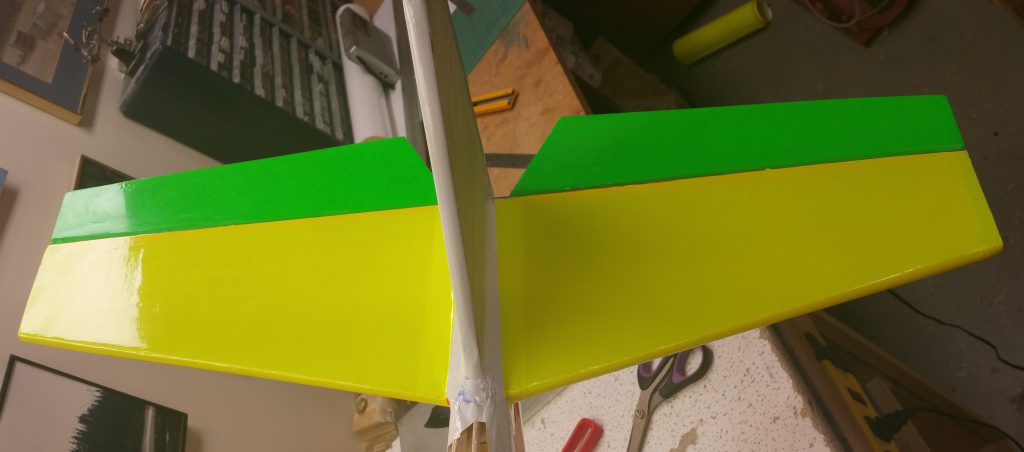
I started with covering the bottom of the stabilizer in orange and the top yellow to match the colour scheme of the wing (picture below and above, respectively). Measuring the surface at its widest point and longest point to cut a piece at those dimensions plus three inches to have play and room to grab. For each piece the process I went through was (see bottom of article for better approach):
- Woodpecker the surface
- Line the piece up at the fuselage
- Tack it down starting at the centre and working my way out
- Start up by the fuselage and apply heat from trailing edge to leading edge (width of iron)
- Repeat moving down the stabilizer
- Ensure all edges are fully ironed down
- Cut excess from trailing edge and tip
- Fold leading edge (as have excess) around the entire edge, pull tight & iron it down
- This is where the wrinkles really come in!
- Trim excess from trailing edge
- Doesn’t necessarily look pretty as the wrinkles cause the blade to catch preventing a clean line and instead you get a jagged rough line
- Do your best to iron out all them wrinkles

Next John demonstrated his technique for Peter & I (even Peter is learning something new throughout our time together) by doing one side of the fin, which I’m doing in white to match the fuselage. The finished product is shown below.

The methodology John uses to round the edges without running into the issues I was having, wrinkling and jagged edges from the cut is as follows (referencing image below):
- Create a template of what you’re covering (in my case we measured)
- Cut out the covering on the table so no trimming required once applied
- Secure aircraft so surface being covered is flat
- Woodpecker surface
- Line straight edge of covering with straight edge on surface (ex. top of stab along fuselage or trailing edge of fin preventing extra cut)
- In center of edge tack with iron (1)
- Pull tight along center of surface and tack again (2)
- Pull tight and tack at (3) followed by (4)
- Start ironing at (1) from tailing to leading edge
- Iron piece around the curve
- Work your way down towards (2), making the pattern trailing edge to leading edge, around curve, move towards (2), repeat
The tacking such that the covering is tight and flat on the surface aids in preventing wrinkles.

One thing worth mentioning is that in the case of the fin want to make sure you have some excess near the bottom to wrap around further on the bottom of the leading edge. Their may still be a gap near the bottom but when we get to covering the fuselage you’ll see how I handle that as I was also need to cut off some extra first so there’s no bulk.