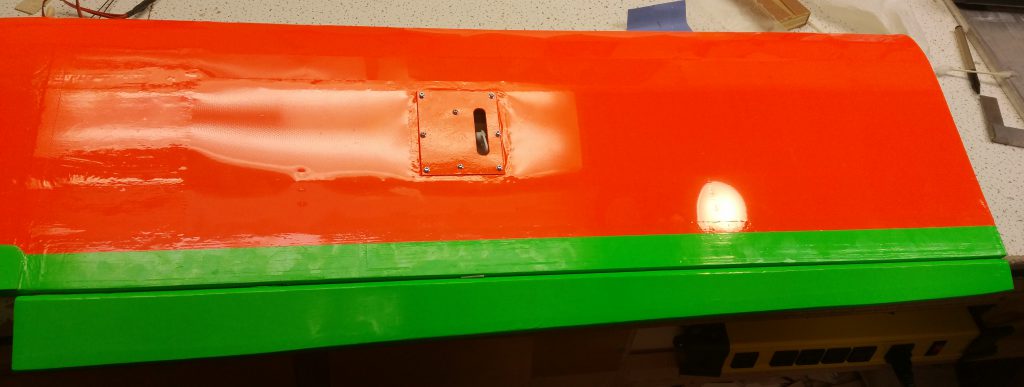
Saturday I got over to Peter’s for another building session. We started by going over what Peter had done. In order to not ‘waste’ my time on some of the easy but tedious stuff Peter will do some of it for me when he has a chance so that those things don’t hold us up in the project. He then goes over how he did it so that I still gain some exposure to the task.
One of those things was attaching the hatch covers to the bottom of the wing, seen at the top and bottom of this post, and the other was running the leads from the servos out the two wholes in the top of the wing. He used the previously run string to pull the wires through, since covering is now applied. By tying the string around one end of the wire (ensuring you go along the connector and between two of the wires so the string doesn’t slip off while being pulled). You then slowly pull the string through, working the string and lead back and forth if it catches, until you are up and through the hole. Repeat for the other servo.
You can then connect the leads to a receiver to test the servos with your transmitter.

Hinging 101
Hinges are used to connect control surfaces (i.e. ailerons, rudder, elevator) to a main part of the aircraft (i.e wing, fin, stabilizer). How I learned to do this is as follows and I will be using the context of installing the ailerons.
First I use a motorized hinge slotting tool (i.e. Great Planes Slot Machine, Fig. 1) to make the hinge slots into the trailing edge of the plane and ailerons. This was done, and matched up, prior to covering. Then once covered you can use the back of a scalpel to gently poke around about where the hinge slots should be. Once you’ve poked through and found the slot you cut along its length exposing the slot.
Next a tiny whole was drilled into the hinge slot which allows for the thin CA glue to easily wick inside and around the hinge aiding in a stronger joint.
Thirdly, you gather the amount of hinges you require and then measure and mark the middle of the hinge, Fig. 4. This provides a guide for when you are putting the hinges into the hinge slots along the trailing edge ensuring you are in half way up the hinge. I then use one hing to ensure all the slots are cut appropriately. If I find one that is not I use the slotting tool (or scalpel), Fig 2, to touch up the hinge slots until you are able to get the hinge to fit properly.
Once you’ve verified the hinge will fit into each slot I apply white petroleum jelly, Fig. 5, along the middle line of the hinge that was marked, Fig. 6 & 7. The jelly prevents the glue from getting onto and seeping into the hinge along where it bends/flexes which will cause the hing to break in flight. This is also the tiny bit of the hinge that is not encased in wood. You need to ensure that you apply jelly to both sides of the hinge.
With the hinges prepped I first installed them into the trailing edge of the wing, Fig. 8. I did this one panel at a time, using both hands to ‘rock’ the hinge back and forth as you want it to be fairly snug in the slot. Once in I worked the aileron onto the hing, ensuring each one is started before wiggling any of the hinges in further. I start at one end of the aileron and worked my way back, repeating, until the aileron was fully on all hinges.
Lastly once the aileron is on you apply a line of Thin CA glue across the hinge and work the aileron up and down, tilting the wing, to ensure that the glue seeps into the hinge slots adhering the hinge to the inside surfaces. You do this for each hinge, taking about 30 seconds to work the aileron while the glue dries before moving onto the next hinge. Take care not to get any glue onto the covering, so wipe any excess, as touching will leave finger prints.
 |  |
 |  |
 |  |
 |  |
Wrap Up
To end the day I touched up the tail to prepare for covering. There was a tiny gap on each side of the fin trailing edge, between the sheeting and the fuselage, so I cut some balsa to act as the fin spacers which I glued into place. You can see the clamp holding them in place while the glue dries.

