Saturday was the first building session of the new year after Christmas holidays. John stopped by and showed me more about covering. He also brought his woodpecker over which is a device used for making tiny wholes in the surface when you are covering. In my case I used it when covering the wood sheeting where the wings connect. You can also use it when putting covering over top of covering.
The idea behind the woodpecker is that the tiny wholes it makes allows for air to escape instead of getting trapped between the covering you are applying and the surface you are covering which would create air bubbles and creases that can be a royal pain to get out.
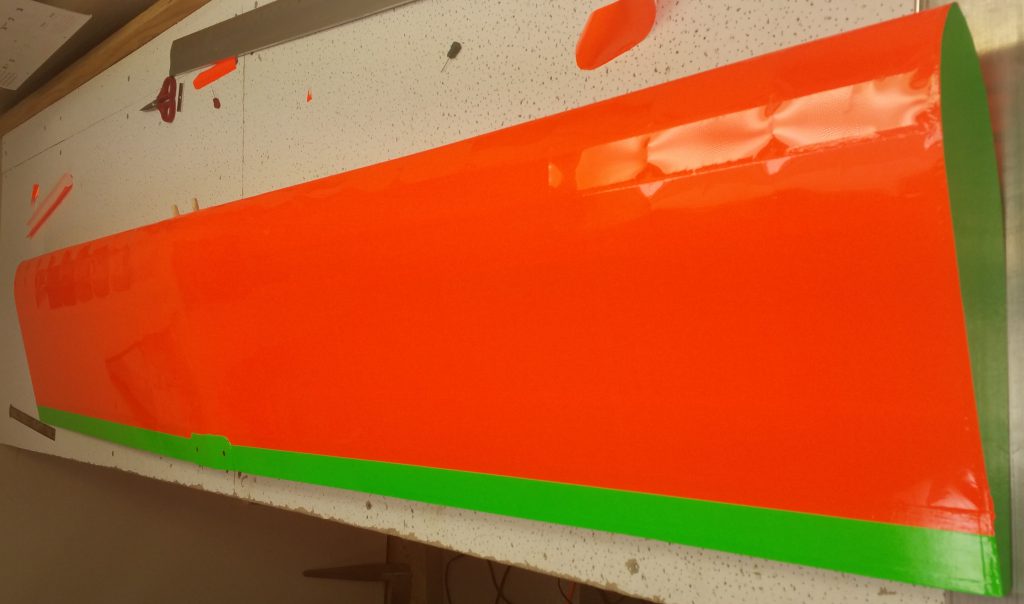
This session I covered the entire bottom of the wing using safety orange. Peter and John weren’t kidding when they stated that covering takes a long time in order to do it right and get a decent look. One definitely needs to strike a balance between perfect and good enough or else you’ll never get done! Lol.
With covering the bottom (and eventually I will do similar for the top) of the wing I did it in 3 pieces. The left wing, right wing and centre piece. Once measured and cut I started by pinning into place and ironing down parts of the edges to adhere some of the covering initially. I then worked on ironing the rest of the perimeter starting in the middle and working my way to the outside alternating between the top edge and the bottom edge. The bottom or trailing edge piece overlaps the green I did for the trailing edge and you need to make sure not to overheat it or else you risk the underlying covering (green) coming off.
Once I got the edges done (as well as what overlaps onto the centre sheeting) you use a ‘special’ blow dryer to heat up the covering. You need to ensure you keep the blow dryer at a safe distance from the covering (approx. 3″ I believe) and constantly moving or else you risk burning a whole through the covering. Then you need to start all over again.
Felt good to be back working on the plane and I’m looking forward to tonight’s session as well.

Good stuff
Great to see guys building. Keeps the hobby fresh!
Thanks Marc!
I was uncertain about the building aspect of the hobby at first; however, I’ve discovered I enjoy building and seeing the aircraft take shape, based on my efforts, from pieces of wood.
Hi Devin,
Great Blog. got also this kit same just scary to start im a long time flyer but 1st time to build kit hope i can use this one if lost in the plan very detailed one keep it more to come to build.
Was a great kit for my first build. I highly recommend working with someone from your club who is experienced so that they can teach you tricks along the way!
I did my best to capture what I could in my posts but I know I didn’t capture everything! 😊