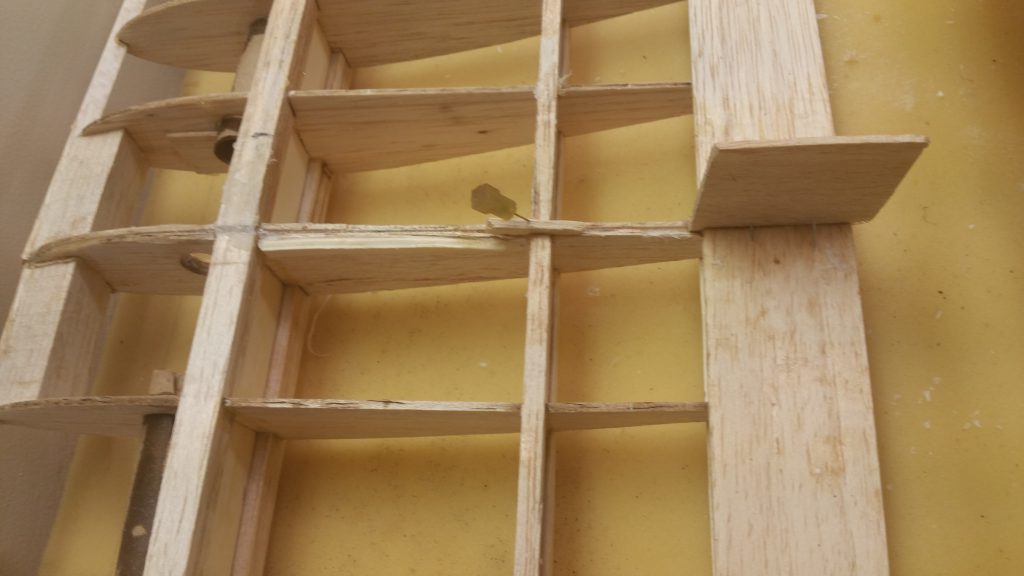
Had a productive 2hr building session at Peters today. Started with a trial fit of the push rods for controlling the elevator and rudder of the plane. Needed to sand the one opening (making sure it’s not the side of the plane being sanded) in order to get the rod to fit.

We also continued working on the wing. Since the glue was dried from the last session and now the left and right wings are joined. I removed any excess glue that I could including sanding the glue away from along where the main spars from both wings meet to ensure a smoother finish when it comes time to cover. Since it’s not a perfectly flush match I used scrap wood to fill the gaps, specifically for the little gap between the rear spars and the trailing edge.
The trailing edge took a little more tweaking due to a clump of glue I had to compensate for by cutting out a section in the filling piece of wood. You can see another angle of the shims in the top, featured, photo.

Below you can see the servos I assembled and screwed into the servo tray. Afterwords I glued the servo tray into the slot in the doubler of the fuselage. In order to know where it needed to be for balancing we visited John to see where his was and determined its 2.5 inches from the front. He uses the same engine.
The fuselage is upside down and front to the right. Since I’m using a 4 stroke engine (Saito 100) the servo for controlling the throttle is on the left side of the plane, pilots perspective or bottom servo in the picture. The others are for the rudder and elevator, don’t have the plans on me so not sure which is which at the moment.

That concluded another fun building session and love seeing the progress we’re making!

