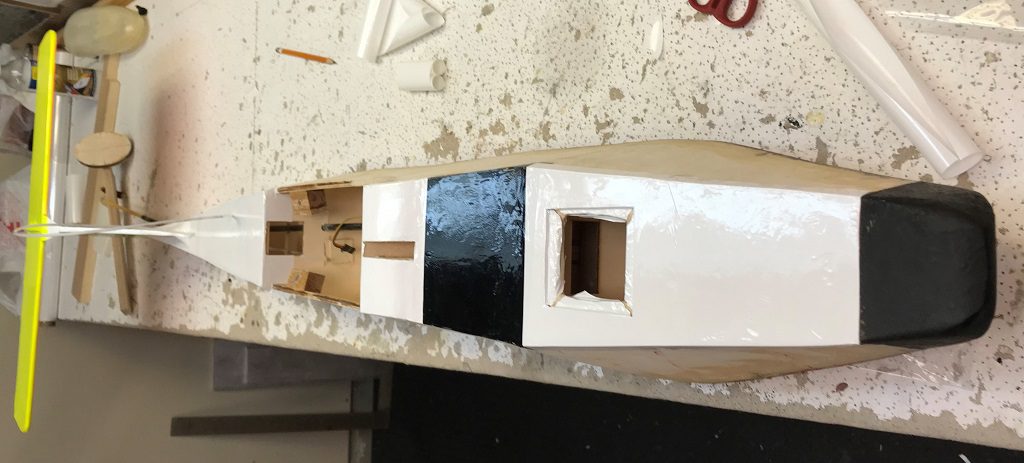
On February 26th the theme was black. I installed the ‘windshield’ and by that I mean I ironed on a piece of black covering trimmed to be flush with the side edges.
Afterwords I painted the nose of the fuselage, which is a solid balsa block I sanded into shape, matte black. You can see the result of these two things in the featured image above.
March 3rd was about covering the sides of the aircraft from the tail to the front of the ‘windshield’. The reason you start at the tail and work your way to the front is that each piece covers about a quarter inch of the previous piece. This allows the wind to flow over the covering, if you were to do it the other way the wind would slowly works its way under the edge of the covering pulling it back, undoing your hard work!


Just like my previous build I’m doing the fuselage white. I’ve basically settled on a color scheme that I like for my aircraft’s, which is:
- Green for the control surfaces
- Yellow for the top of the wing and stab
- Orange for the bottom of the wing and stab
- White for the fuselage
The only deviation from this I foresee in the future would be for scale builds where I want to keep the colors (exterior of the plane) modeled after the real deal. 🙂