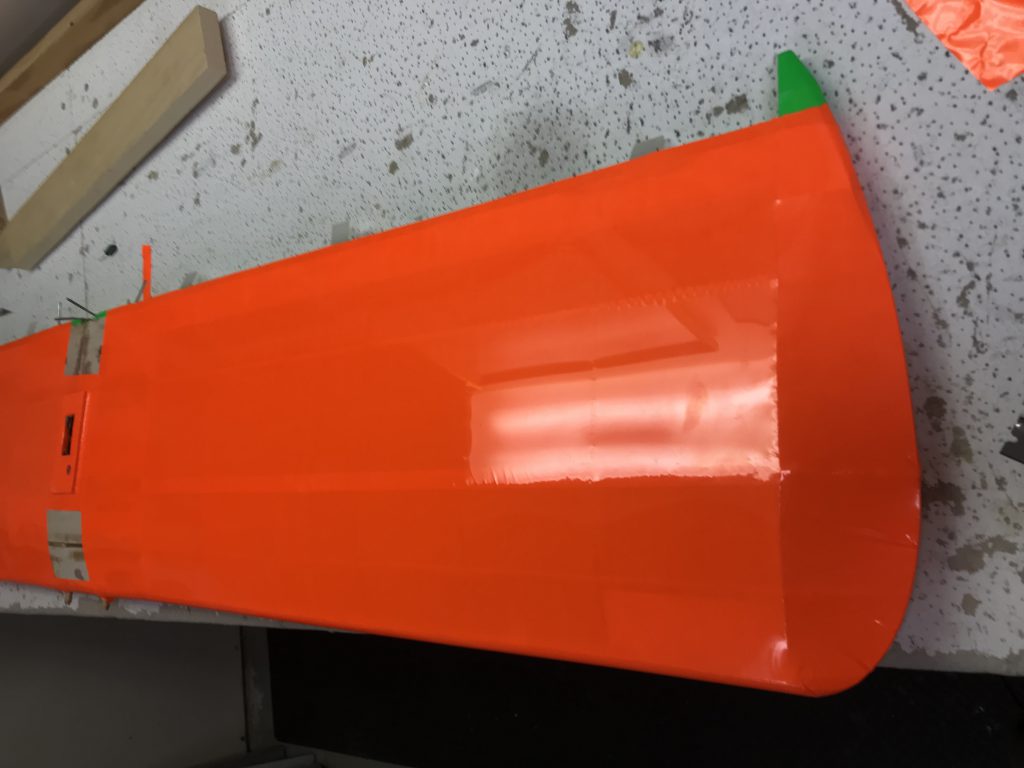
On Oct. 27th I continued work on the wing and it took me 2 hrs to get the covering of one panel done, seen below and I completed the other half on the 28th seen in the image above.

The first steps are to get the piece of covering sealed all around the edges. This includes rolled around the leading edge a bit to prevent wind from getting underneath and pulling it back along with tacking it along the trailing edge and to the center sheeting. This wing provides an additional challenge due to the wing tip design.
When cutting I need to ensure I had a good additional 5 inches past the outer edge to both hold as well as to fold over the wing tip. After tacking the covering to the outer rib it was pulled around the edge of the wing tip and cuts were made to allow the covering to fold around the edge with the least amount of wrinkling and ironed to the edge. The folded pieces were ironed to the other side of the wing tip, seen below, to provide additional strength for the covering in hopes it will not peel off in the wind!

Once that was done it was time for the heat gun. Started by shrinking some of the covering in the open space of the wing tip (between outer rib and the ‘fold over’. I then worked my way around the main wing panel ensuring the heat gun is always pointed toward the center of the wing panel as I work my way around. This is because you do not want to hit the holding edges with direct heat causing the covering to let go as then you’ll have problems and need to start over.
Essentially at this point I keep working my way around and around, ensuring I do not stay in any one place to long at the risk of burning a hole through the covering. I keep checking from various angles so I can see where there are ripples/slack in the covering that still needs to be shrunk with the heat gun. This process was repeated on Nov. 4th to do the bottom wing panel on the other side.
