Yesterday started with seeing what Peter had down, which was installed the hinges for the ailerons onto the trailing edge of the wing. This involved making a two toothpick sized wholes per hinge as well as drilling a hole for the toothpick into the hinge itself. Then the hinges were glued inside the slot with the toothpicks pushed through the pre-drilled holes. This was done to provide greater strength to the hinges to help prevent them from disengaging from the trailing edge of the wing during flight. Upon my arrival to complete the process I cut off the excess toothpick ends and then sanded the ends to be flush with the trailing edge sheet.

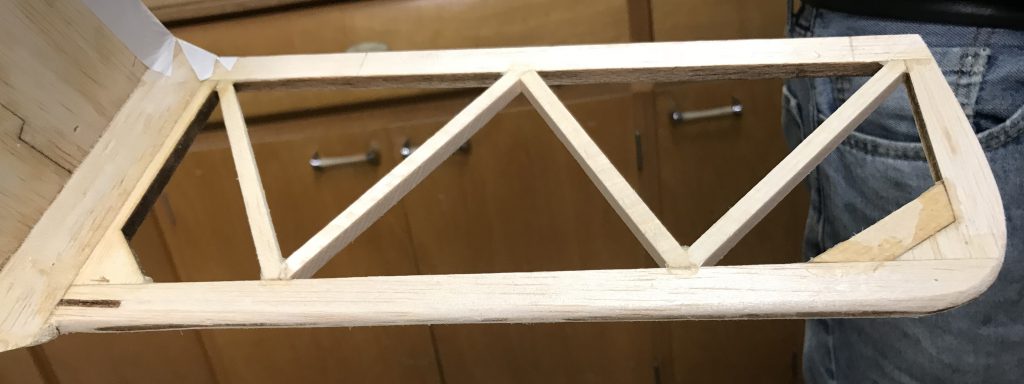
This day involved the most sanding I’ve done in a while as I touched up spots on the fuselage in the fin areas and then in rounding the leading edge of the stabilizer, seen in the image at the top of the post.
The fuselage of my aircraft is going to be white, like on my previous build. Essentially I am trying to standardise my colour scheme so no matter which aircraft I am flying top and bottom colours will be the same (exception to this may be when I get into real world models, i.e. Thunderbolt or P51 Mustang, and want to be true to the aircraft. That is why, seen below, I did the trailing edge of the fin in white and then slit the covering where it covers the 3 hinge slots. For simplicity due to the stab/tail design I ran the white right up and over the top. This pieces still requires some touch up before proceeding with covering the tail end.


