It is bitter sweet, though it was great to get back working on my plane last night it also means the end of another flying season. Granted there wasn’t much of a flying season for me, as had more important things to do… namely becoming a father for the first time.
The session started with re-orientating ourselves to the project. Peter was over (wearing a mask) to assist. The wing was still on the workbench from the last session in June, gluing on the leading edge.
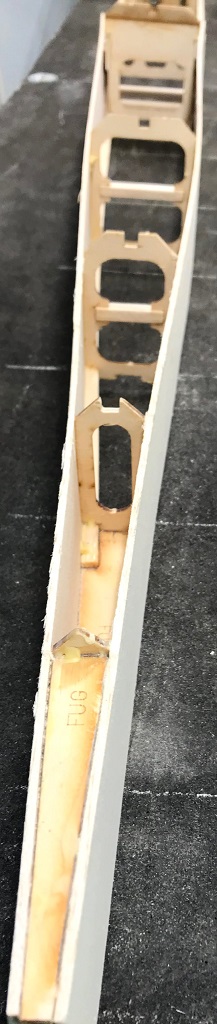
This session was around polishing up the fuselage to get it ready for gluing on the tail, specifically the horizontal stabilizer, which should be happening in the next session.
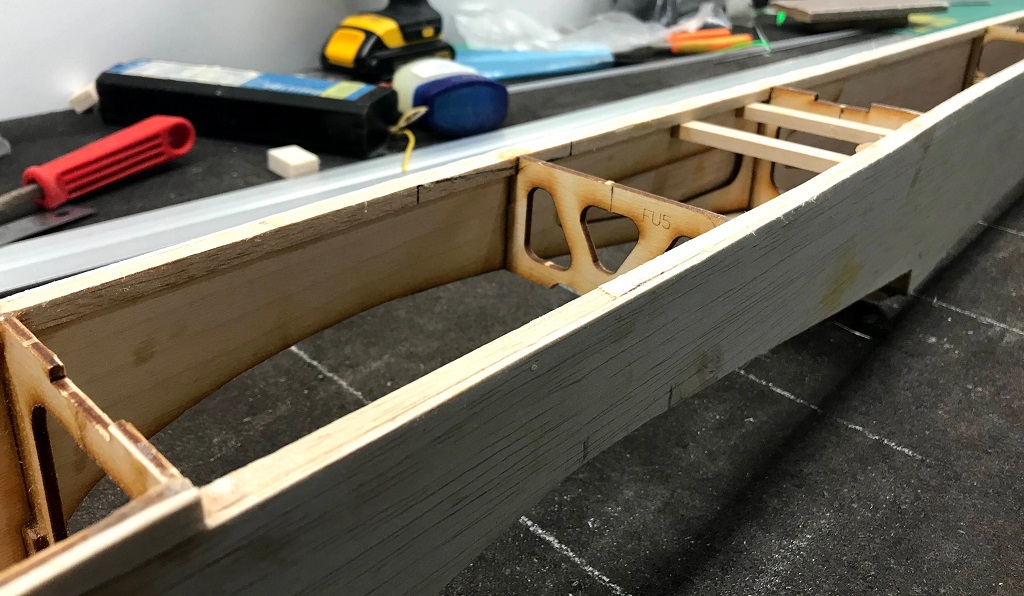
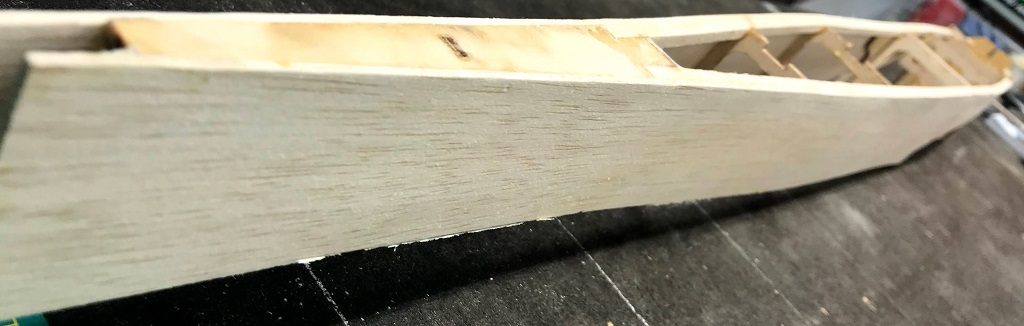
Since the sides of the fuselage were oversized used a ruler to draw a line along the corner of the formers, bottom of the aircraft, from back to front. Using this as a guide sanded down the excess until the bottom edge of the sides were flush with the corner of the former. The end result can be seen in the two images below. One from the tail perspective (right) and one from the front up by where the wing gets slotted in. The sides in the front were sanded down to be flush with where FU6B connects with former FU6 (seen in Step 6). We sanded and redrew the line a couple times to help ensure a smooth slope, checking with a ruler to discover humps or dips as we went.
Fuselage Sides Bottom Sanded (Front View)
Fuselage Sides Bottom Sanded (Back View)
Click images for bigger view
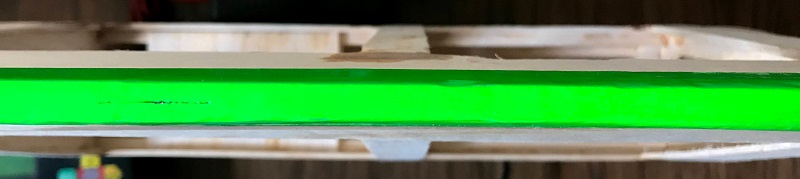
Next, I sanded excess glue clumps from the top of the fuselage to ensure a smooth finish, as sheeting will eventually be curing around formers to be placed on top and come down to the sides (I believe, stay tunned!). Especially at the tail end, seen in the featured image, as want a smooth no glue residue surface for the horizontal stab to adhere to.
Did some work on the wing as well, which involved checking for rough spots and smoothing out the transition from the leading edge to the the main wing. This had the side effect of removing any excess wood glue. Lastly found the hinge slot locations on the trailing edge of the wing (using the ailerons as guides) and cut the covering exposing the slots.
Fuselage Sides Top Sanded (Front View)
Wing Aileron Hinge Slots Opened
This session involved a lot of sanding, which means I’m back to getting my dose of sawdust!