Thursday, I got my hands on the hinging tool again, and this time it worked!
Started by verifying the hinge locations and making clear center marking on both the wing and ailerons… verifying we were using the correct aileron for the side we were working with. Once that was done used a centering tool to mark the center line on the trailing edge around the hinges and along the length of the ailerons.
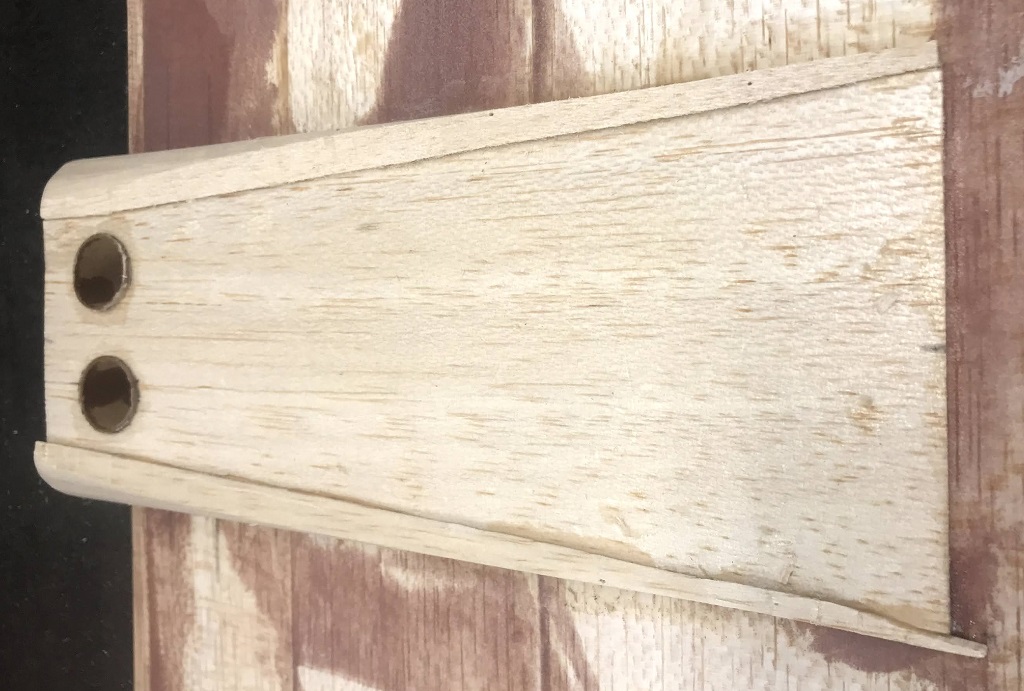
I then made the hinges on the wing, doing my best to keep the tool square and in place. There were a couple places where I hit hard wood that made the tool track a bit. Once the 10 hinge locations were done on the wing moved on to the ailerons. For this I used my vise with wood to keep them firm in place while I drilled, moving the aileron as I proceeded through the hinge locations.
You can see some hing locations on the wing in the top image below. The one below that you can see a repair job, where I applied a little to much preasure breaking out a piece of the leading edge. You can see the repair job in the bottom image below. Oversized it so do not need to worry about adding an additional block for the backing of the hinge, like the others, and notced it with an additional piece for better support with the existing structure. Used medium CA to glue everything in place. Will need to use some filler, I think, before making this hinge location again.

Aileron Hinge Slots Made 
Aileron Hinge Location Repair
The last thing done today was using a planer to bring down the excess W-ST-2 to start working it towards flush with the W-ST-6 piece of the WC assembly.

