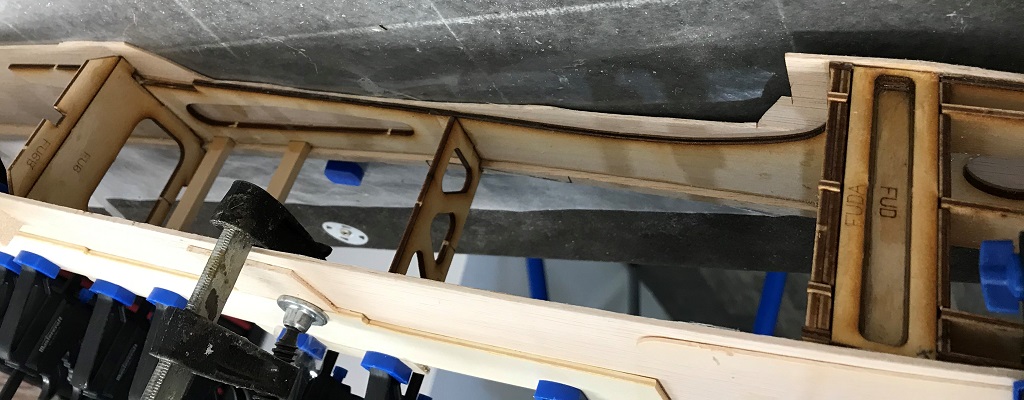
Today Peter and I made more progress on the sides of the aircraft. The day started by removing all the clamps from the previous session and seeing how well everything stuck. Overall we were very impressed with how the wood working glue held everything together. Using this glue is new to us. We then trimmed as much of the excess we could, starting with my utility knife from front to back. Then to get a little closer switched to using an exacto knife to shave off some more in the curve for the wing (seen in the featured image)… once we get the other side done will sand to get the final finish.
Worth noting is that there were a few spots near the edges where the sheeting didn’t stick down so we used a good portion of medium CA in those spots, clamped it down and in one case sprayed accelerate on it. This didn’t take long to dry and then we were able to move right along.
Moving on to the other side we cleared all the excess away and flipped over the fuselage. We sanded any glue gobs and lined up the FU-SH-2 piece of balsa, which is 51 inches in length of 3⁄32” x 4″ balsa (as before) to see how it fit with the sheet flush to the back of the fuselage. At this point we basically repeated the exact same steps as before to get everything situated.
One thing we did do differently is apply the wood working glue a lot more liberally, as we thought we didn’t apply it thick enough last time. Also faster, as we were wondering if it dried a little to quickly on us.
Once the big piece was glued and clamped in place I cut a piece for the front, a little oversized, and we glued that piece in place and used a weight to keep it down. You can see how we left things in the two pictures below.
That wrapped up another building session as we were unable to progress. Next time will be cutting and sanding the two sides down to shape. Perhaps applying some touch up pieces as well.
Tomorrow morning I need to remove all the clamps and before the next session I need to give the work bench a good clean.


