It was great to get back working on my aircraft after a 16 day hiatus due to being away for birthday weekends amongst other things. Though I wasn’t able to make it Peter did tinker a bit as he got the engine mounted, fuel tank set up and the throttle connections hooked up. I forgot to take some pictures of that.
After checking things out and refreshing myself with the project I got to work with measuring out where a hole needed to be placed in the fuselage doubler that lines up with the high speed adjustment on the engine. Once I determined where the hole needed to be I drilled a small hole first to ensure I wasn’t to far off and then used a bigger drill bit to open up the hole more. Testing with the same type of wire that will eventually be attached in place the hole alignment sufficed for now. This will allow us to find the hole after covering the fuselage and not have to mark up the fresh covering we put on to measure it out. At some point once the wire is attached we’ll run the engine to make sure the hole is positioned well enough such that the wire can move freely within the hole with the engine vibrations.

John stopped by for a visit to watch me work, lol. He seems to quite enjoy this; however, I do to as tend to pick up some tidbits along the way 🙂 . We need to remember to create another hole for a wire to adjust the low speed.
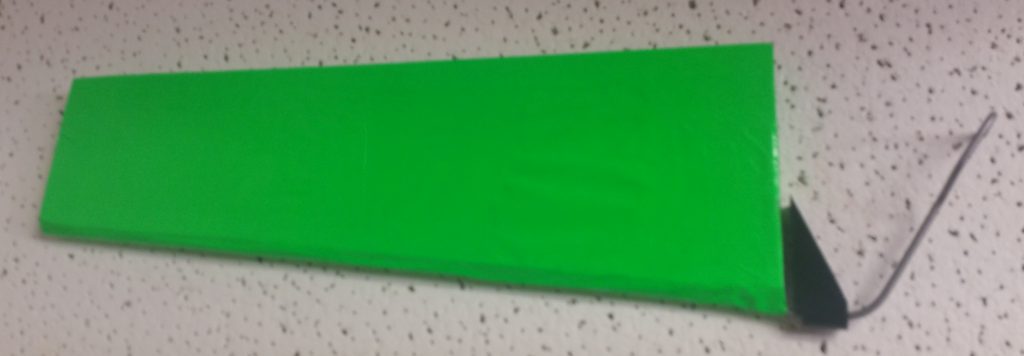
The other task for the evening, which took the majority of the approximately 2 hrs I was there is covering the rudder, seen in the featured image above. This started with covering the top and bottom edges followed by the trailing edge. These pieces took quite a bit of time to get done, especially along the bottom where the tail wheel wire and mount (rubber piece) are. To cover the remainder I used one solid piece that I sealed to the leading edge and then folded over to cover both sides of the rudder and ironed down all of the surfaces and will need to go back and finish up with the blow drier to tighten up the covering over the exposed holes in the rudder.
I probably could have just summed that up to be that covering the rudder in general due to its intricacies was awkward and required a fair bit of concentration and patience 🙂