Had a great building session with Peter last night making further progress on the wing and started the covering process.
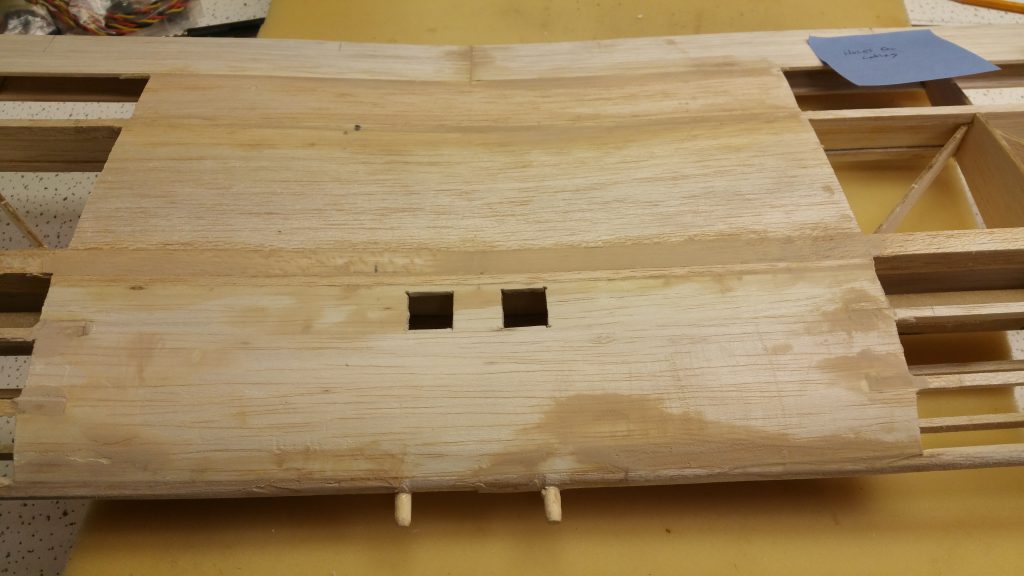
In the picture above you can see how Peter cleaned up the sheeting so everything looks nice and smooth giving a better/easier finish. When gluing the fillers he mixed a special substance in with the glue that makes the glue easier to sand . I then marked and cut out the two wholes you see. This is where the wires for the servos in the wing come up through, connect to a y-harness and then connect that to the receiver; which, will be contained within the fuselage.
Once that was done we flipped the wing. Priot to sheeting the bottom we ran a piece of string through the tubes from the servo box up through the whole to allow us to run the wires when the time comes. Then going through a similar process as when we sheeted the top I measured out and sanded the two pieces you see pinned in the pic below. Once I got the desired fit I glued them into place.

Here’s where we did something a little different. You’ll notice the leading edge piece that needs to be shaped isn’t installed. Due to the fight we had with it last time we decided to soak it in warm water and then mould the piece around the wing at the end, held in place with elastics near the ribs for support, and let it dry so that the sheet is closely formed to what is required upon install. Once the sheet dries we should be able to more accurately figure out where the slots need to be cut and glue it into place with, hopefully, greater ease.

To end the day I learned the basics of covering. When covering surfaces (i.e. elevators & stabilizer seen below) it is best to do all the edges first and then take a break. The theory being you are taking the same actions with the iron in all cases instead of switching between edges and sheeting the main surface, which will come next.
I decided to do my control surfaces (minus rudder) in green so you can see the edges of my elevators completed. When covering you need to heat it up in the centre first and then work your way out to ensure you don’t get any bubbles. Then when going over the edge ensure you start flat on the top, roll over until the iron is flat on the side and then pull down. When rounding at the corners need to cut the covering in a straight line along the angle(s) to the ‘curve’ / change in direction of the wood surface.
I also did the back edge of the stabilizer, which in my design is orange.


In the picture below you can already start to see what the final look is going to be like with the contrast between the orange stabilizer and green elevator. This will be most noticeable on the ground as in the air green turns to black.
