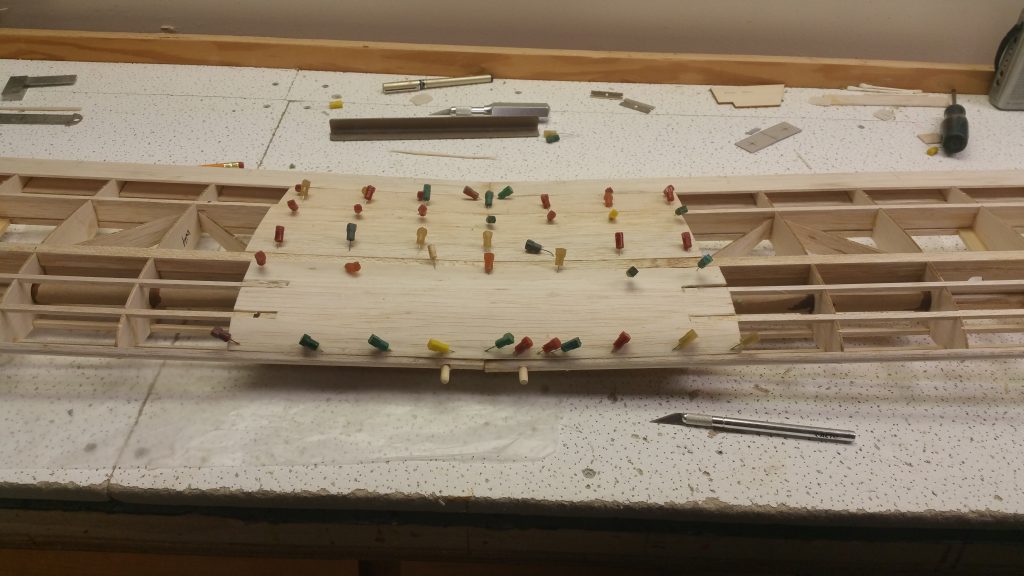
Yesterday was a bitter sweet two hour building session at Peters. It started with gathering the sheeting for the wing and determining which pieces for which section. I then measured where they have to go and determined I needed to cut them in 14.5″ sections to give a little overlap on each end for potential corrections; which, as it turned out, I definitely needed!
The type of wood used for each section was a little different with the pieces being used for the trailing edge that required the most forming to be softer wood than that of the other sections. We started with the leading edge, softer piece as this is the most tricky since you have to cut slots into the trailing edge sheets. We tried to figure out where they had to go and cut them prior to wetting the wood and then forming it into place. This lead to our measurements being off and thus have a wider gap then I should of that will need to be filled along with where the leading edges meet they are not perfectly aligned causing a gap that will need to be filled. Also the sheet ended up being to long, once wet, and so we had to ‘hack it’ to get it to lay properly. Peter said he’ll clean that up once things dry. We now know for the other, bottom, side we need to wet the wood prior to measuring and cutting anything! You can see this along with where the dowels were glued into place in the picture at the top. The dowels went into the wholes I previously drilled with the ‘rig’ and slip into two wholes in the fuselage when placing the wing on.

Lastly for the day we molded the top deck. In order to do this we used elastics to hold the laser cut balsa top deck in place. Prior to putting it on Peter ran warm water over the surface of the top deck, under a sink, to make it easier to bend into shape and to prevent it from cracking. Once that was done we slid the elastics, essentially one per former, over the fuselage and then worked the deck underneath until we had it all the way on.
Unfortunately throughout this process we broke one of the T’s and will have to glue back in place before attaching the deck.
That concluded another building session that wasn’t without it’s issues. One comical moment that sticks out to me is how one of Peter’s favorite sayings is “That’s not a problem”, in that we can find a fix for it, but this time when a piece for the sheeting was over sanded he let out a “That’s a problem”, and we had to start that piece over again! Struck me funny, lol.