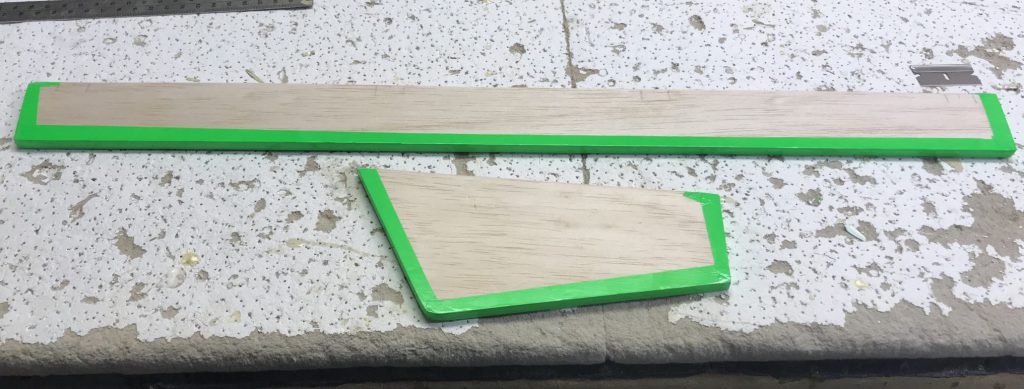
On Nov. 27th I started the process of covering the elevator and rudder for my Seamaster. This day consisted of covering the ends and trailing edges of the two control surfaces. This is done first in order to ensure the edges are properly covered and ensure there is no exposed balsa in the end.
In the next session on Dec. 5th I finished covering by cutting two rectangular pieces, one big enough to wrap around the elevator and the other around the rudder. The key here is to make sure it is big enough to cover the widest/longest part (the leading edge in this case) with enough to wrap around the surfaces beyond the trailing edge.
The covering process is similar for both. Starting with wrapping the covering around with the leading edge aligned somewhere in the middle you tack/iron down the covering to the leading edge.
Next you pick a side and iron the covering around the leading edge and to the side of the control surface making sure to work your way from the centre out to the three remaining edges. When ironing at the edges make sure it’s securily ironed at the edge itself and be careful not to have the excess covering touch (cut excess as you see fit). Once done the one side you can trim the excess covering along the edges before proceeding.
Next, flip the elevator or rudder over and repeat on the other side. Starting with rolling the iron over the leading edge and continuing to iron the covering to the other side of the surface starting at the centre of the leading edge out into the middle of the side and working your way out to the three remaining edges. Then trim excess covering. This process left me with covered control surfaces.
