January 22nd involved a lot more fiber-glass and wet-sanding so thought I’d provide the gist of the process, which is as follows:
- Make templates of areas to be fiber-glassed (I used cereal box cardboard)
- Measure and cut the fiber-glass to size, approx. piece per surface area
- Wear disposable clear plastic gloves
- Mix up epoxy
- Lay first piece of fiber-glass onto surface area ensuring equal coverage and as flat as possible (this tends to be tricky and this was with the assist of a second individual, Peter)
- Start in the center and brush the epoxy over the entire surface, from inside to the outer edges
- Use a plastic hand scraper to run over the surface to remove, “squeeze out”, excess glue
- Leave to dry
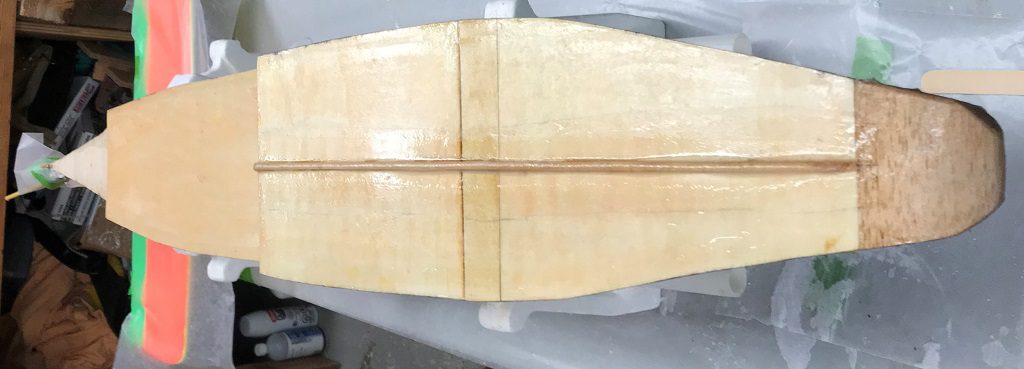
You can see the bottom finished at the top of this post and the front and nose fiberglass below left. Below right is the completed sanding of the fiber-glass previously applied to the floats.

Nose Fiber-Glass Applied 
Floats Fiber-glass Sanded
The last piece to this process is the wet sandpaper used for the wet sanding, also eluded to this product earlier.
