Yesterday Peter & I worked on the tail again. We are using carpenters glue, as another member of the club (Marc) mentioned how he has been using it and carpenters glue has been working well for him.
We glued all the pieces of the two elevators together using the carpenters glue. As previously mentioned due to some loose fitting pieces filler was utilized to’fill’ the gaps.
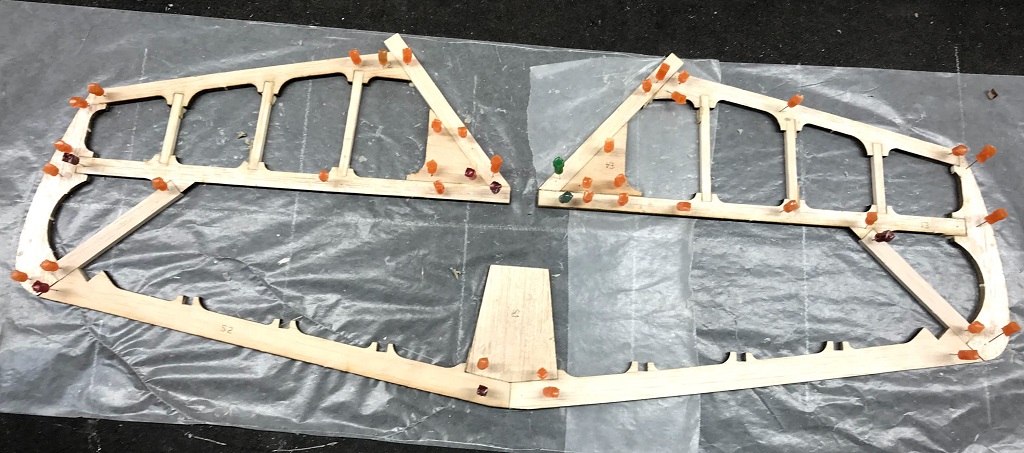
We started with the leading edge of the stabilizer and glued the two S2 pieces (that make up the leading edge) to the bottom of S1 and pinned the pieces in place.
We then moved on to the right, in the picture, elevator and glued the pieces together. We discovered a better way to start this when doing the left elevator, which was to take the ‘edge’ piece (E3) and place glue within the three cut outs and then slide the pieces in. We then placed glue on the bottom of the piece going along the hypotenuse of E4 (inner tirangle piece) and along the edge of the trailing edge piece of the elevator and pushed all the pieces together and pinned them into place. We then repeated this step on the other elevator.
Next we filled gaps using filler, by cutting pieces and then placing glue on each side before wedging the pieces into gaps.
Next, was gluing the inner ‘cross-braces’ into place. I marked on each cross-brace end up to where the glue needed to be and then placed glue on each side. Peter then placed the pieces back. Once done we cut and wedged pieces of filler where necessary (as these were very loose fitting). We also added additional pins to keep everything tight and prevent warping as the glue dries.
That concluded another session as the tail (specially the elevators) take shape. Next will be figuring out the trailing edge of the stab.