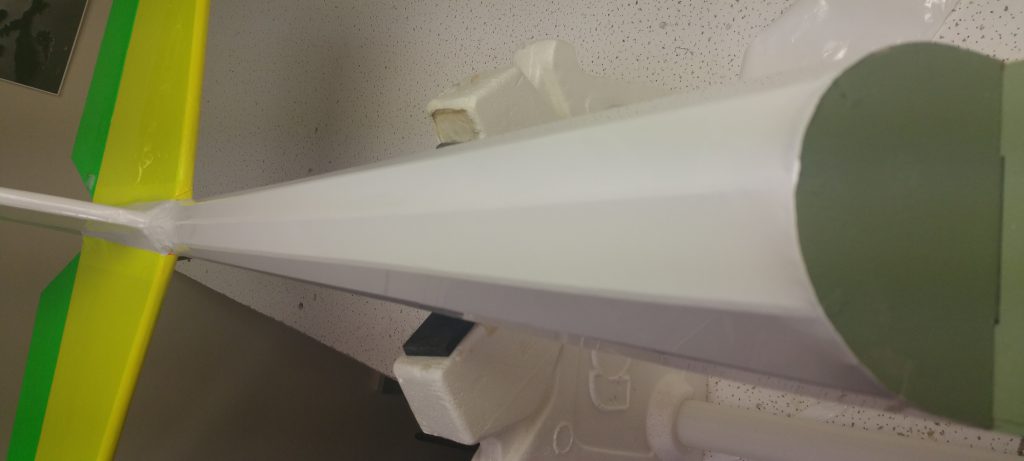
Tuesday’s building session involved finishing up covering the turtle deck, top view in the image above, side view below. With the convex curves and having to extend back around the tail makes for one of the trickier pieces of covering I had to do.m Last session I had already cut out the piece, ironed it to the top stringer and cut for the slots necessary to get around the stabilizer and fin. I did need to make further adjustments throughout the process.
To start this I pulled the covering tight along one side of the turtle deck and ironed the covering to the side of the fuselage (ensuring there is about a quarter inch onto the side) starting in the middle and working my way towards the tail, then going back to the middle and working my way towards the nose. Once that was done I ironed the covering half way around headrest. Rotating the plane around I did the same to the other side. I also ironed the covering down around the tail and ensured the perimeter of the entire area being covered was sealed (ironed down) so that it didn’t pull off once I started using the heat gun.
Using the heat gun I worked my way around the turtle deck making sure not to stay in one spot to long or get to close to the covering as both scenarios can lead to burning a hole through the covering, which would mean starting all over again. I also made sure to point the heat gone away from the edges towards the middle. This means you need to be constantly moving and adjusting where the nozzle of the gun is pointing. The reason you do not want to apply hot air down onto the edges you previously sealed is that the heat will cause the glue to give way breaking the seam. I continued this process until I was satisfied with the tautness of the covering and removed any wrinkles or sags out of the turtle deck.
John was over visiting so he cleaned up and got more wrinkles out of the covering down around the tail area as right from the start that shrunk into a mess of creases big and small! Thankfully I was able to work quite a bit of it out; with first the heat gun followed by using the iron again.

Afterwords I covered the landing gear plate with one piece measured to be big enough for some overhang on the sides and to cover down over the lip and onto the bottom of the fuselage a bit, seen in the pic below, as well as down over the lip into where the wing sits (2nd pic below). This is to ensure there is no unnecessarily exposed wood, protecting the planes structure from leaking fuel, etc. This was an awkward place to cover and I did the right side better than the left. Need to take the piece and angle up when folding over to allow for a tighter corner (with no wrinkles). I still need to cut the covering where the holes were are for the landing gear and wing bolts respectively.

