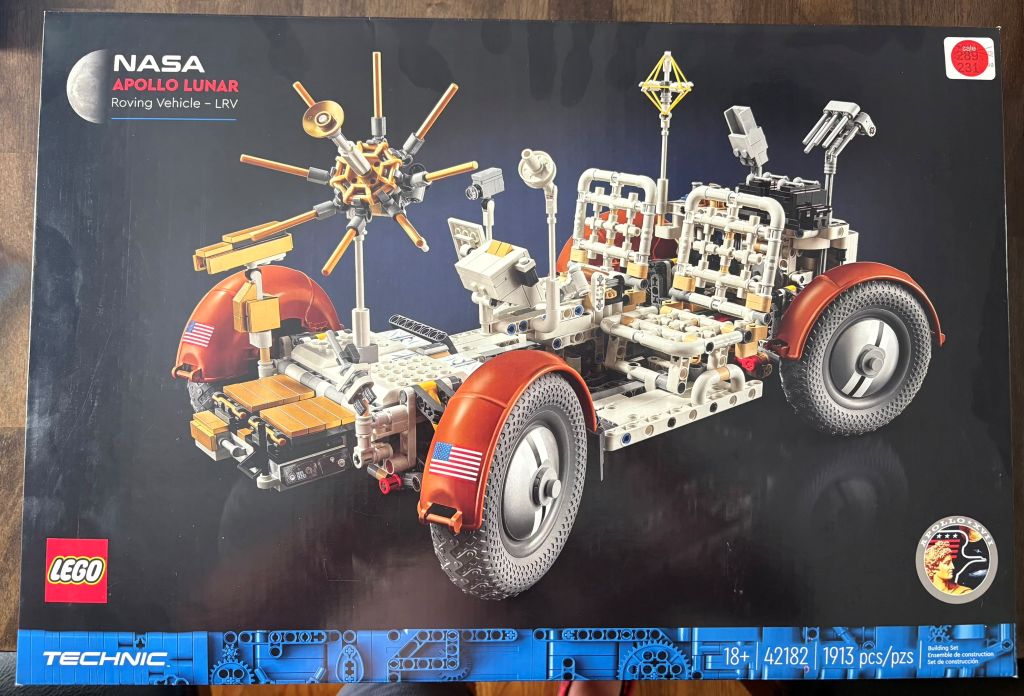
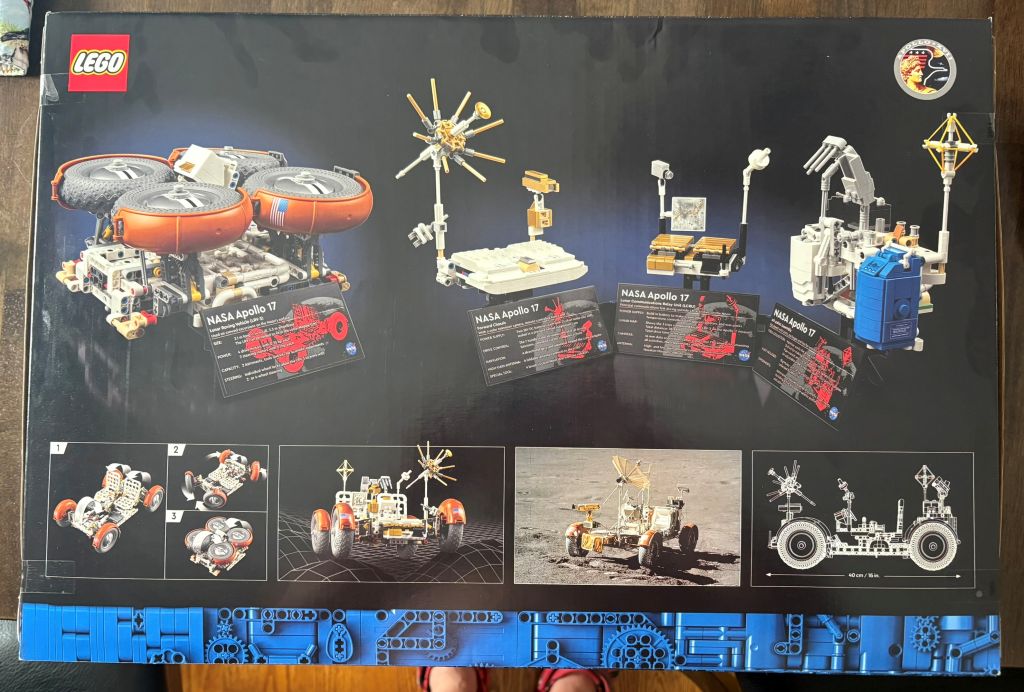
Being a science and space enthusiast I really enjoyed this build and am glad I was able to pick up this Lego Technic set on a clearance sale during a random visit to the Lego store. I started this build on April 5th and completed the build on May 10th. This is my first technic set and I see more in my future if there’s a set that peaks my interest.
Started with building the drivetrain for the Apollo Lunar Roving Vehicle. This gets the base of the vehicle in place with the driveshaft and axels for the wheels to allow movement.
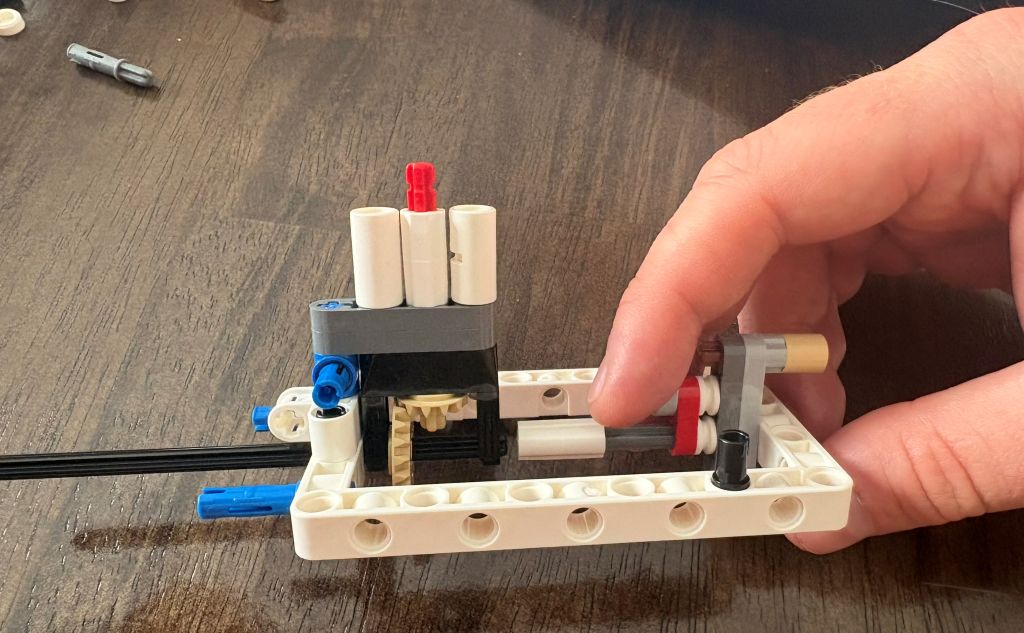
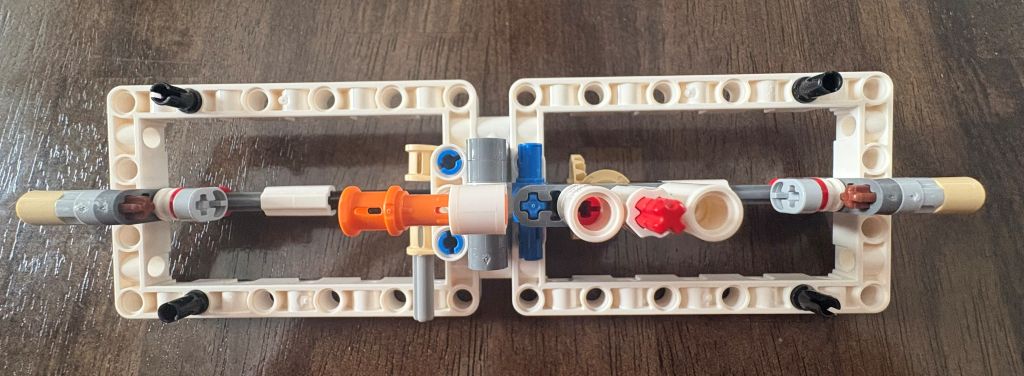
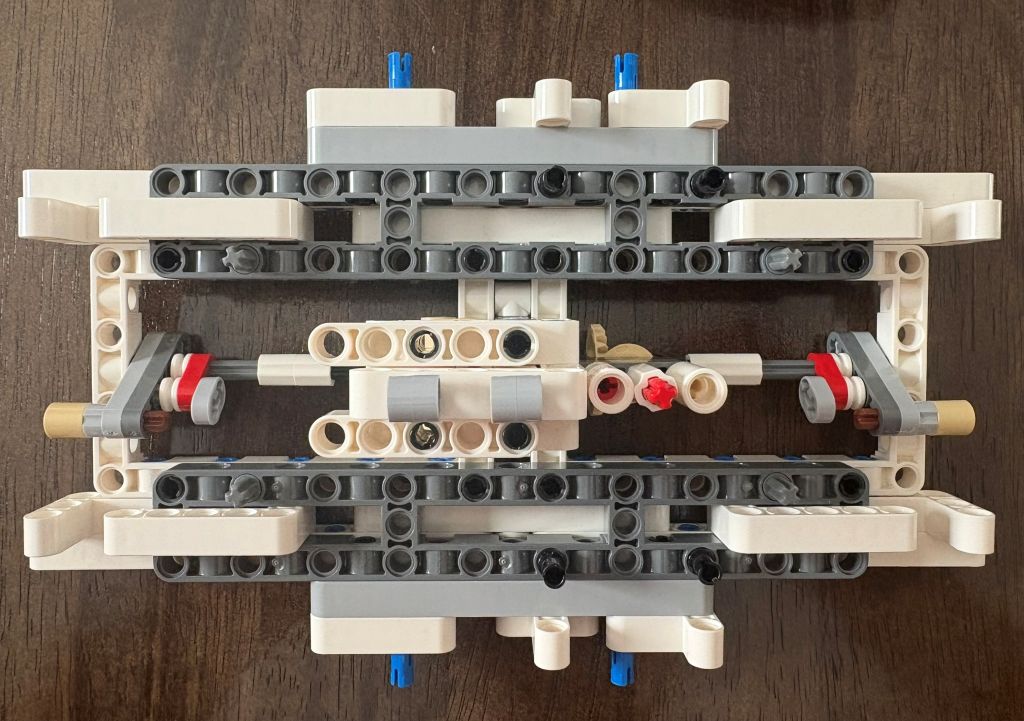
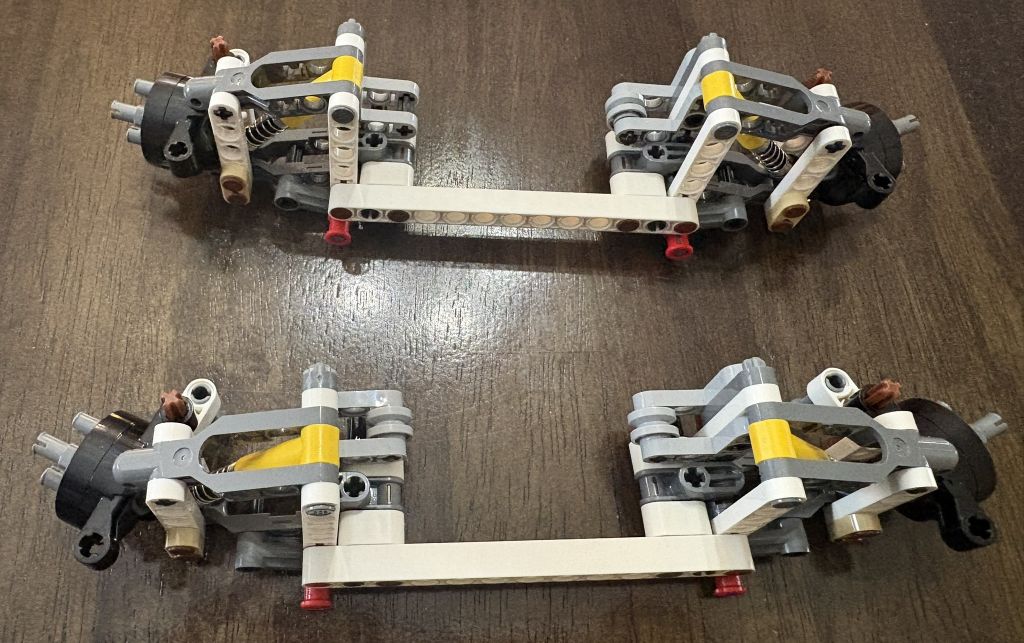
Next I moved on to Bag 3 which builds out more of the frame and gets all of the above pieces to come together and moveable. From there you start building out console and seats of the vehicle. The seats are foldable, including the foot rest, which is very cool, especially when you consider how it will all come together and be able to ‘transform’.
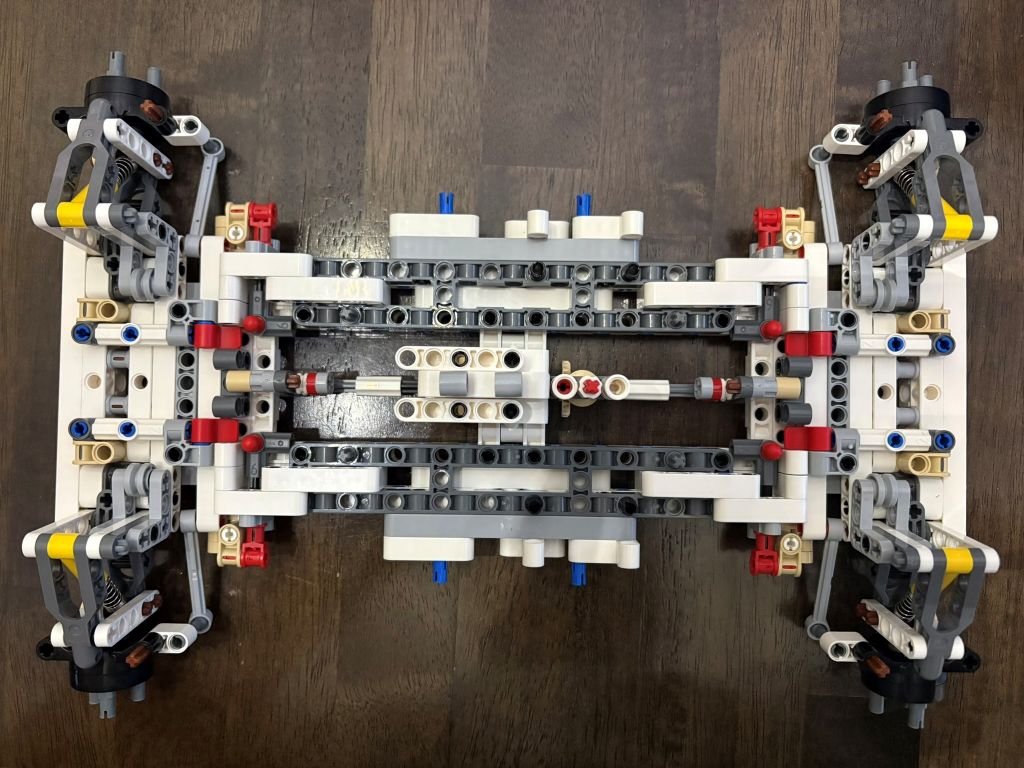
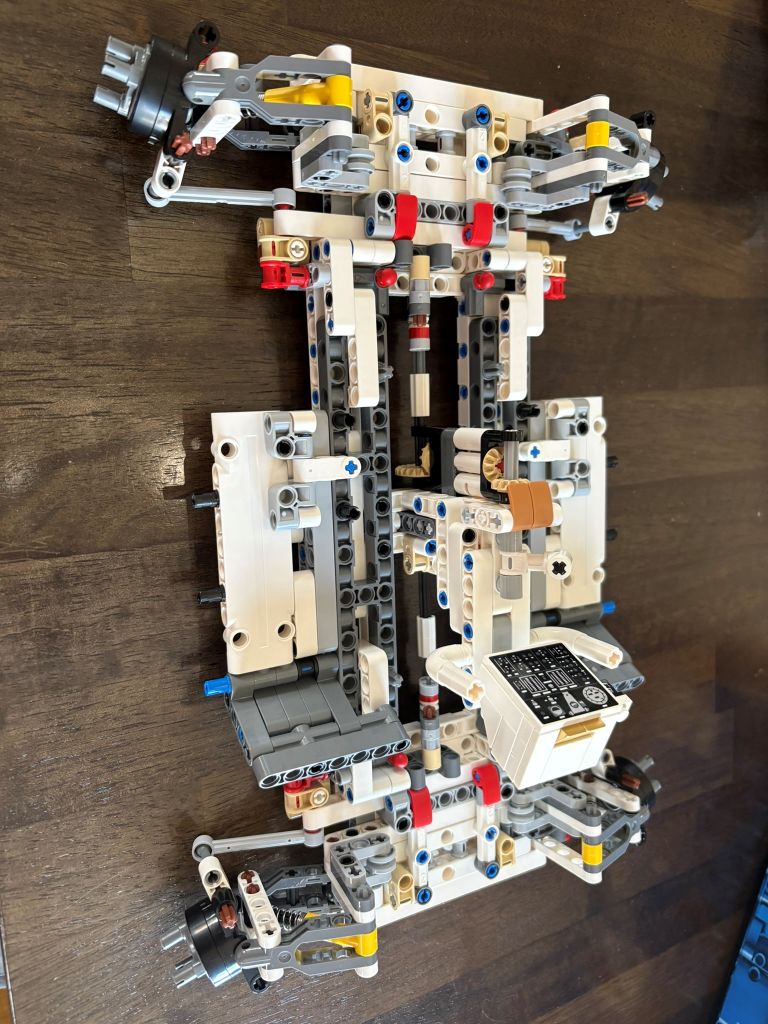
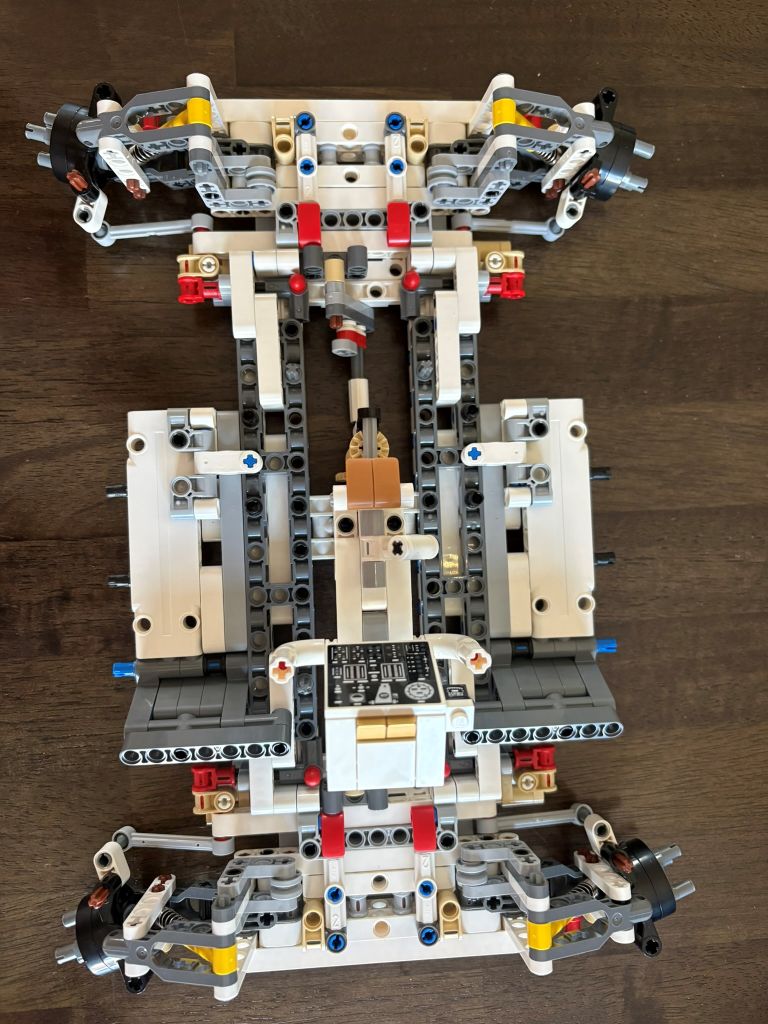
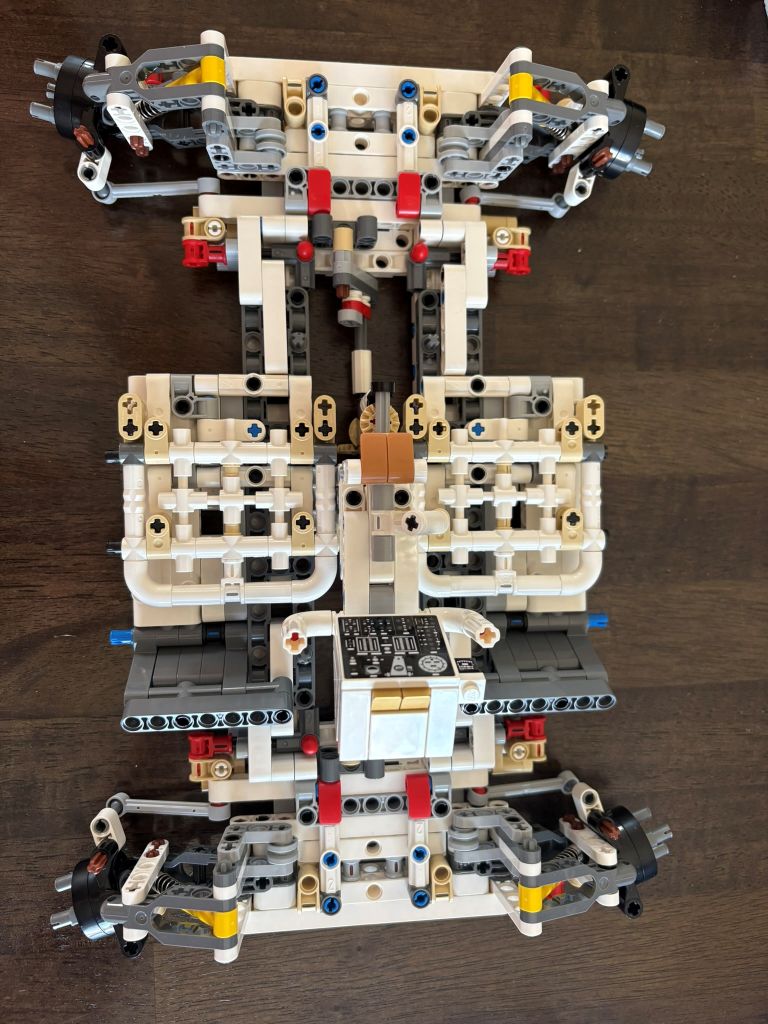
With the frame completed you get the tires on rims and attached to the rover, which click onto the three smooth pins that connect rim to the vehicle and allow for rotation. With the tires on you can add the wheel wells (?) which cover the wheel.
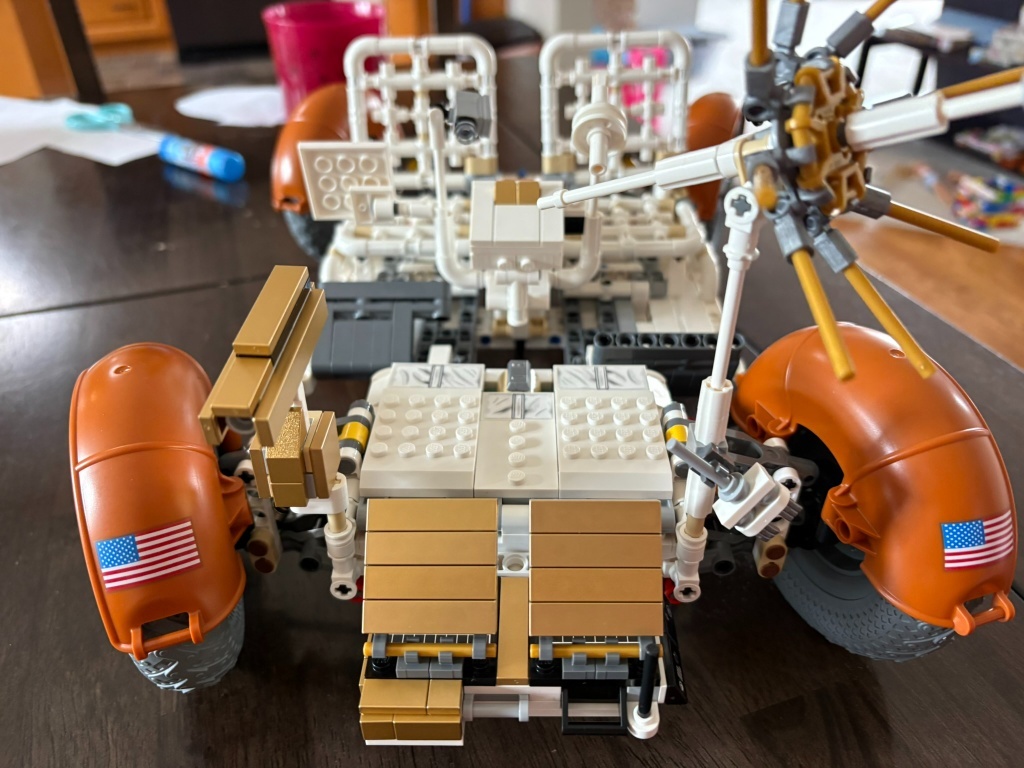
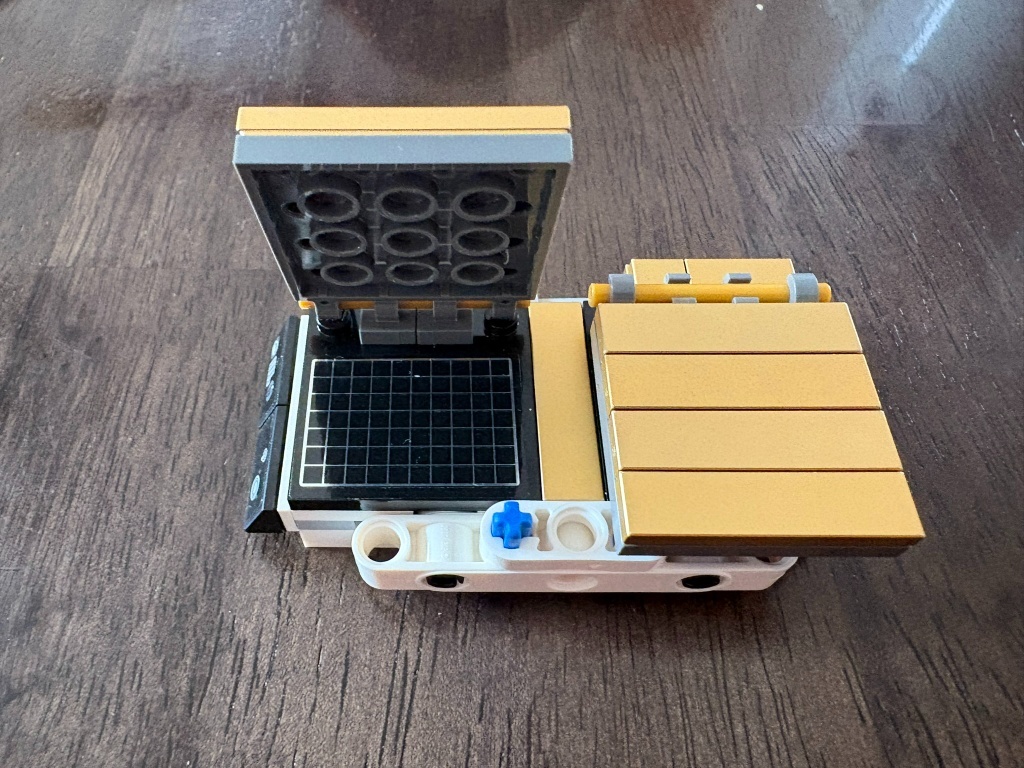
Next you assemble the battery pack, with solar panels for charging, that powers the vehicle. This then gets attached to the front of the lunar vehicle and takes your through to the end of bag 7 in the build.
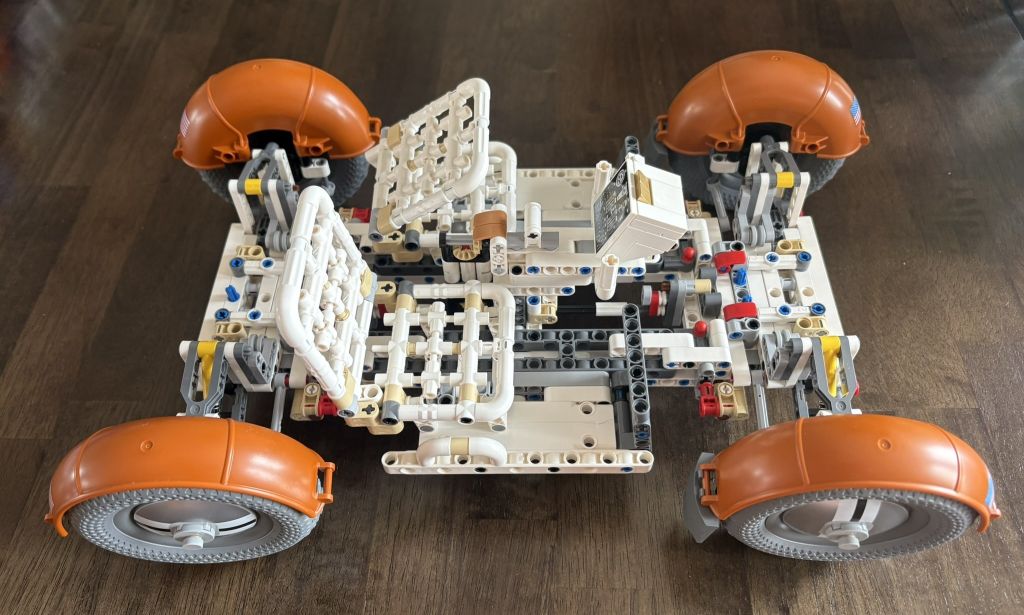
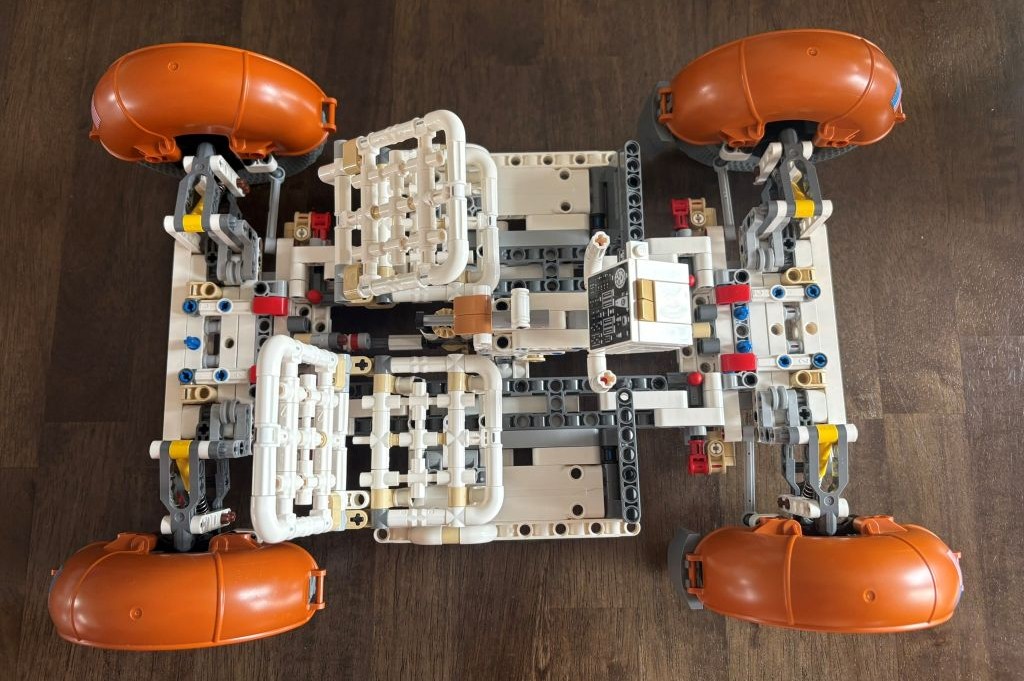
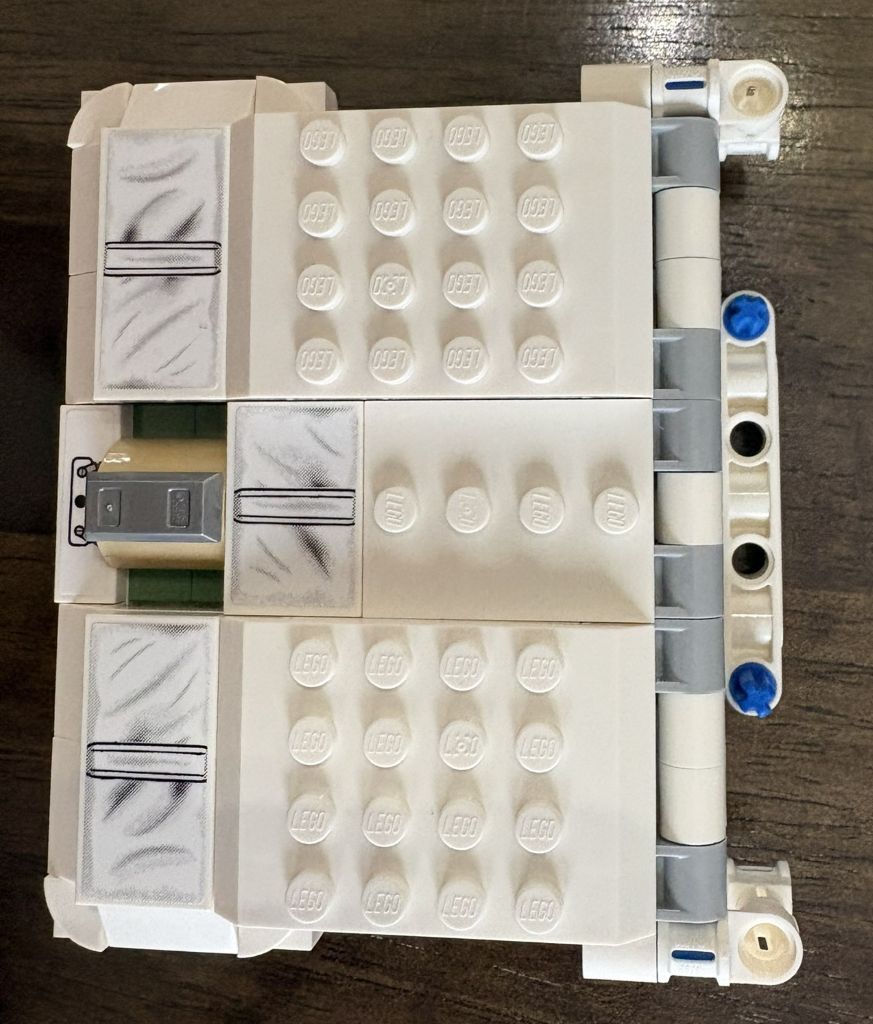
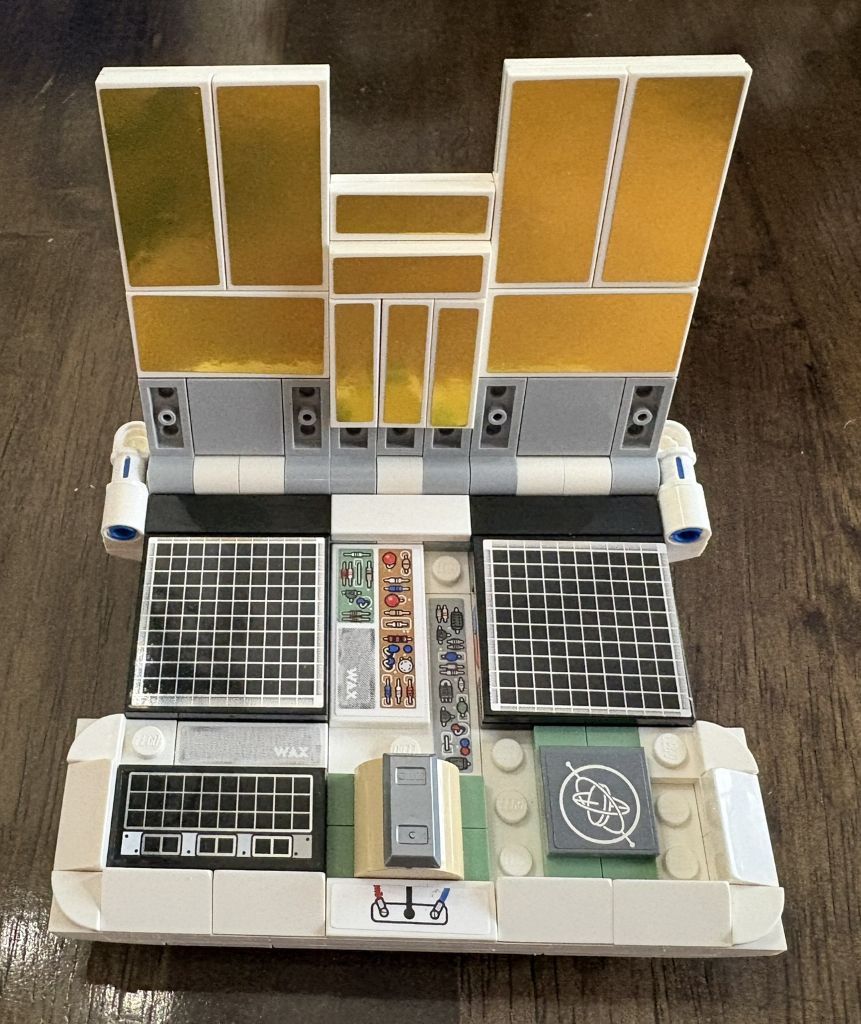
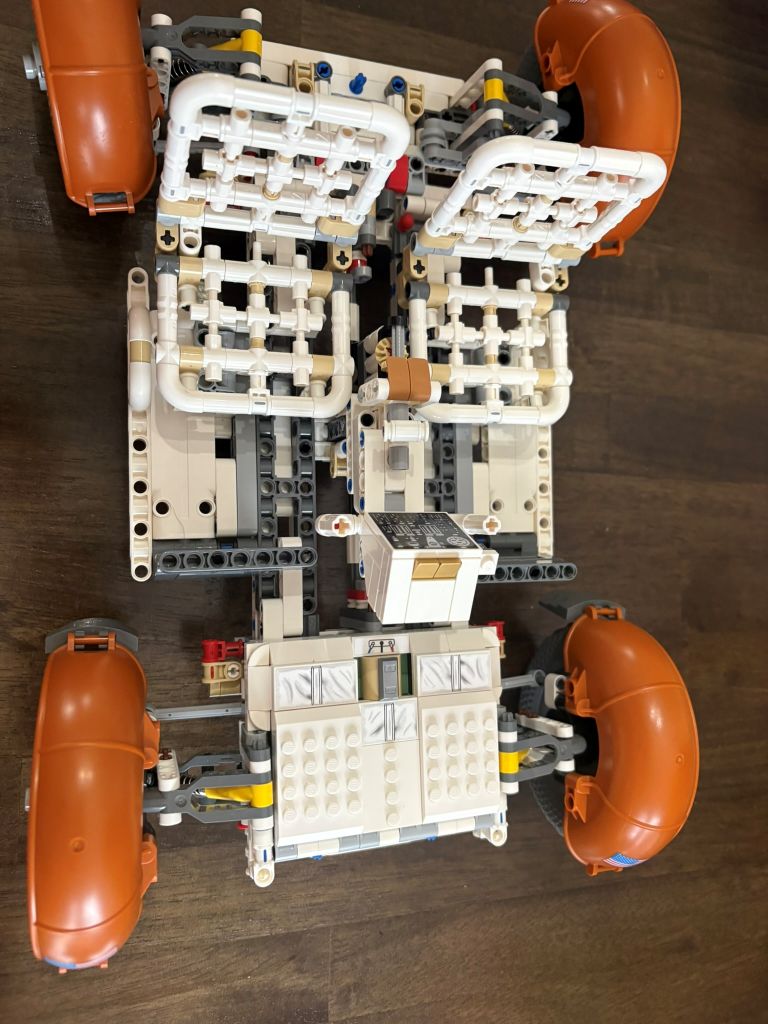
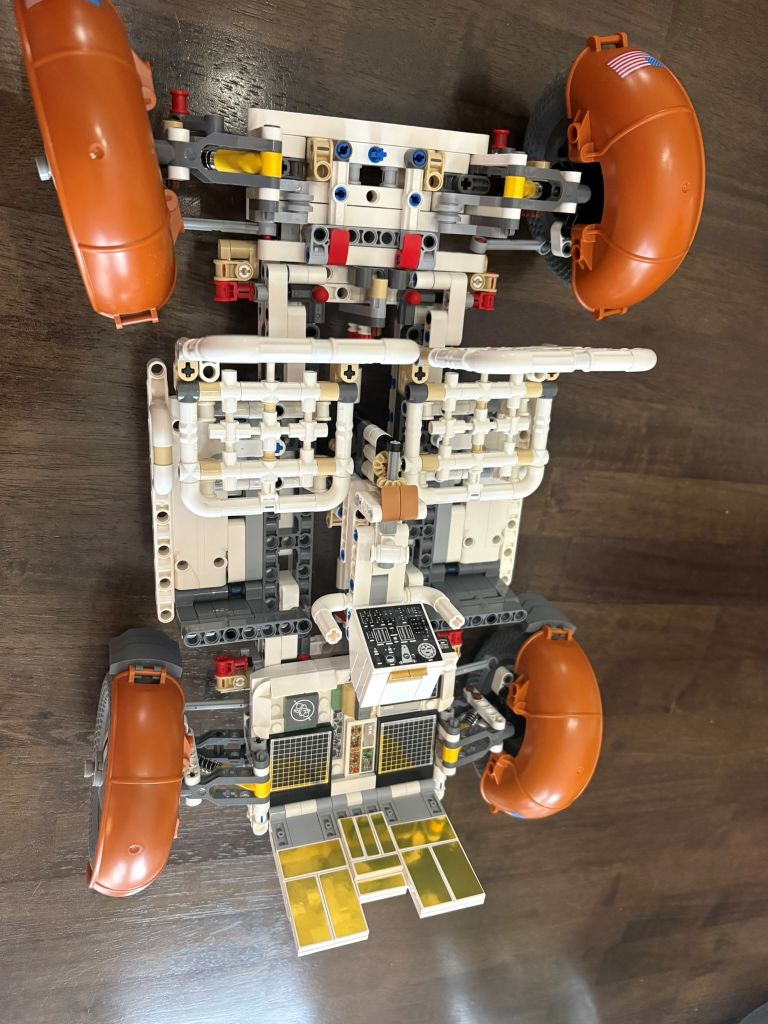
Next we build out the antennae which can be opened and closed as well as the camera which are then mounted to the front of the vehicle on each side of the battery pack.
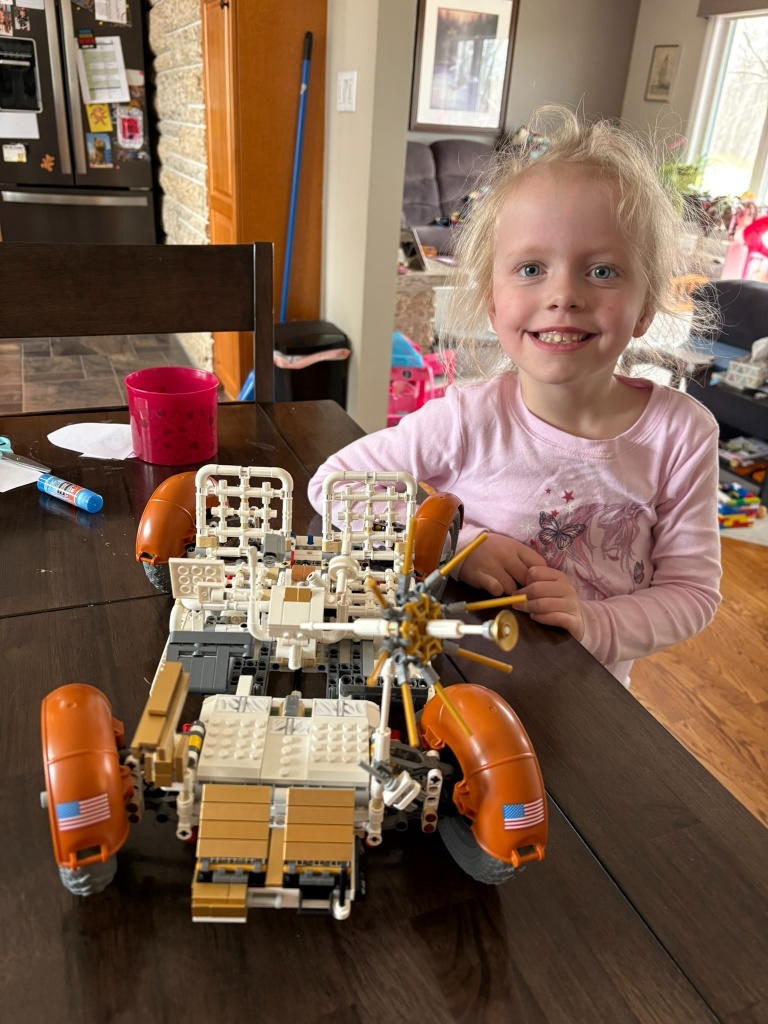
You can also see my daughter posing with the vehicle as she helped me in places do some assembly and takes an interest in what all the pieces are… gives her some fun exposure to space exploration and science in general ;).
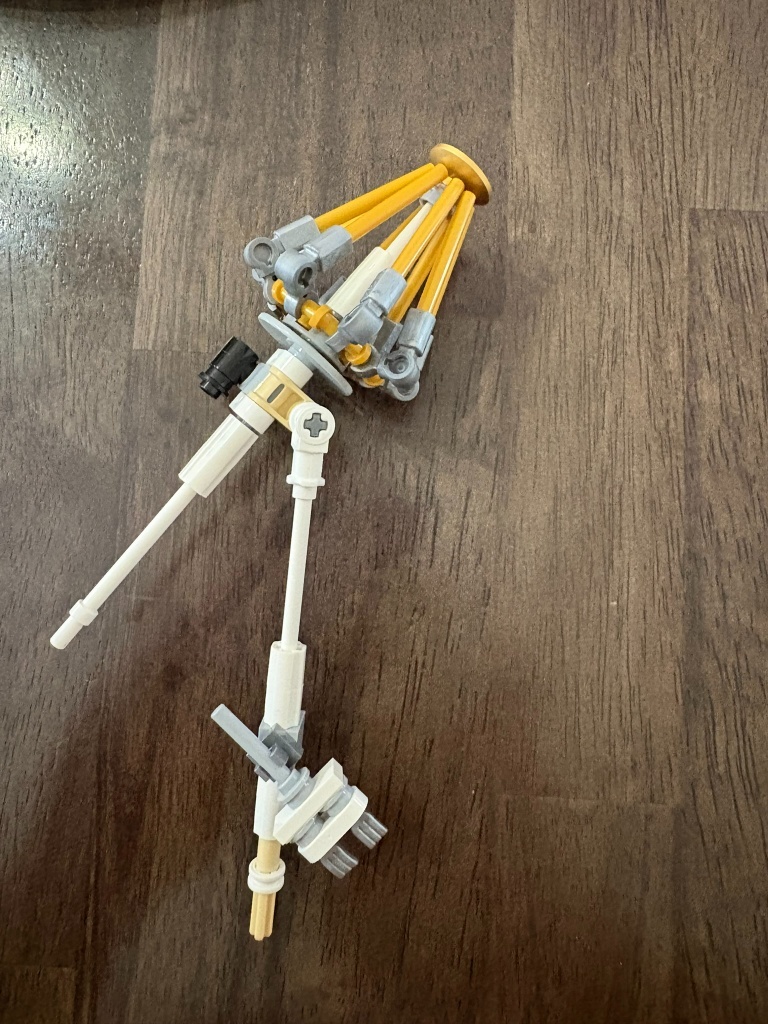
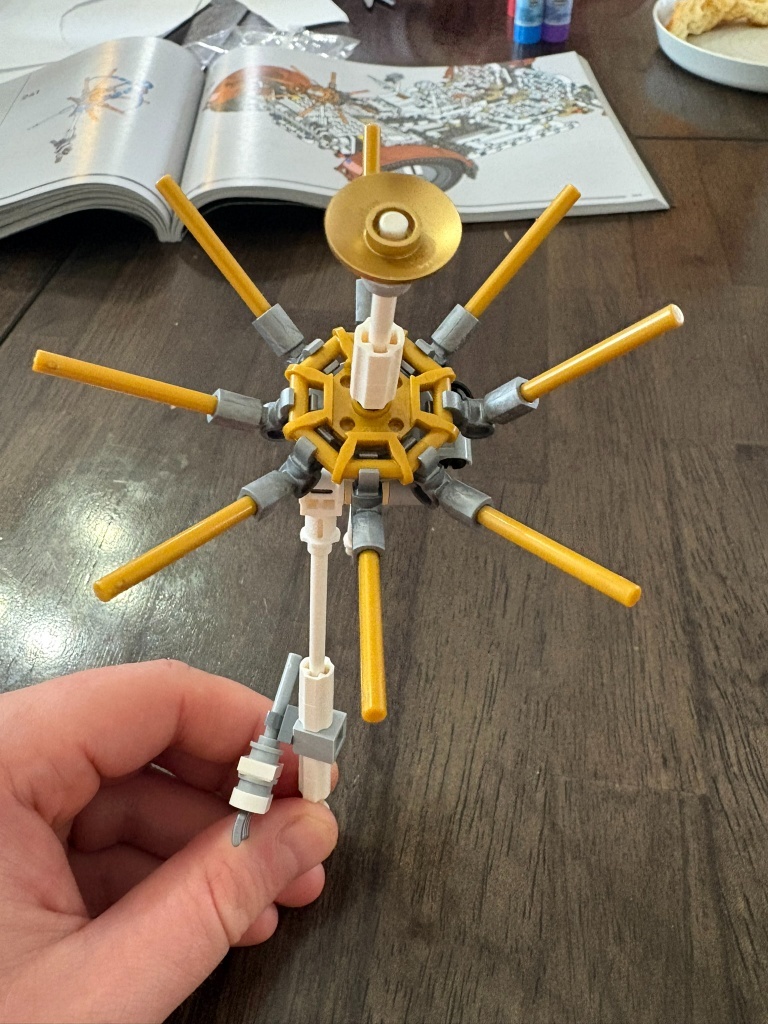
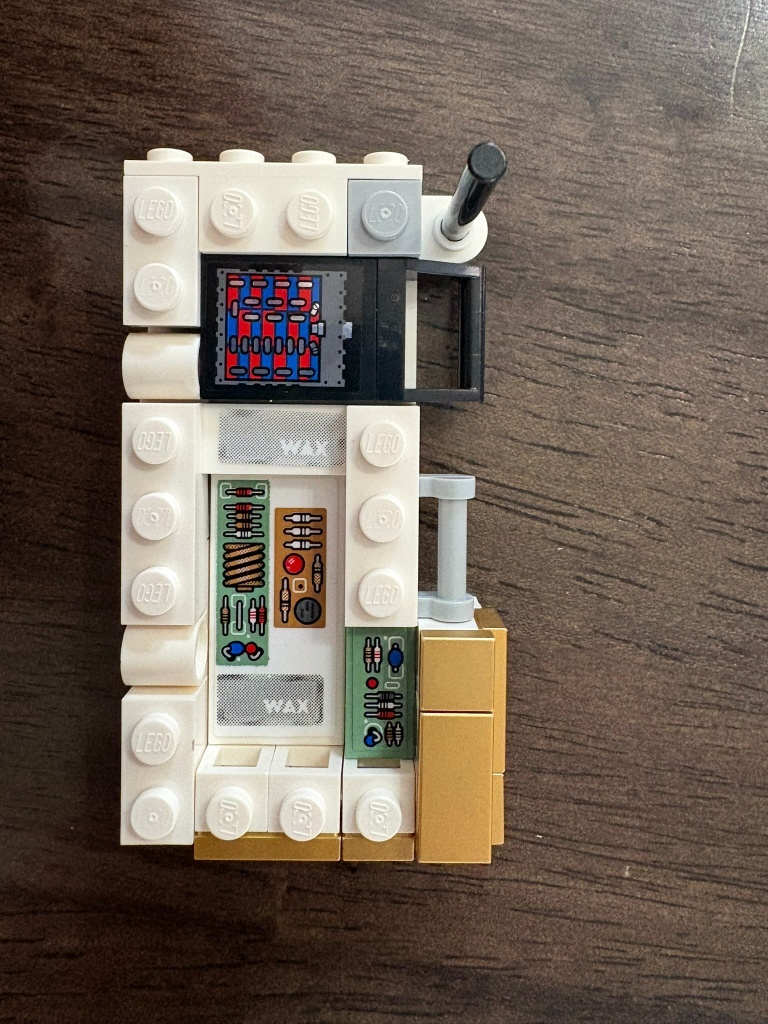
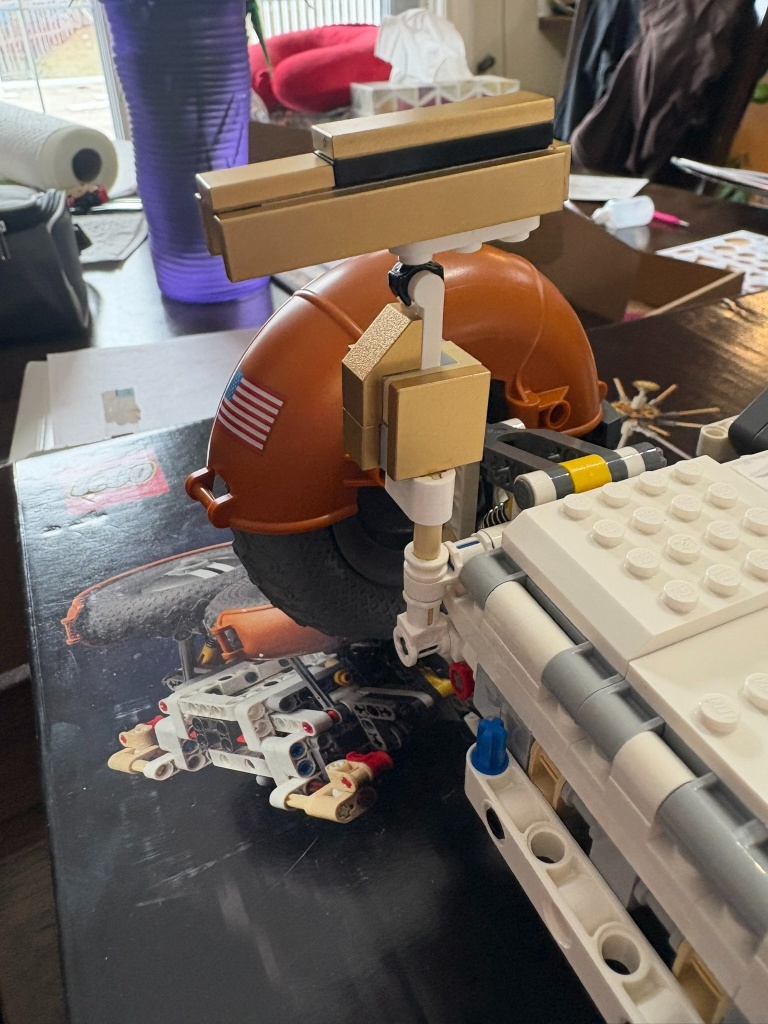
Bags 9 and 10 are building out the assembly that holds the tools, including a shovel and a drill that gets fastened to the back of the vehicle.
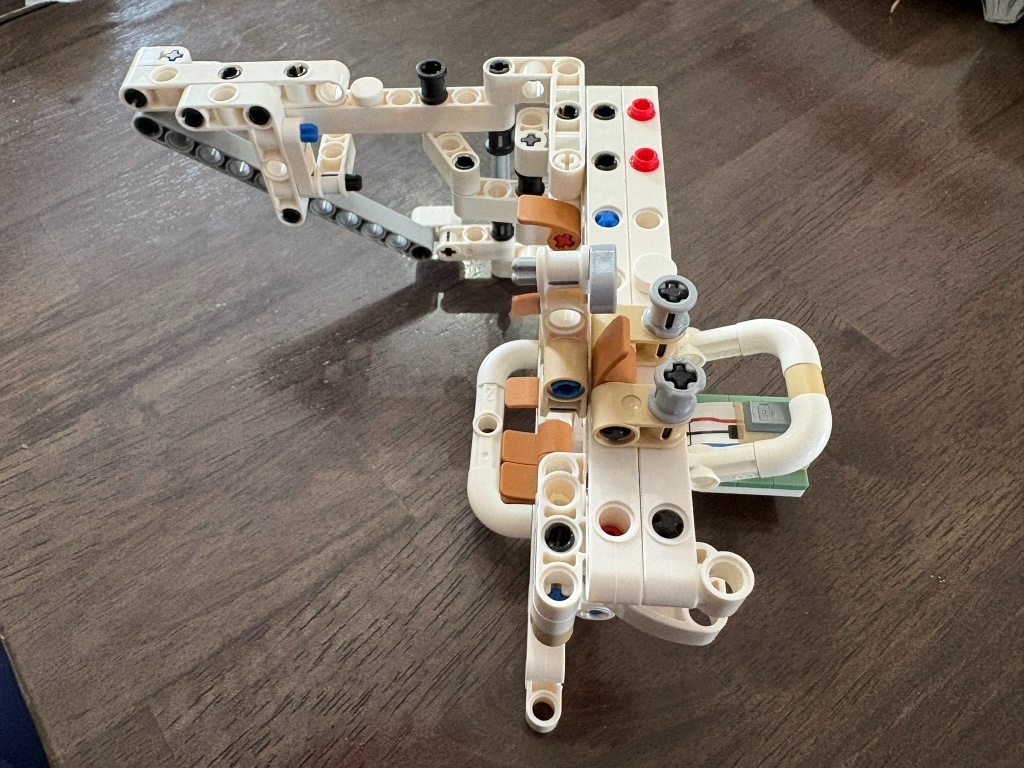
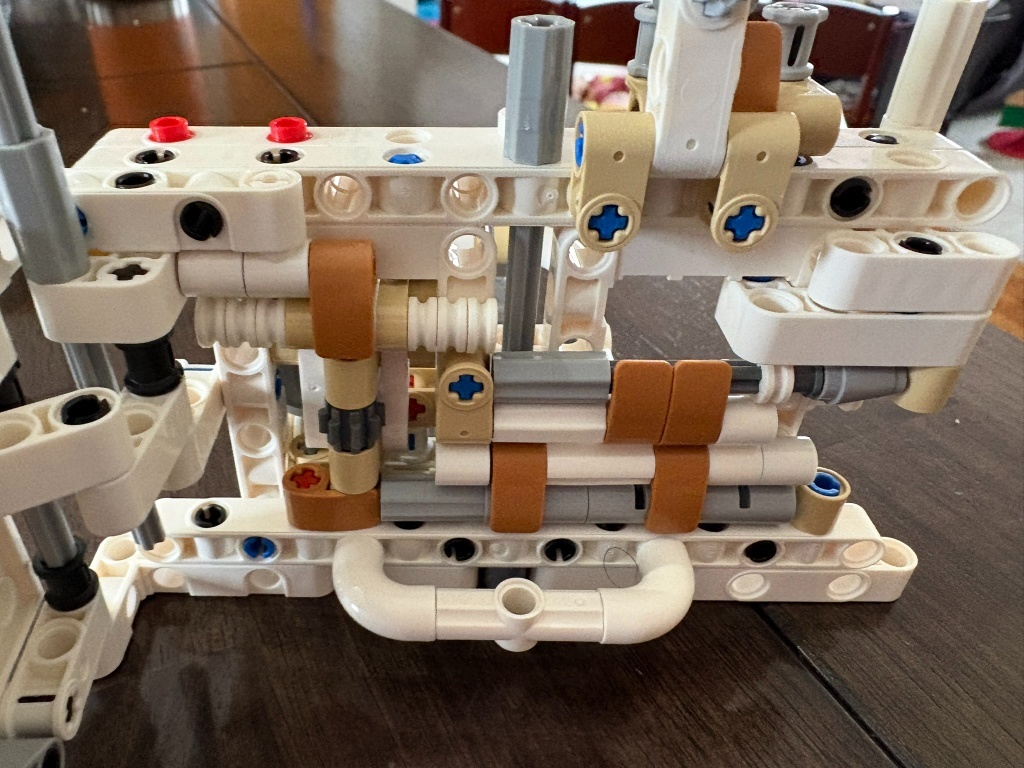
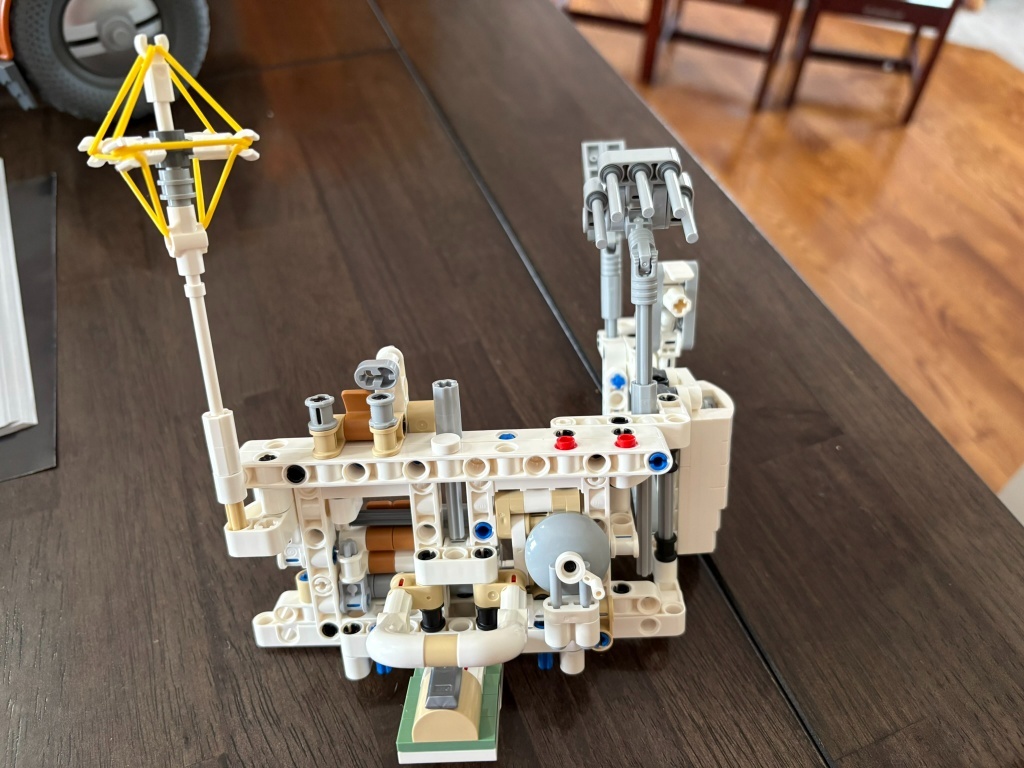
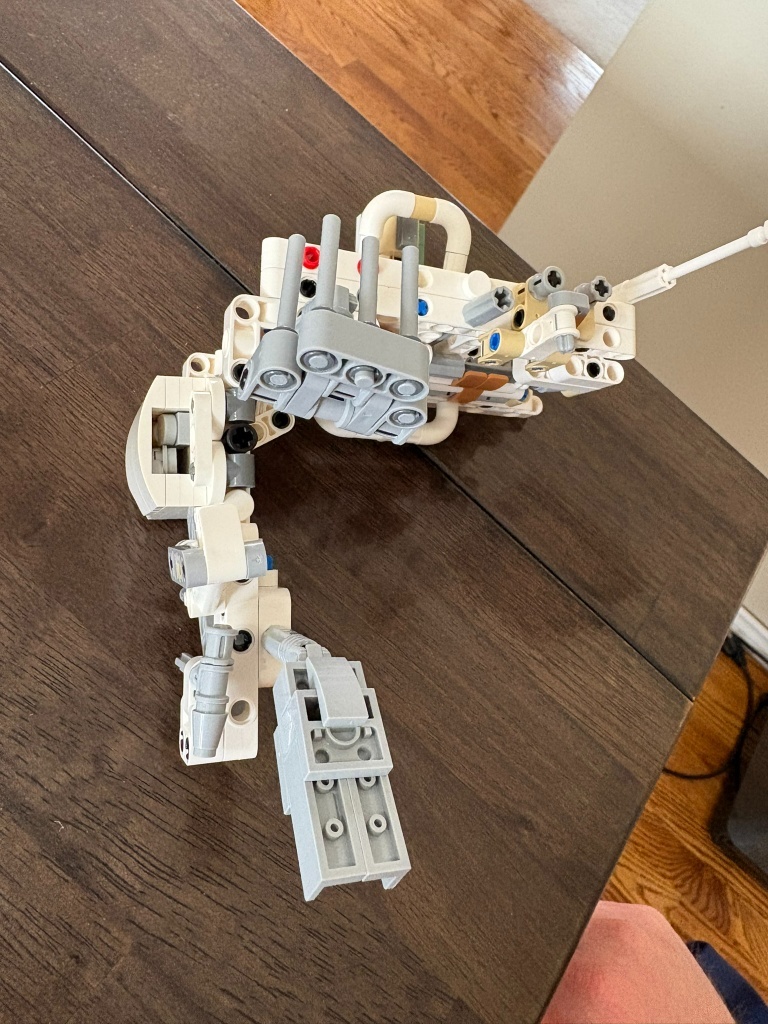
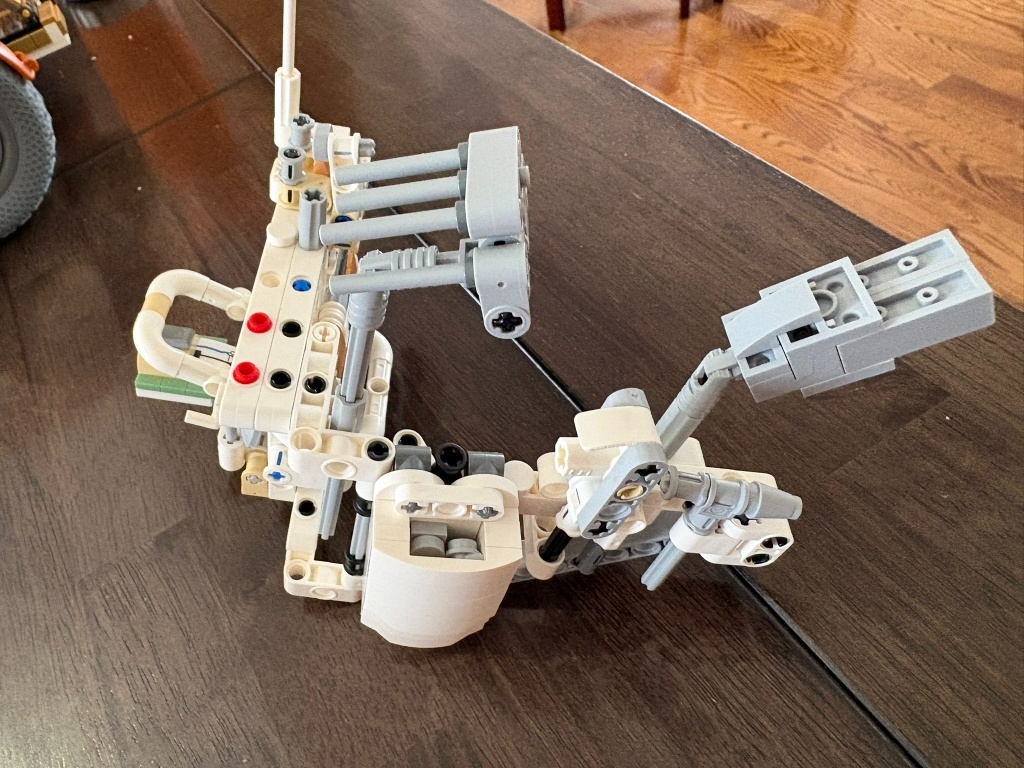
Bag 11 is building out Apollo 17’s Traverse Gravimeter Experiment which is fastened to the assembly along with all the other parts and then attached to the back of the lunar roving vehicle.
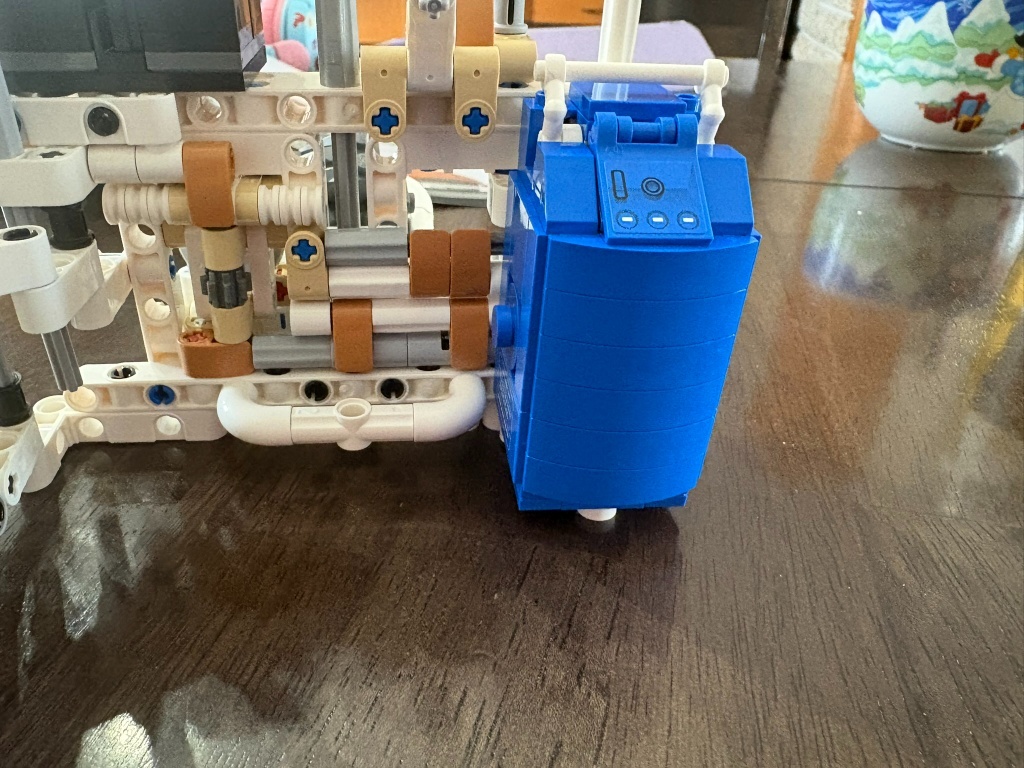
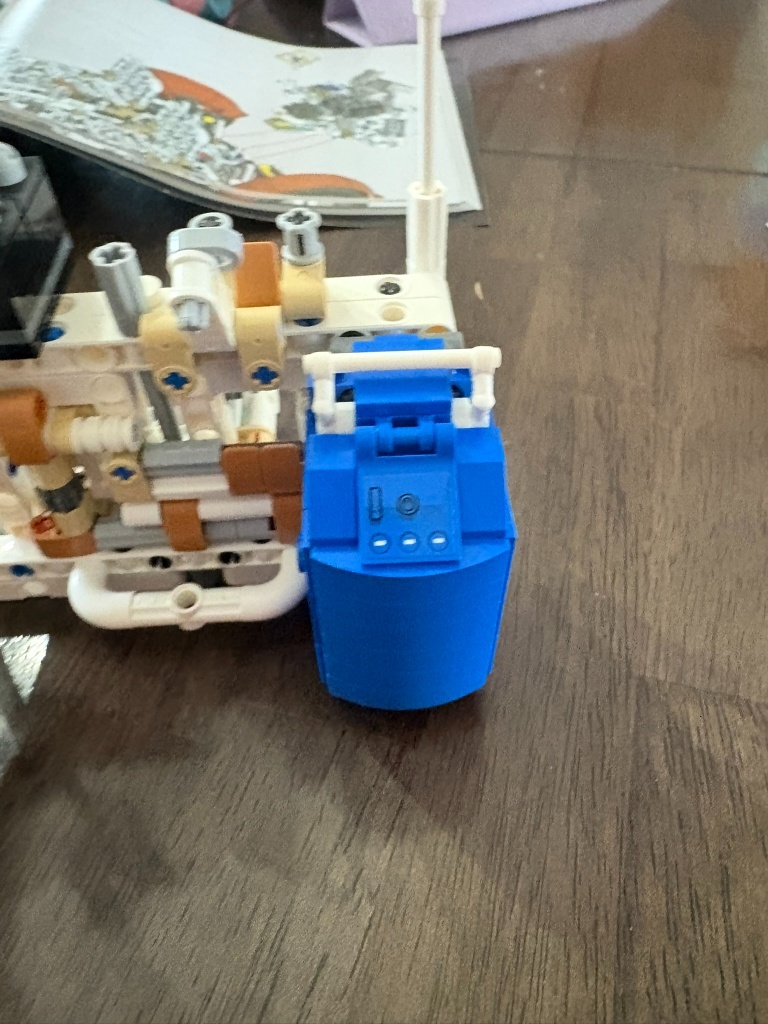
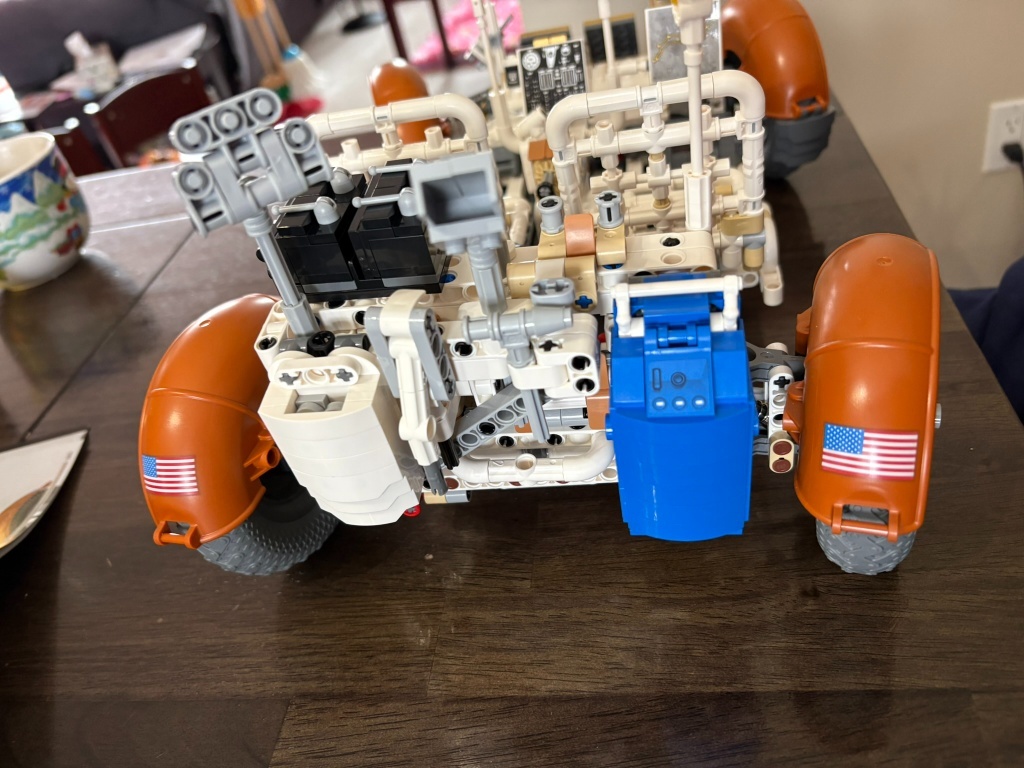
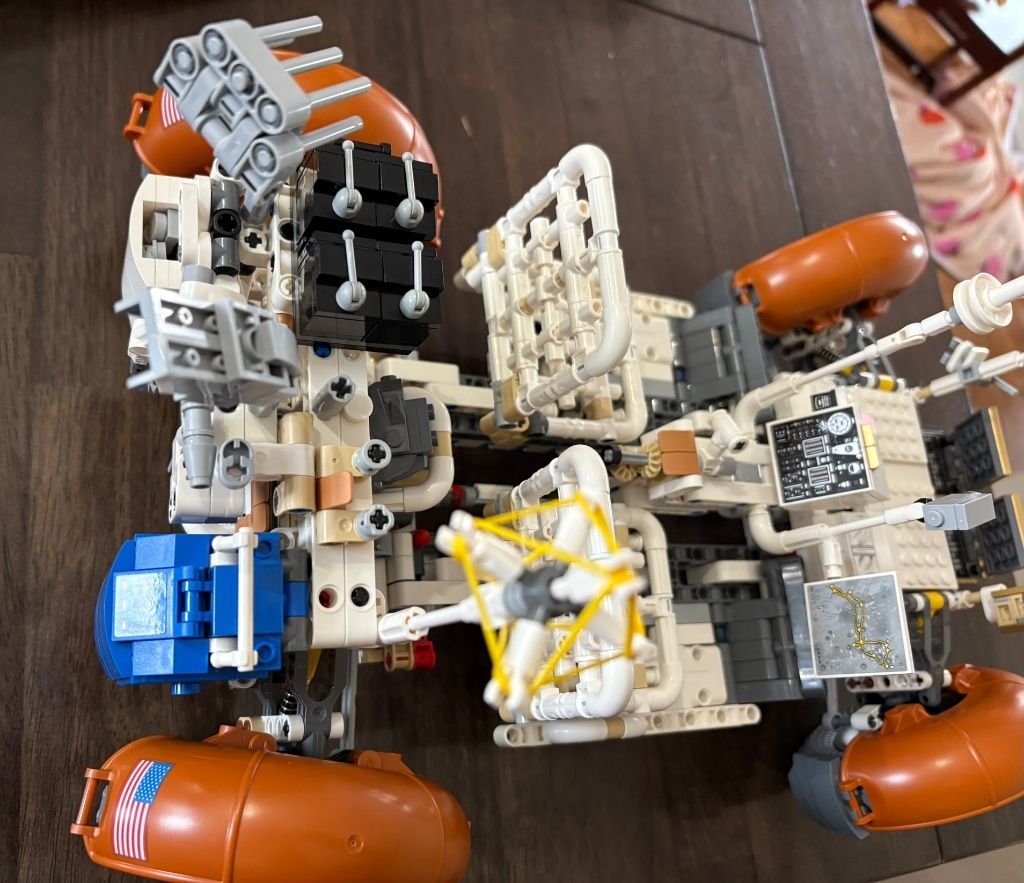
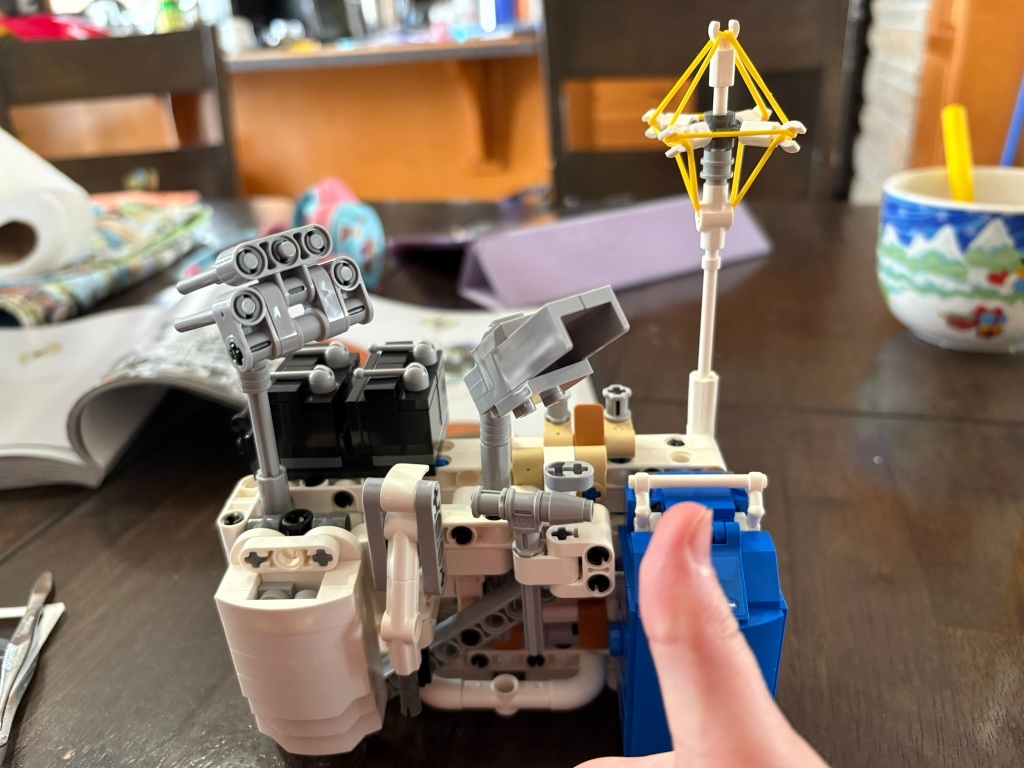
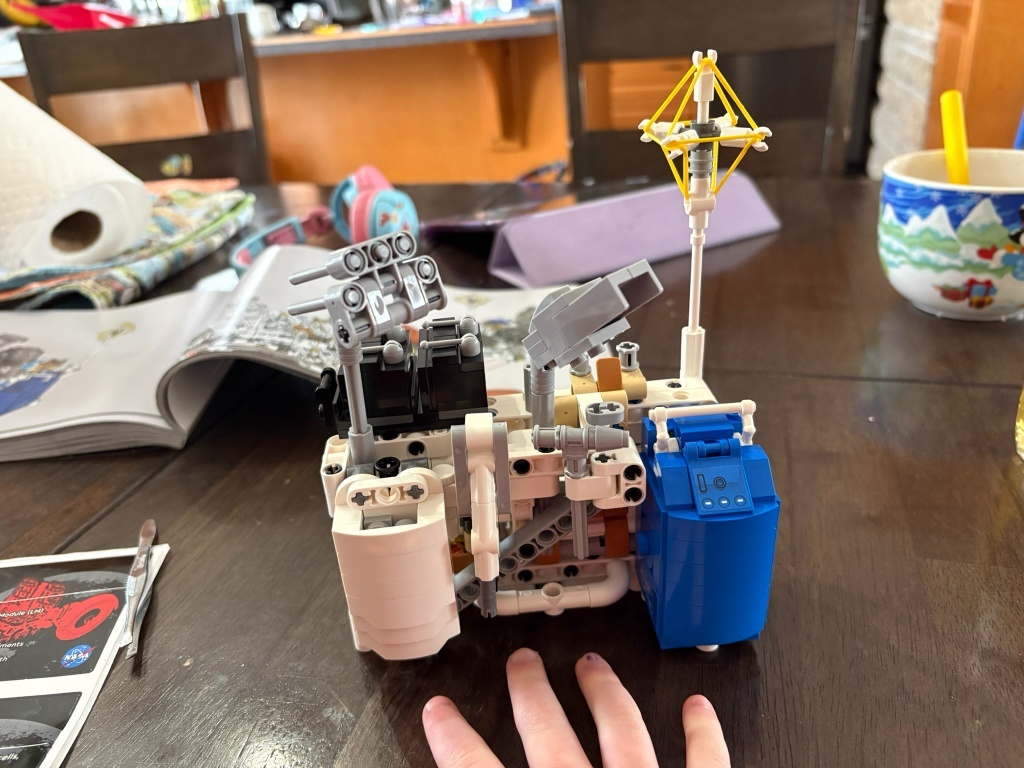
At this point you’ve completed the build and I wish I had taken a picture of everything together, but if I have, I cannot find it, and due to an unfortunate accident this is not on display right now for me to take one. Hopefully I will be able to repair and display this piece as it deserves! But for now it will have to wait, until more of our reorganization completes and I’m able to take a look. Seems like a good side winter project.
You can see pictures of the box below along with a video showing the moving axels. In the featured image is the top of the box with its side view and wheel well for a 1:1 size comparison.
All in all, I loved this build and how it looks once completed. Being a now discontinued set I am glad I was able to snag it, at a discounted price to boot, to build myself.