While in Calgary last August my sister and family generously gifted me a LEGO set for my birthday entitled The Great Wave by Kokusai. This set is part of the LEGO Art theme and the first of this theme of I have done. Additionally making this build a first for me was that there was an audio track to listen to that takes you on a guided tour behind the scenes of this build where you get to learn more about the artist Katsushika Hokusai (1760 – 1849) and decisions behind how this set takes the form it has.
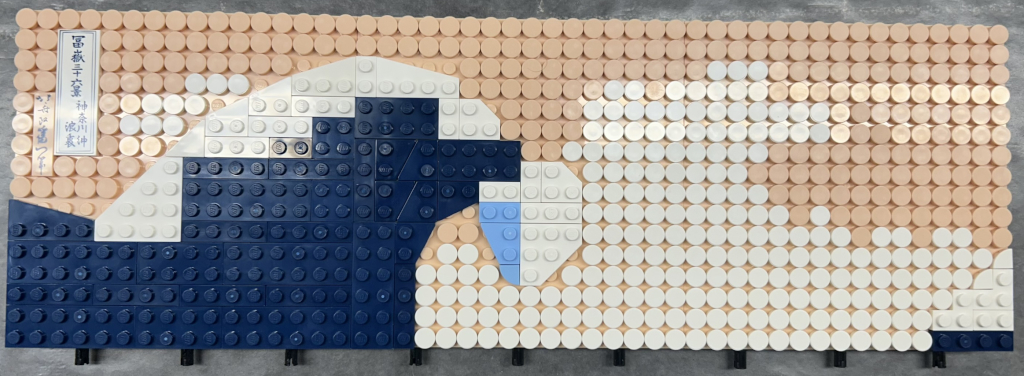
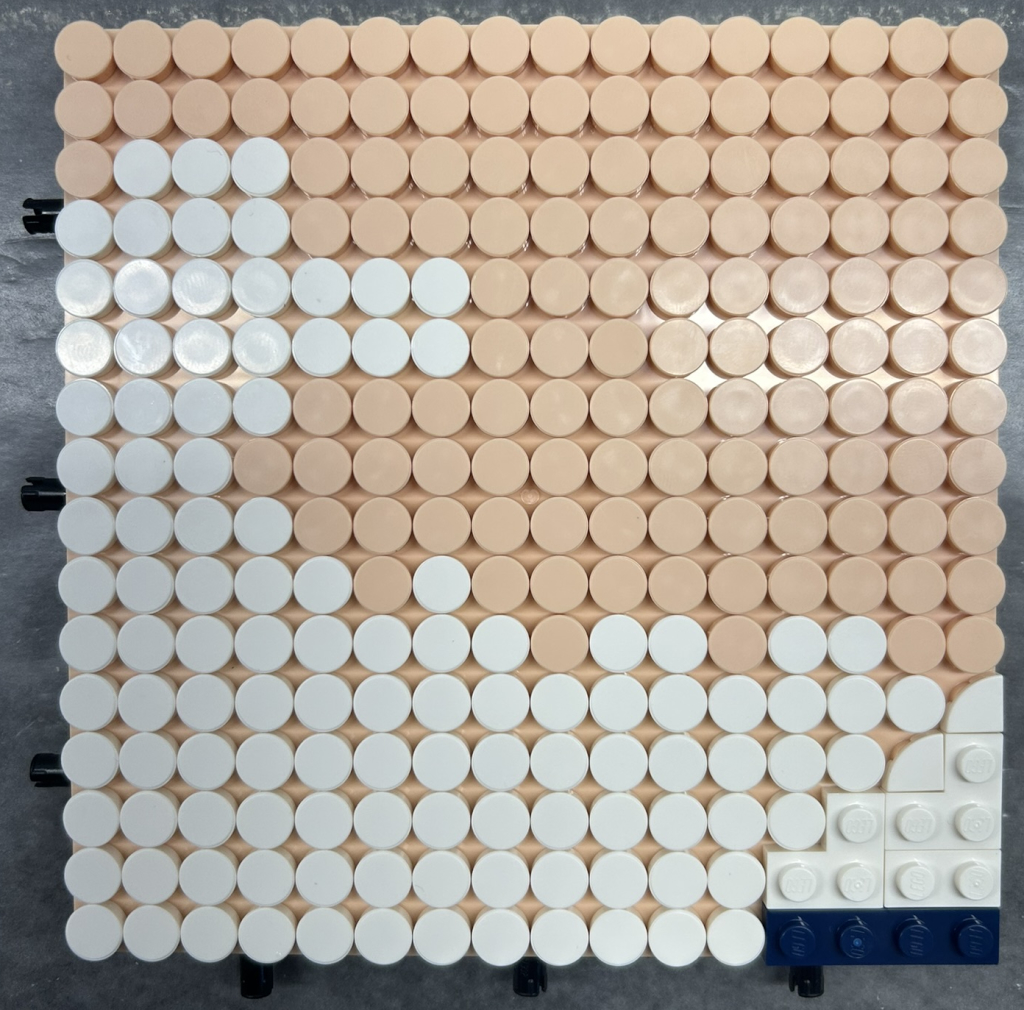
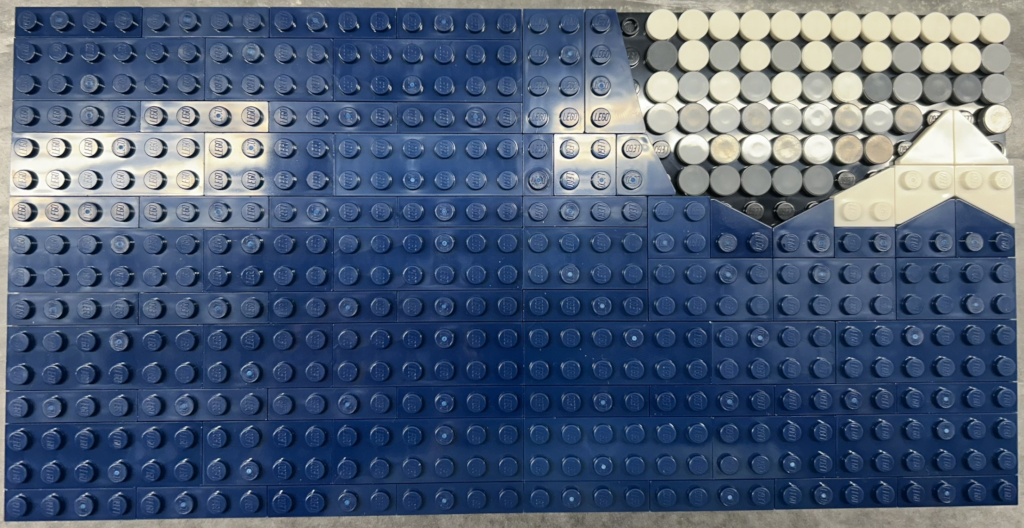
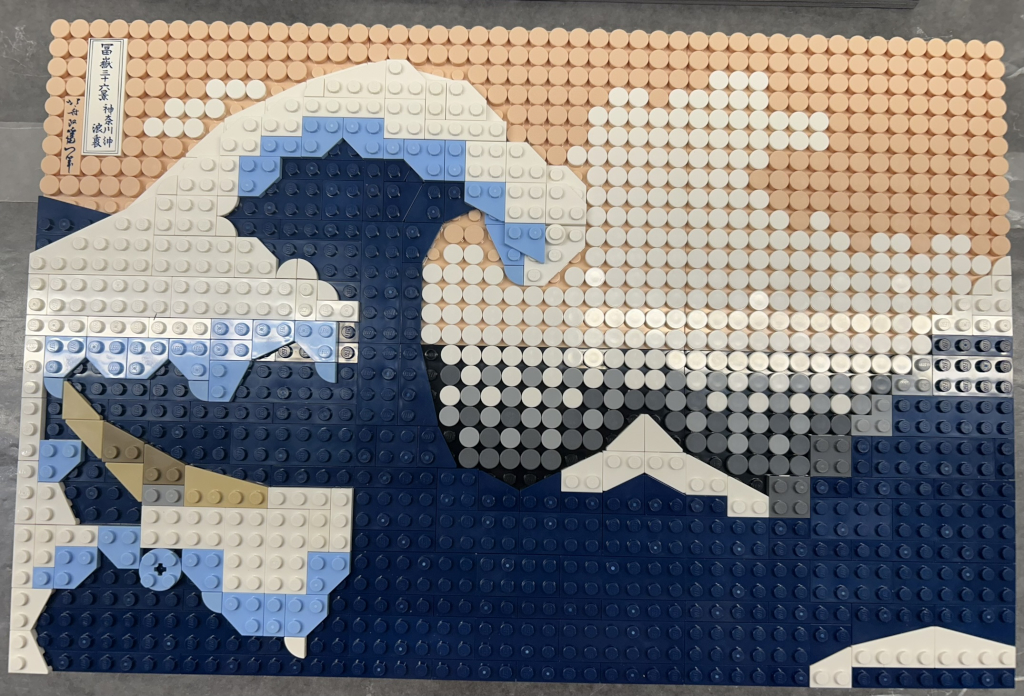
The Great Wave is built on 6 square LEGO ’tiles’ starting with the top row left to right and then the bottom row. In the top left there are two tiles containing Japanese kanji text. The text on the white tile translates to Thirty-six Views of Mount Fuji, the Great Wave off Kanagwa (credit: Google image search) and I think the other is the artists signature. You can see these in the Bag 1 Completed image below. You then continue with the crest, peak and lip of The Great Wave followed by the spray (all the white dots).
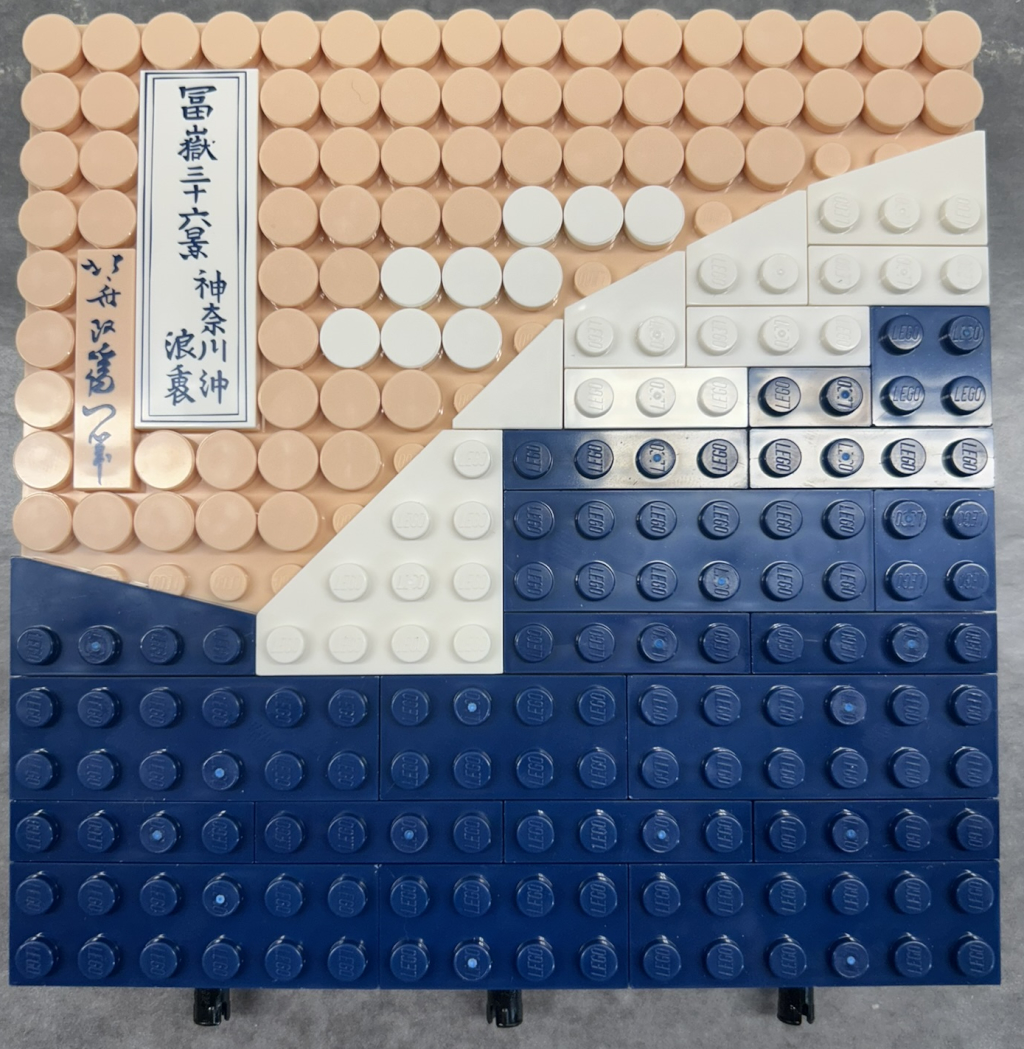
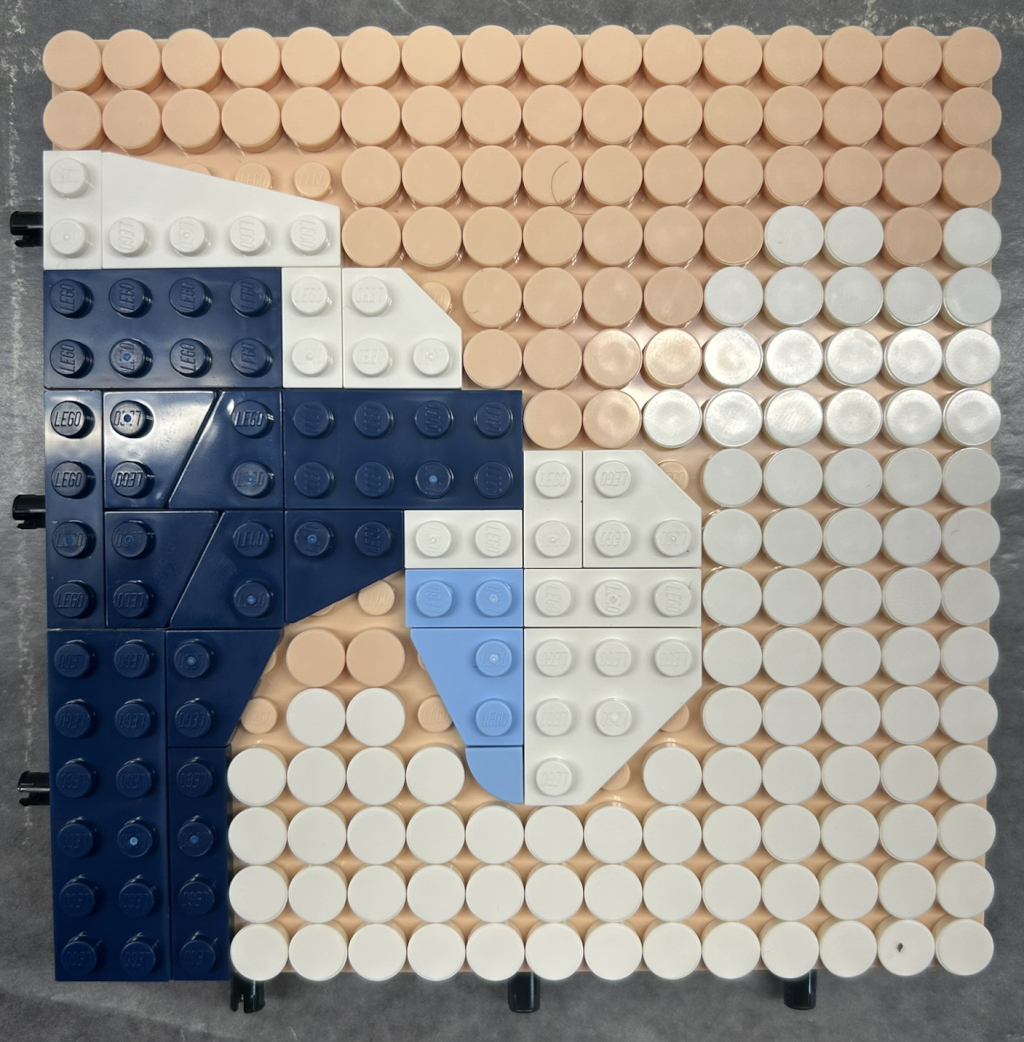
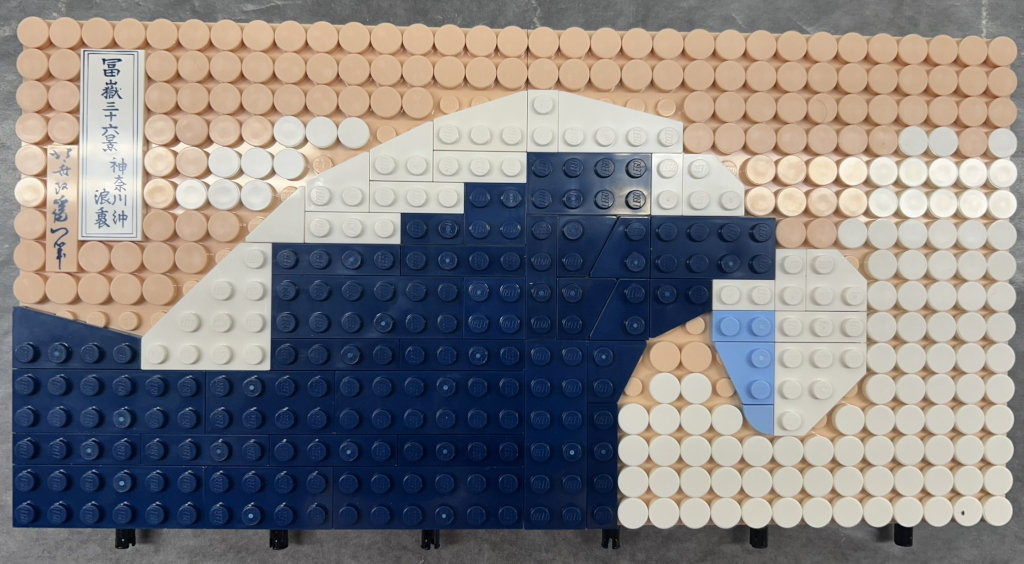
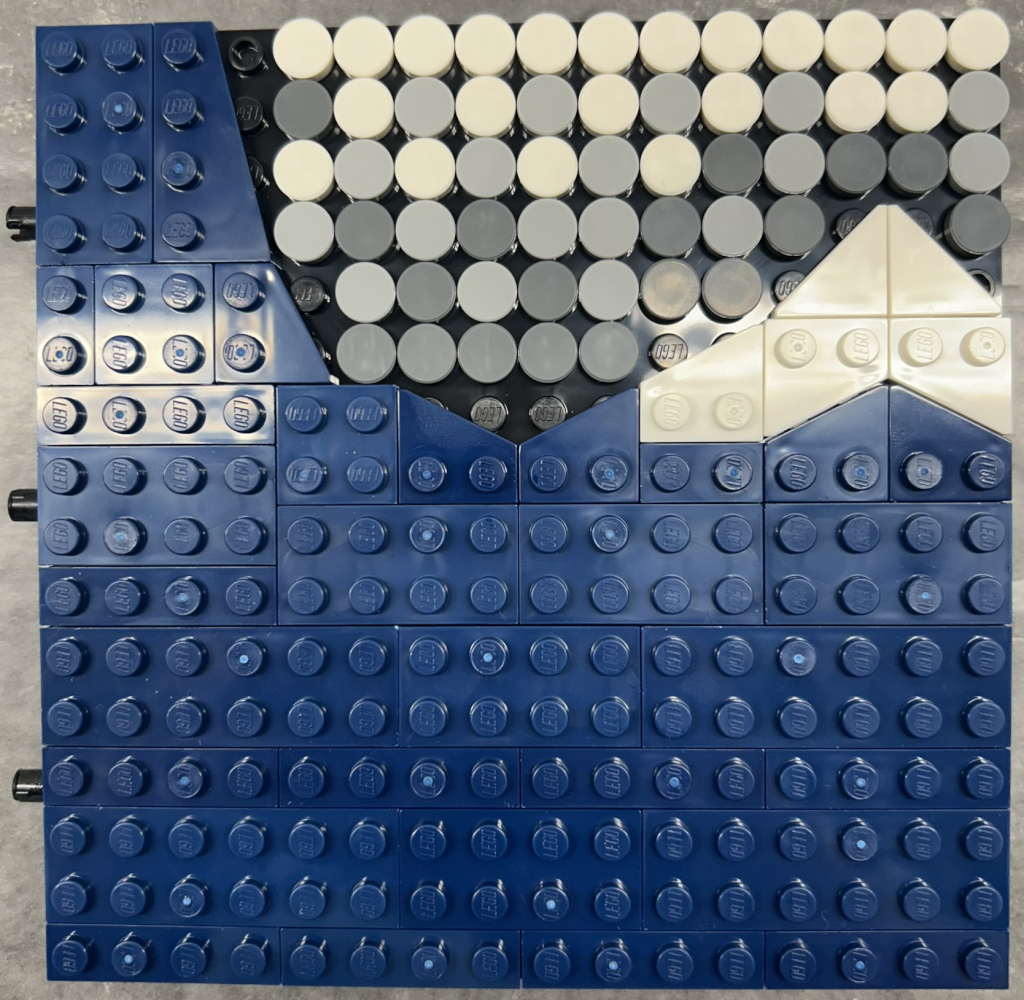
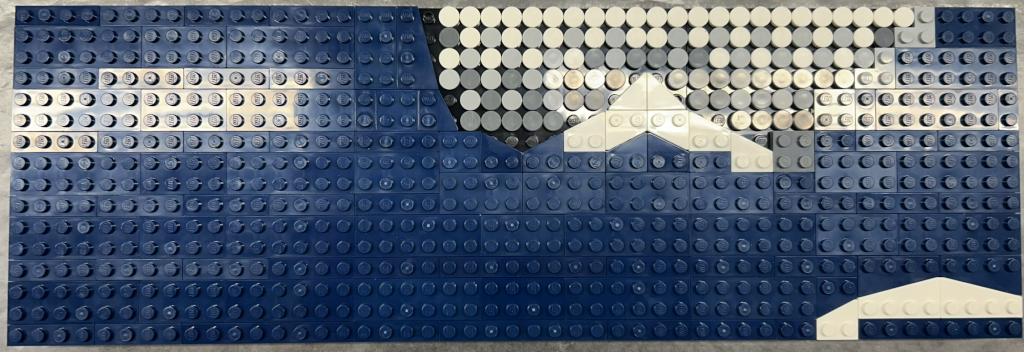
All around the wave itself consists of a lot of flat circle pieces of various colors to give a nice look on the main layer as with all the other areas of the piece you are building up from the initial layer. With all the circle pieces there is a color map (color -> #) to help you distinguish which color piece is which in the LEGO build instructions, which I found helpful when building the shades of grey sections such as Bag 5 and 6, as seen in the images below. Bag 3 below is the top right corner of the art piece, which is joined to Bag 1 & 2 giving you the first impression of the size of the wave ‘image’ itself. This state of the top row is seen in the featured image.
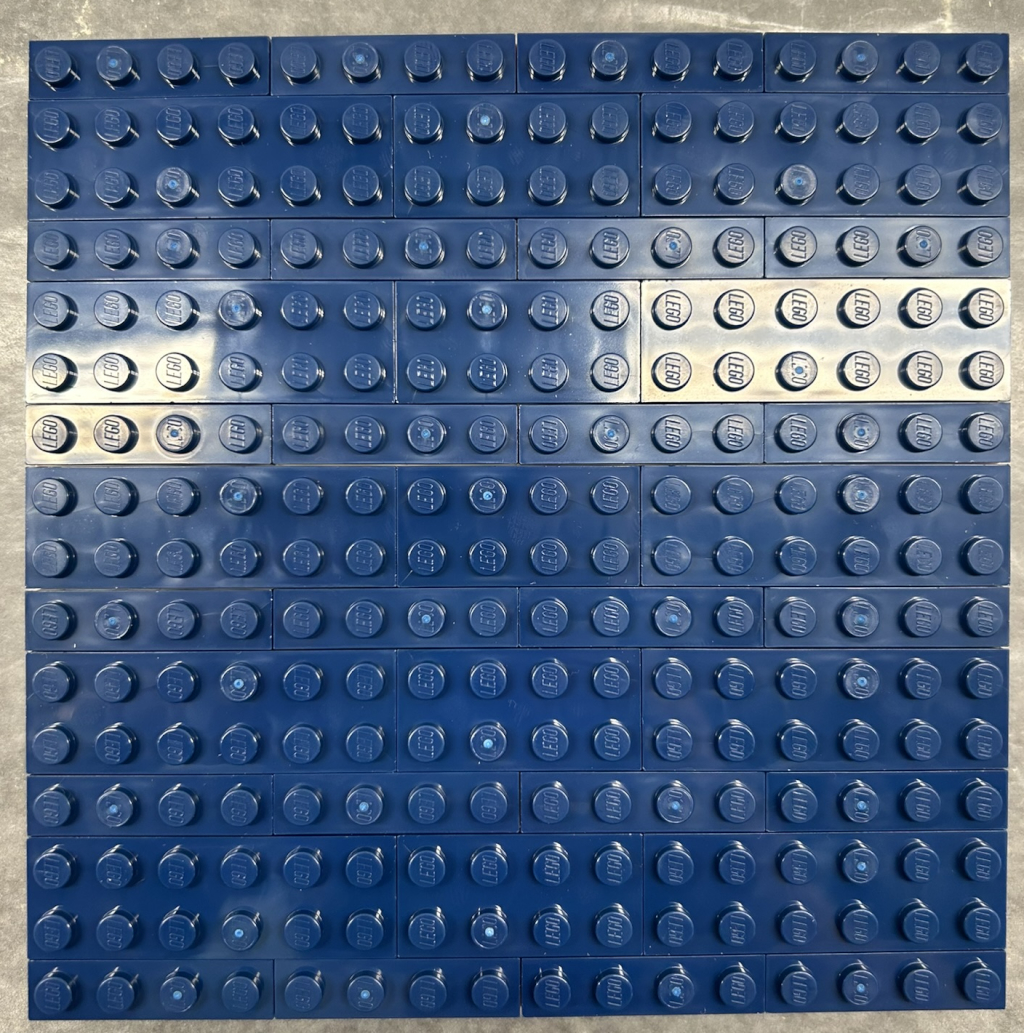
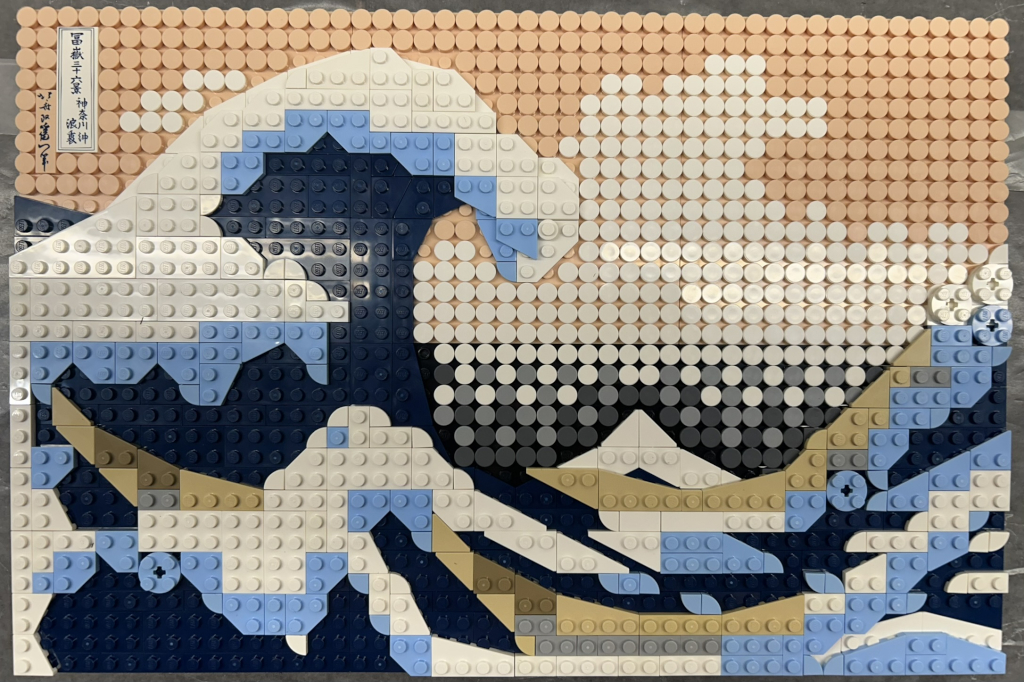
Next was connecting Bags 4-6, starting with 4 & 5 and then lastly 6 as the first layer of each section was completed. Outside of the dots and the tip of Mount Fuji you start building onto the wave to give it a textured, eye appealing look.
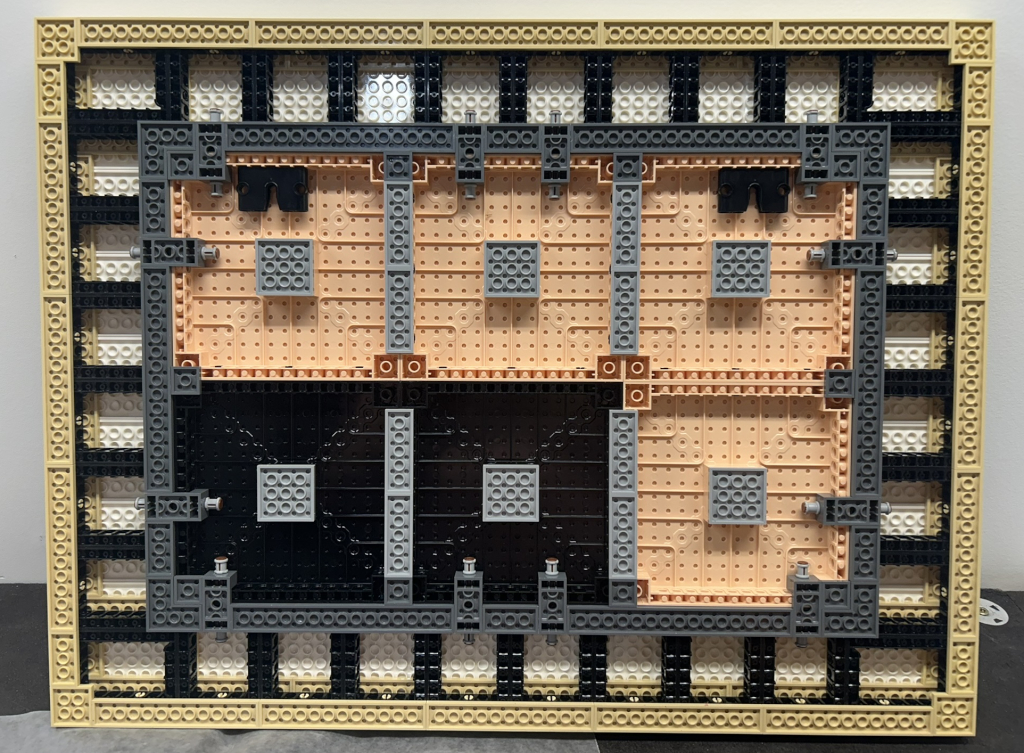
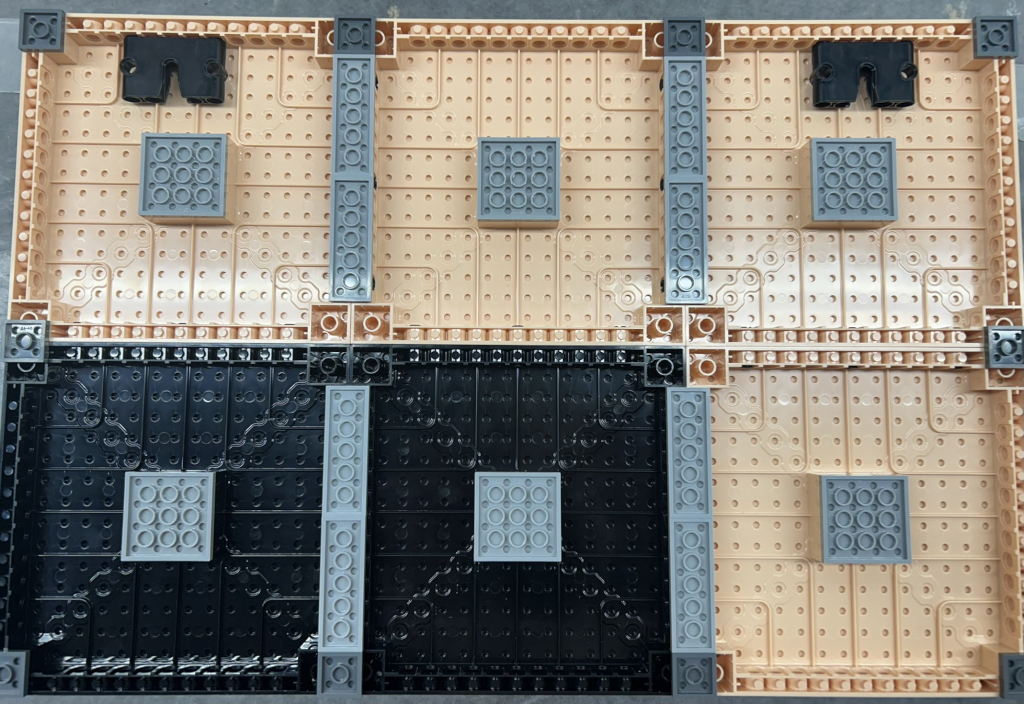
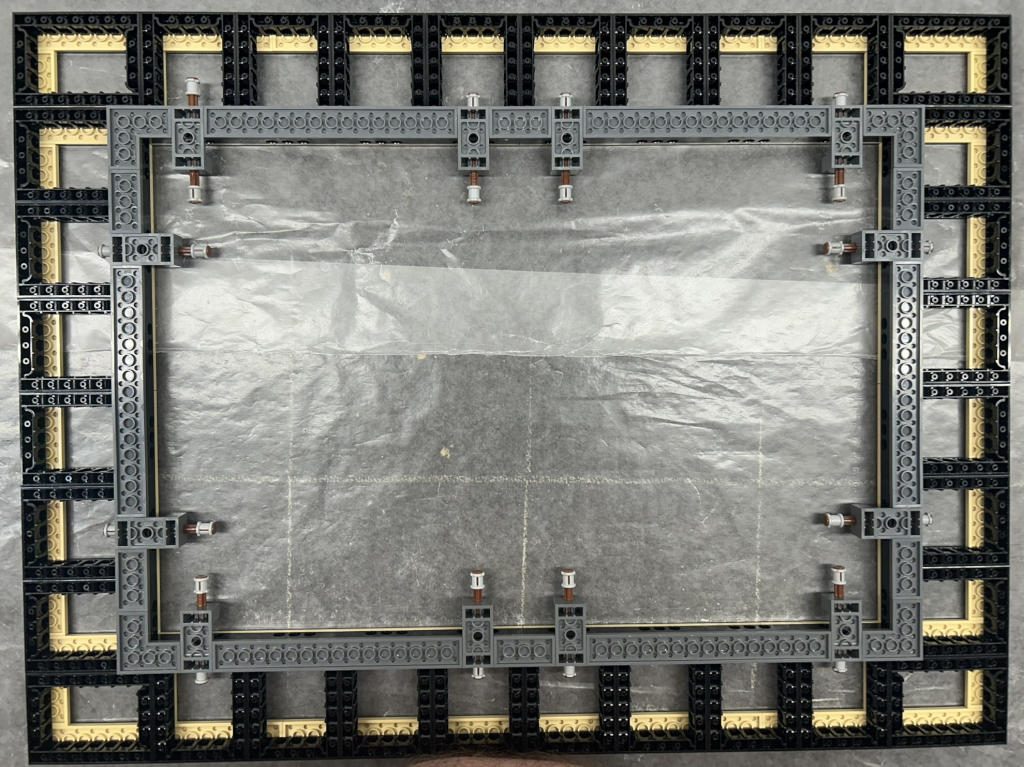
We take a break from working on the wave and flip the wave over, as of right now it is it is connected using technic pins. On the back you place pieces on on all the corners which for the corners touching other pieces helps hold them together along with the 6×2 pieces going vertical. The two black shapes at the top are what you will be able to use to hang the completed set. After this you turn the piece back over and continue building on the wave starting that textured look.
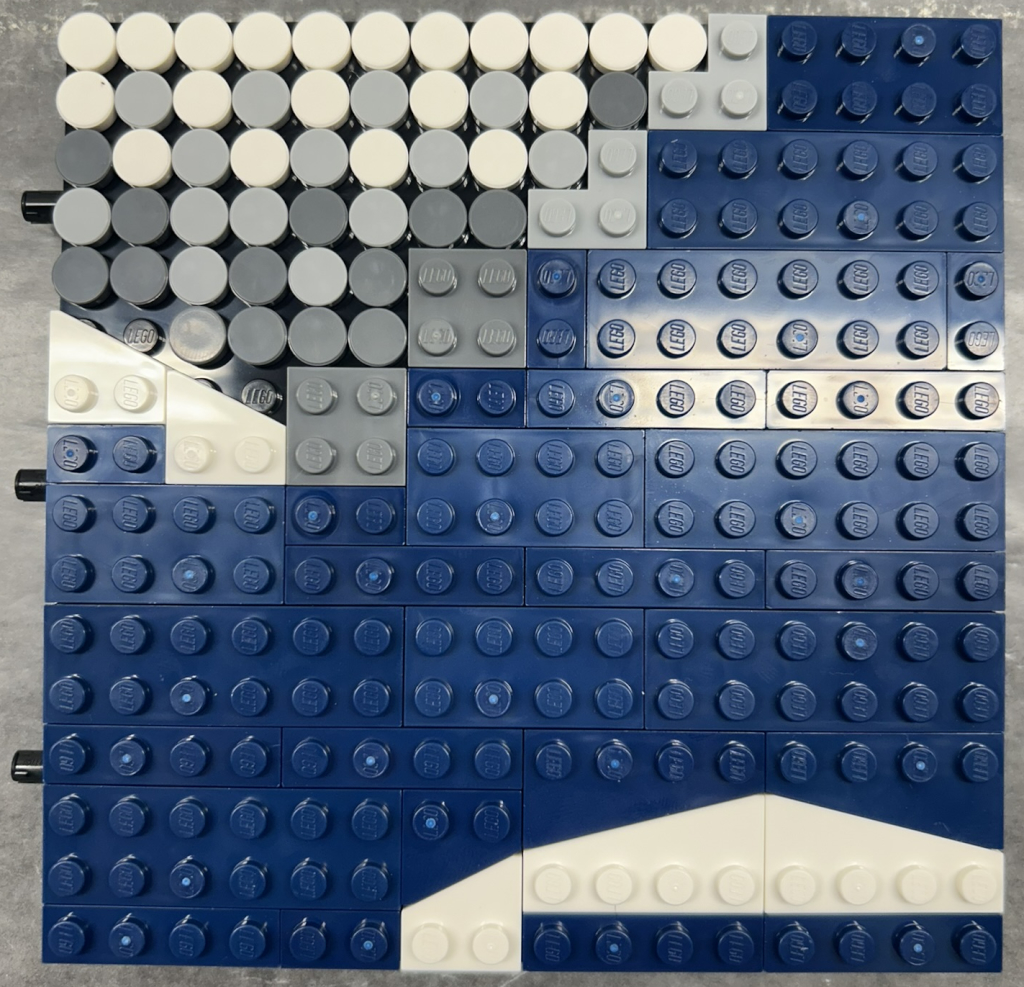
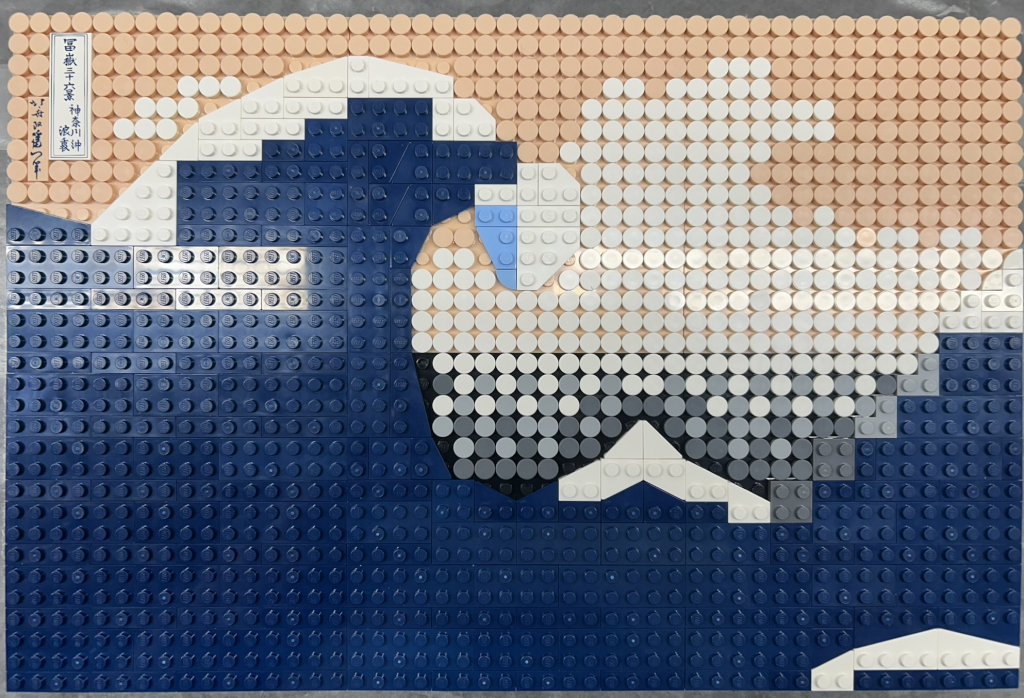
At this point we are now focused on completing the wave and providing depth and intrigue to the dark blue areas above as well as the wave itself. You can see in the images below the how there are the different shades of tan (?) that as you build it out you see the boats taking shape, which are known as oshiokuri-bune, fast barges used to transport live fish from coastal areas to markets in Edo (modern-day Tokyo) and even have pieces depicting the fishermen in the boats struggling against the massive wave, highlighting the smallness of human endeavors in the face of nature’s power.
I think it is really neat how through completing LEGO sets to relax you can also learn something you may not have known before… perhaps more so if it is a gift :).
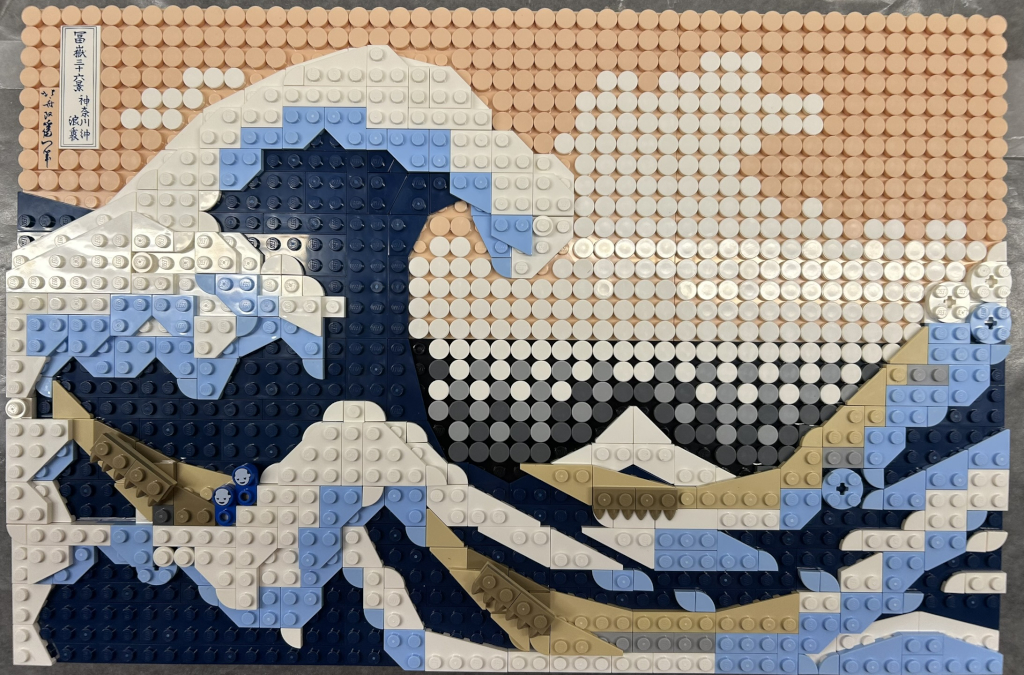
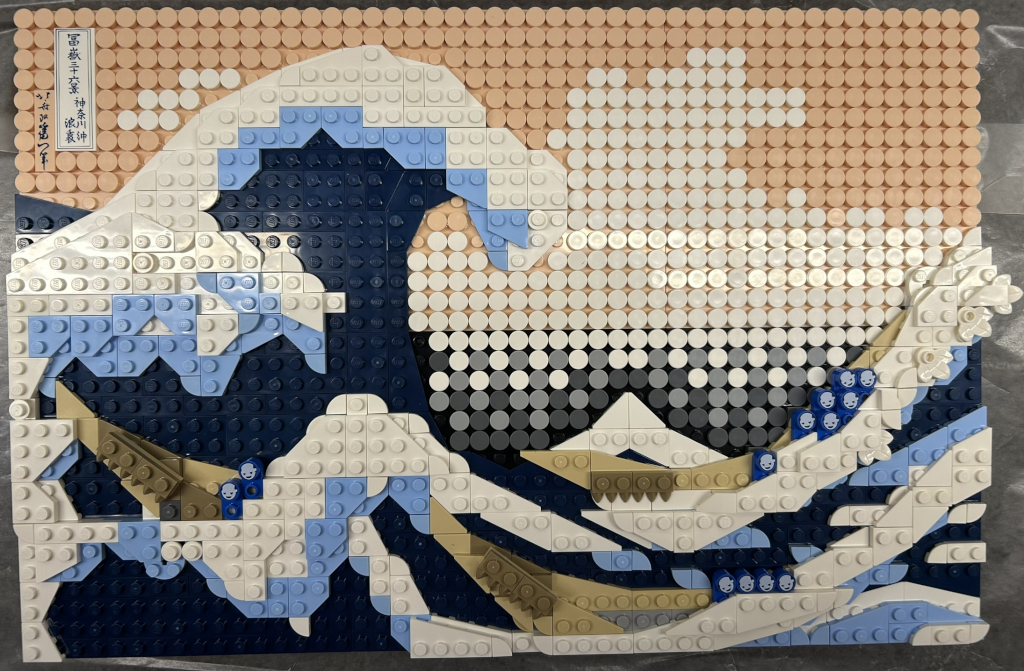
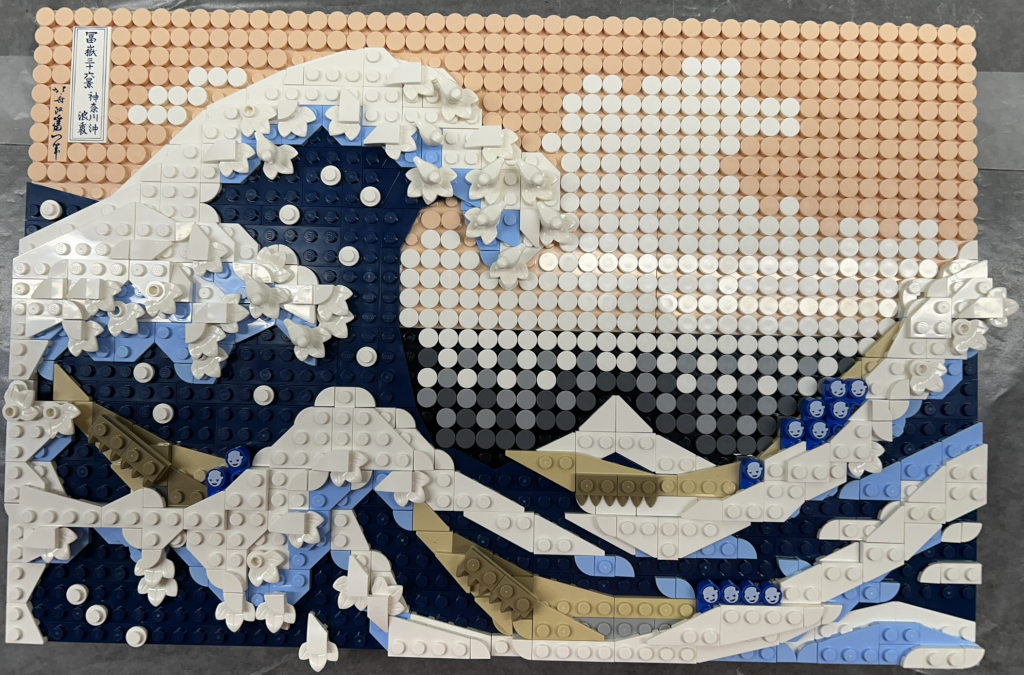
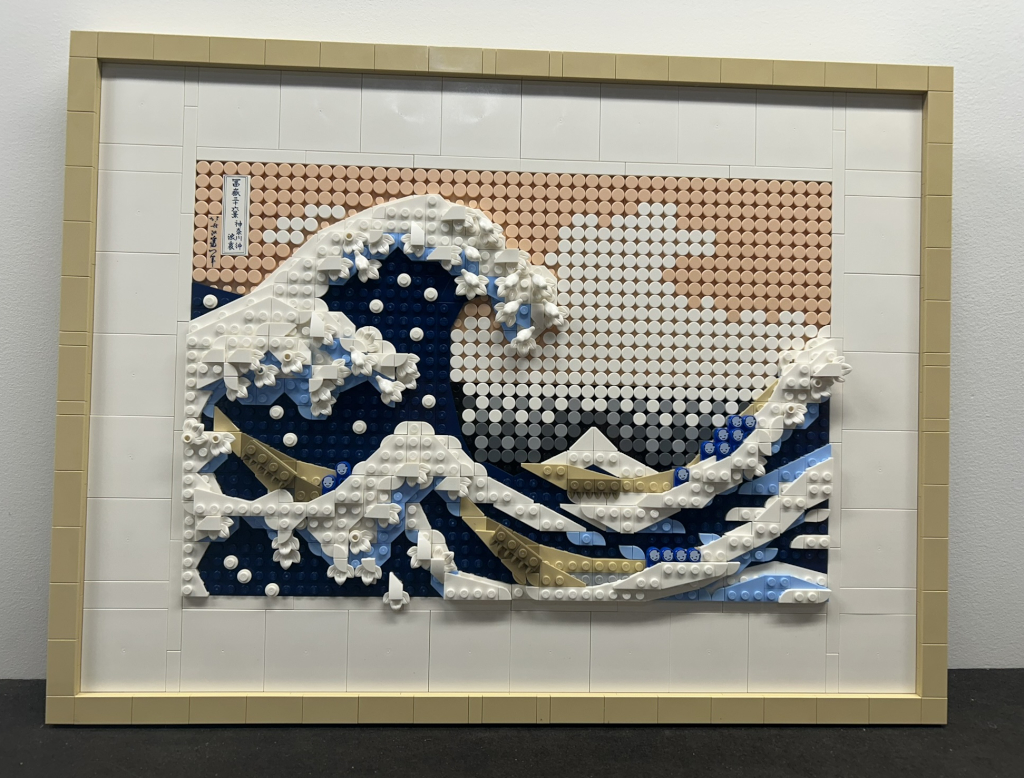
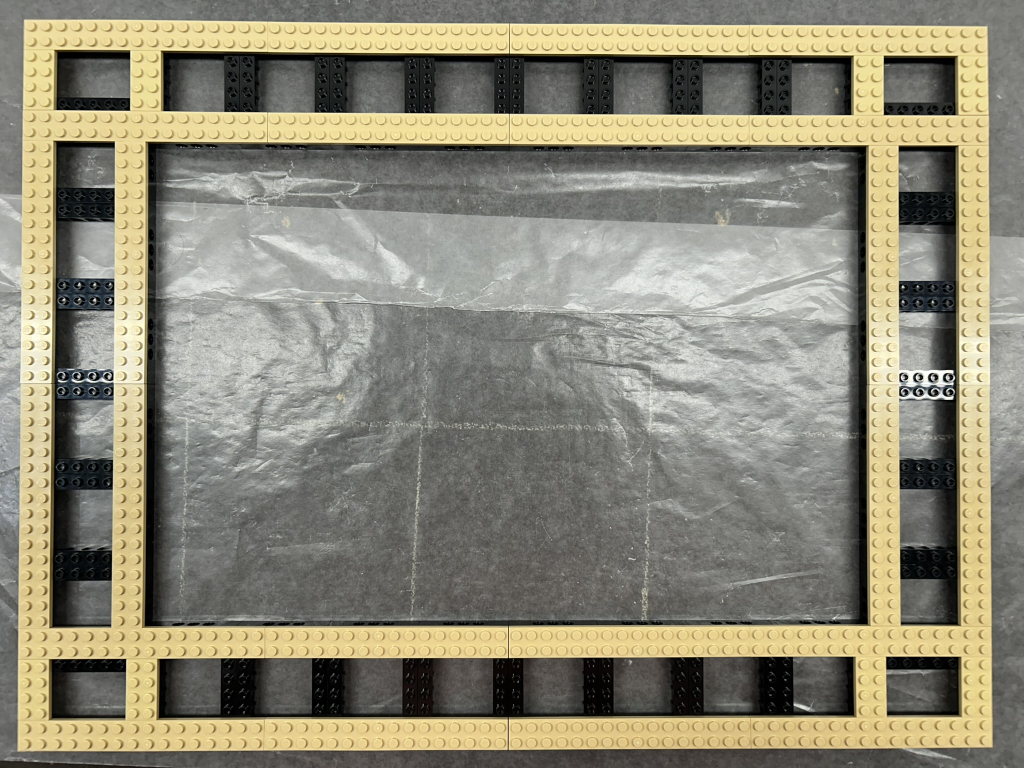
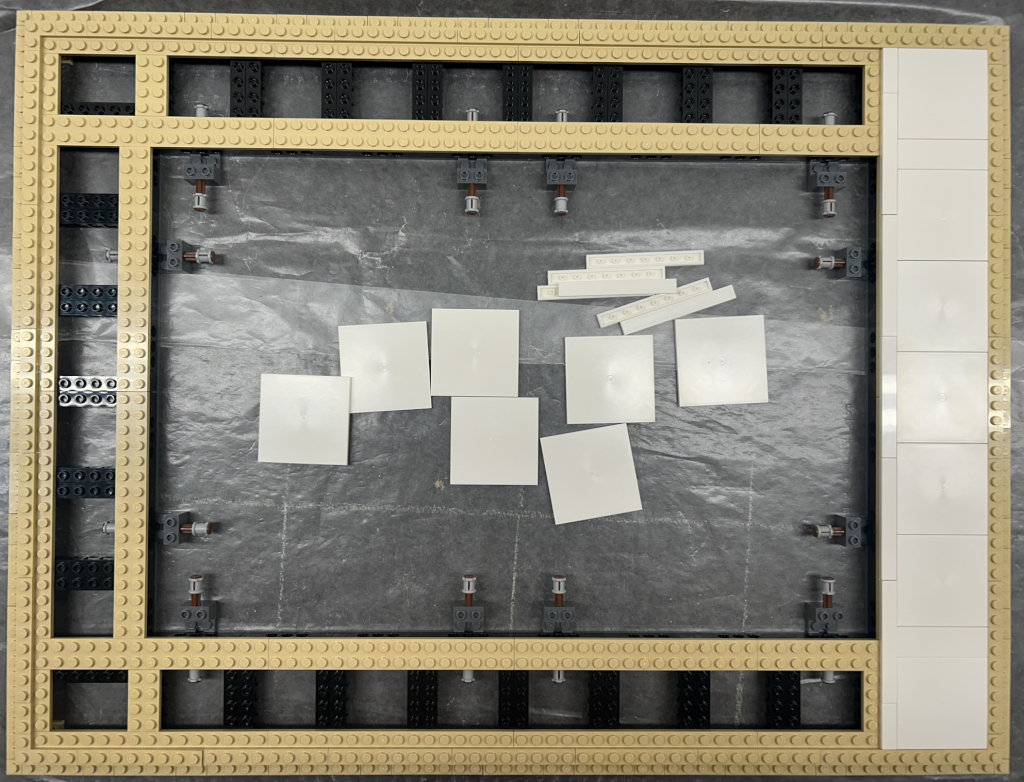
The art piece itself was completed in the image above (Bag 11) and I love how they used some unique pieces to add depth and intrigue to the final product. These pieces (displayed below by the box image) are the leaves and birds. This transitions us to building out the frame (Bags 12-15) where we start on the back, building the structure to support the art piece with a means to ‘click’ pieces into place to hold the piece in place within the frame. Was this is built out we flip the frame over and add build out the white matting which borders the art. All this needs to be built out first before inserting the art piece itself as LEGO pieces overhang onto the frame once inserted.


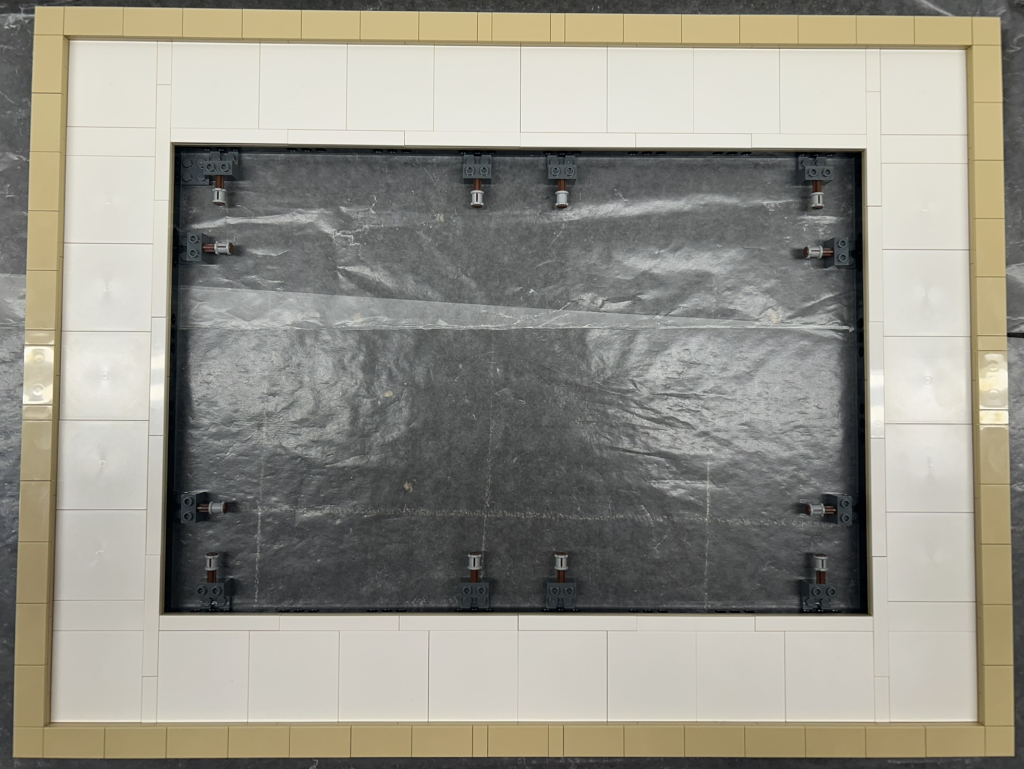
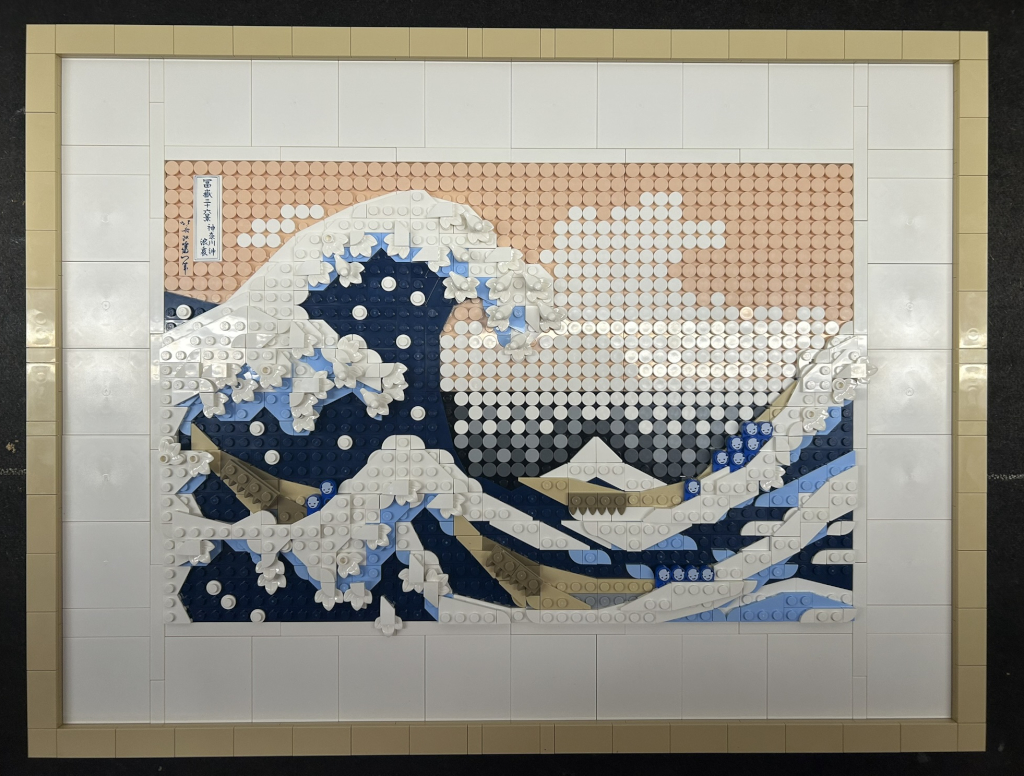
With the frame completed there was just one last step to do, that is to frame the picture by placing the completed art piece within the frame. Once in there you push all the axel 3L pieces with stop in to secure the art build itself in place.
You can see the completed LEGO set below. Even though I completed this November 9th, I need to hang The Great Wave in our house… currently I am thinking in the mudroom or what we have converted into our exercise room. We will see. I thoroughly enjoyed this build, and it was not a set I would have ever considered myself, but am very glad to have had the opportunity to build it.